Canning meat at home is one of those things that scares most people. It's much easier than most think. Canned meat is simple to make and is perfectly safe to eat, provided you use the right tools and follow a few fairly straightforward steps.
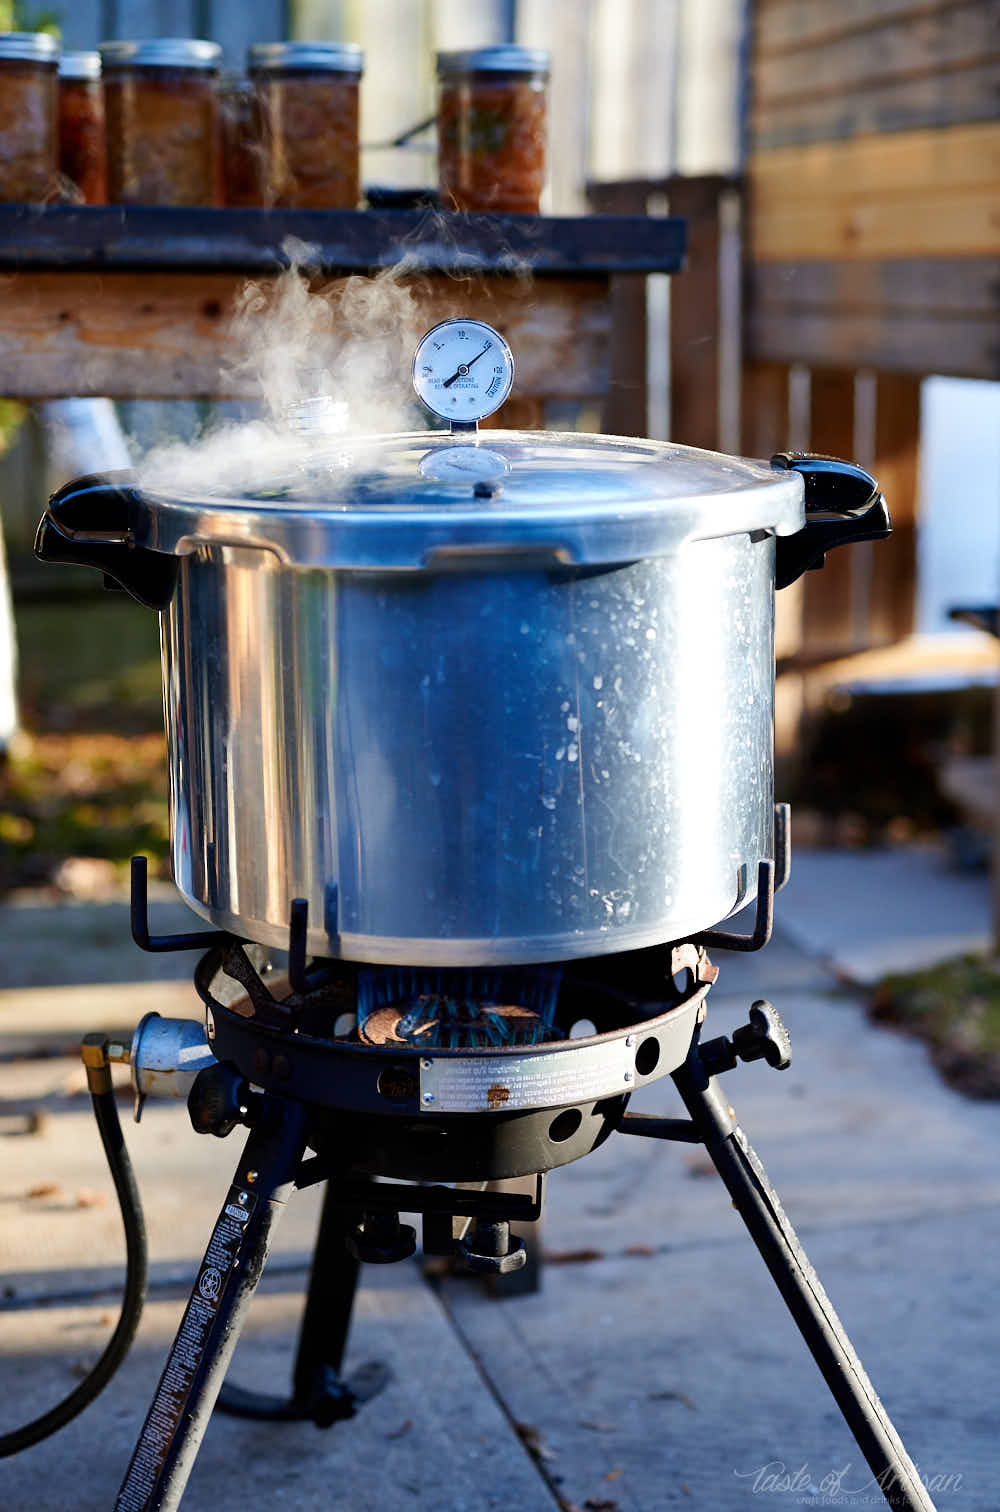
I grew up in a family where canning was a part of life, a yearly ritual. Everything got canned: meat, poultry, fruit, vegetables, jams. When I became an adult and decided to can meat on my own, at first, I was a little concerned myself. Not knowing exactly what I was doing was my biggest problem. Once I understood the science behind canning meat and learned the process, I got quite comfortable with doing it and now feel like it's a piece of cake.
Why make canned meat?
We are fortunate to live in a society where fresh meat and refrigeration are readily available. Food preservation is not a necessity for most of us. Though given the tough times of COVID-19 outbreak we are living through right now, that may not always be the case. At least for a short while. So, one reason you may want to preserve meat is to hedge the risk of any potential future meat shortages. Be prepared.
Personally, I like the taste and the convenience of canned meat. Canned meat tastes great and has a tender texture that many of us like. Canned pork reminds me of pulled pork in a way. I like its fork-tender texture and wonderful aromatic qualities. With a jar of canned meat, you can whip up a great dinner in a matter of 15-20 minutes. Just cook some pasta, drain it, add the pork, mix and cook for another minute or two. That's it — a delicious dinner in no time.
You can make dozens of dishes with canned meat. It's good with rice, quinoa, buckwheat, potatoes, beans, corn, roasted vegetables, steamed vegetables, salads, or whatever you like. That's the biggest reason why I like to make canned meat. When I am short on time, too busy to cook, I'd just grab a can of meat and make a quick and delicious dinner with it.
Meat canning tools
Pressure canning is the only safe method for canning meat! You MUST use a pressure canner! The two most popular choices are Presto and All American brands. The Presto comes in two different sizes, the larger Presto 23-Quart Pressure Canner and Cooker
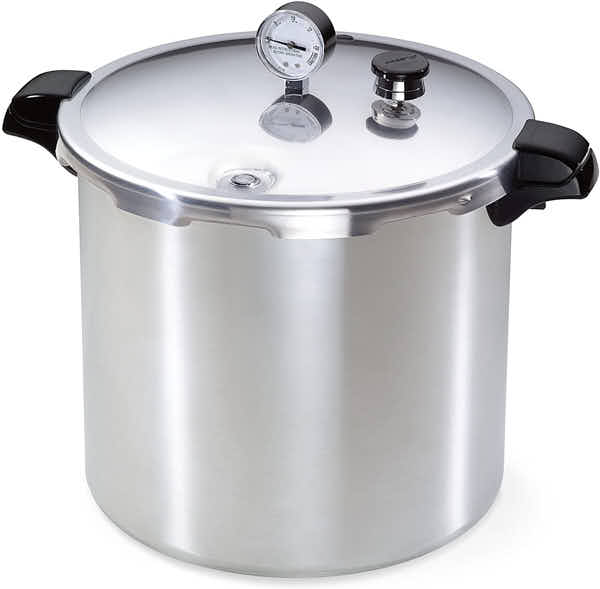
and it's smaller sibling Presto 16-Quart Aluminum canner Pressure Cooker. If you have an induction stove, Presto has a 23-Quart Induction Compatible Pressure Canner as well. Don't forget to buy the Presto Canner Pressure Regulator for your Presto canner. It's super convenient and eliminates any concerns you may have about the accuracy of the pressure gauge on top of you canner.
The All American Canner Pressure Cooker comes in 6 different sizes. It's built to last forever but comes with a higher price tag.
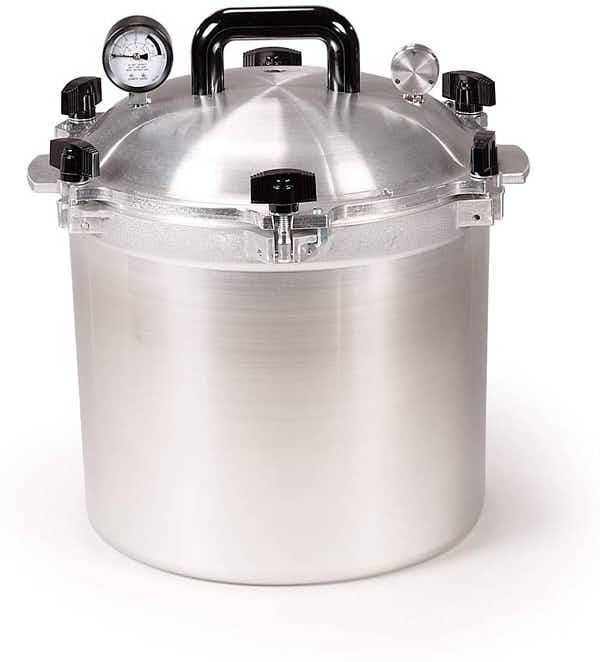
If you are just starting out, you may like the All American Pressure Cooker Bundle with 2 Racks and Norpro Canning Essentials. Having trouble deciding which one to choose? Check out this helpful video that compares Presto and All American.
Other than Presto and All American, there are other brands of mechanical pressure canners that will do the job. They may be less known or popular but will do the job.
Instant Pot Max is trying to position itself as the first electric pressure canner but it hasn't been approved by USDA for pressure canning as of writing this article. Therefore, it should NOT be used for canning meat.
Other than a pressure canner, you will also need:
Use only standard mason jars intended for home canning! These jars will have the manufacturer’s name molded in the glass (e.g. Ball, Bernardin, etc.). Never use jars from commercial food products.
Recommendation regarding a pressure canner
My recommendation is that no matter what brand you choose, go with the bigger size rather than smaller. A couple of years ago, I started off with a Presto 16-Quart Canner, which was practically the same price as the 23 Qt one. I thought I'd never have a use for a big canner, so I picked the smaller one. I now feel the size limitation and will have to upgrade.
Preparing meat for canning
All meat should be handled carefully to avoid contamination. Use clean tools to prepare the meat. Keep the meat below 40F at all times and handle it quickly. It is recommended to use lean meat for canning; remove most of the fat. Cut off gristle and remove bones. Cut the meat into 1-inch pieces before canning for convenience. I like having the meat cured before canning; it adds a lot of flavor and improves the color. This step is not required, but I highly recommend it.
Strong-flavored wild game meats will benefit from soaking for 1 hour in brine water containing one tablespoon of salt per quart of water. After brining, make sure to rinse the meat.
Use of nitrites
Adding curing salt to meat offers many benefits:
- Give meat pink color
- Improves flavor
- Slows down oxidation
- Inhibits Cl.botulinum from growing
Sodium nitrite, commonly used as Cure #1, is the strongest agent for preventing growth of Cl.botulinum spores during smoking meat. It is also added to impart the pink color to processed meats like ham and sausages. Adding sodium nitrite (Cure #1) to canned meat will definitely lower the resistance of bacterial spores to thermal processing, but not required by USDA guidelines.
Packing meat in jars
There are two ways to pack the meat in canning jars: raw pack and hot pack.
Raw Pack - Fill jars with raw meat pieces leaving 1-inch headspace. Do not add any liquid. Do not pack tightly. That's the general recommendation.
When raw-packing, different sources vary on how much headspace to leave. In fact, the meat processing guru Stanley Marianski in his book Home Canning Meat, Poultry, Fish and Vegetables recommends filling glass jars all the way to the top. He points out that when processed in the canner, the meats will shrink and release juice. Leaving too much headspace may result in improper seals, just as leaving too little. Personally, I leave about a 1/2" headspace, and that has worked very well for me.
Hot Pack - precook meat until rare by broiling, grilling, boiling, or frying. Pack the hot meat in heated mason jars, leaving 1-inch headspace. Cover the meat with boiling broth, water, or tomato juice (especially with wild game), leaving 1-inch headspace. Cooked meat shrinks so you can pack it more tightly compared to raw-packing.
Closing the lids
Always make sure to wipe the rims of jars before putting the lids on. Screw the bands on, finger tight. What is finger-tight? How do I know that it's tight enough? This was my biggest question yet it turned out to be a non-issue after all. Just tighten the bands as tight as you can using just your fingers. Do it a few times and you will get the hang of it.
Did you do it right? You need to look for two things - the amount of the spilled out liquid and the seal.
If the seal is fine, you did it correctly. In case too much liquid is gone from the jar - you need to tighten more next time. If the seal is bad, but the liquid is there, you may have overtightened it. In general, canning fairly forgiving. I have yet to see a bad seal, to be honest.
Processing
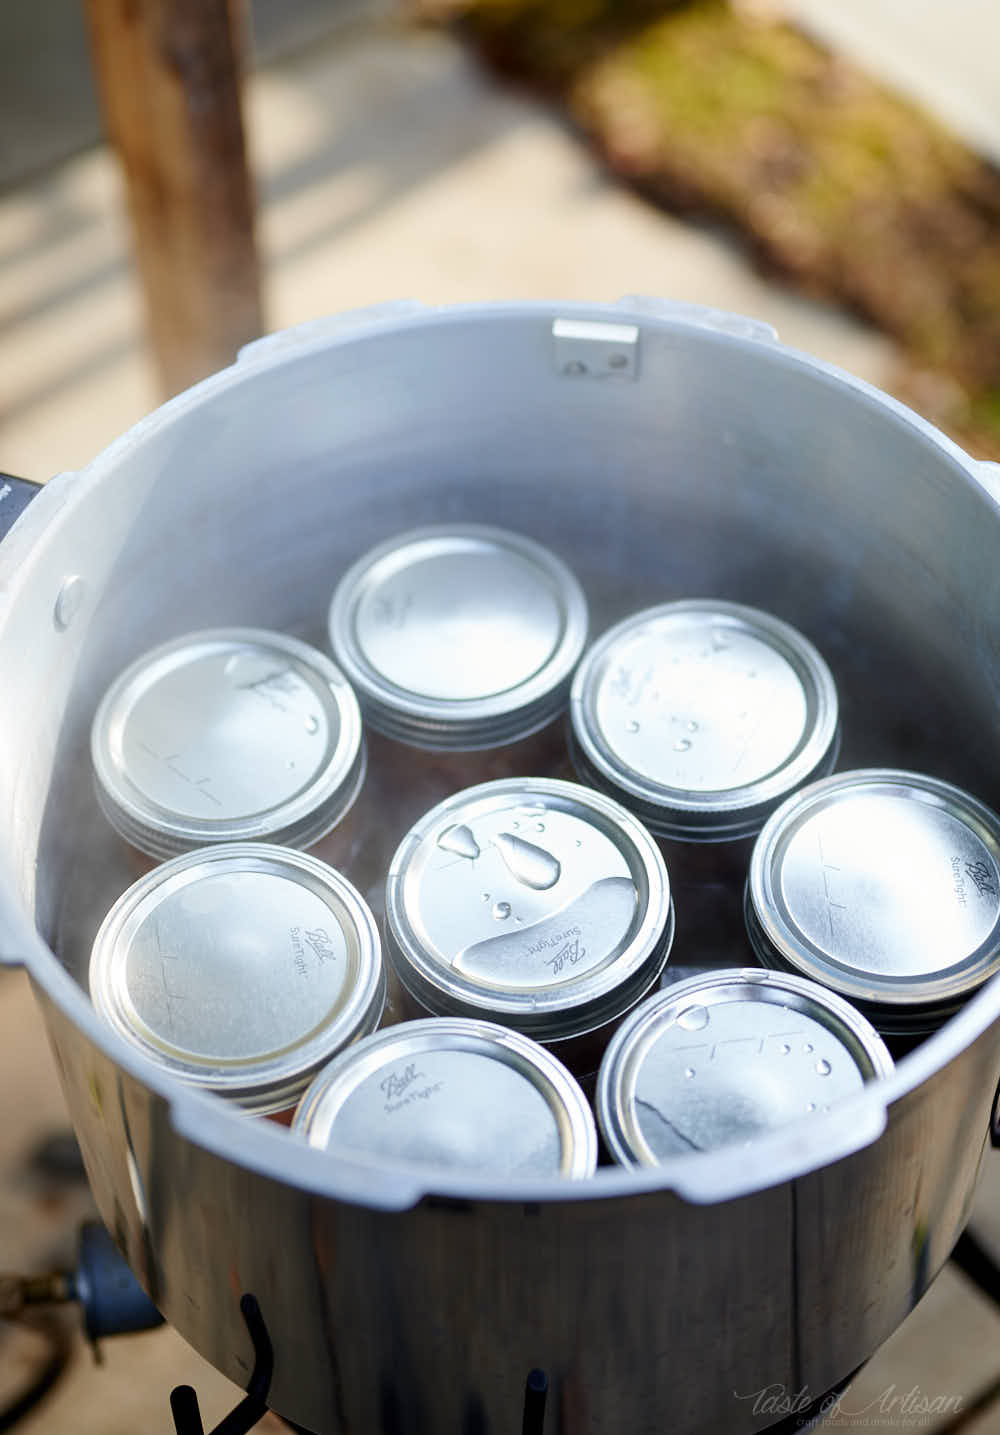
Low-acid foods such as meat, poultry, fish and vegetables must be processed at 240F-250F (116C-121C ) temperatures to kill Clostridium botulinum spores (Marianski, Stanley. Home Canning Meat, Poultry, Fish and Vegetables). Low-acid foods means any foods with a finished equilibrium pH greater than 4.6. In an open boiling pot at sea level, water boils at 212F (100C), which is insufficient for destroying Cl.botulinum spores. At increased pressures water boils at higher temperatures. This is why you need to use a pressure canner to make canned meat.
At sea level, it is recommended to process meat at 10 PSI minimum. For pints the processing time should be 75 minutes, and for quarts it's 90 minutes. When pressure canning above 1,000 feet, process at 15 pounds of pressure. Processing time is the same at all altitudes.
Many of Marianski's recipes call for processing meat at 250F (15 PSI) for 60 minutes for pint / 500ml jars or 50 minutes for half-pint / 250ml jars. Personally, I process my meats at 15 PSI / 250F for 70 minutes even though I am located just above the sea level. This gives the meat a more delicate texture, which I happen to prefer.
Meats may be processed with or without salt. If salt is desired, use only canning salt. Table salt contains a filler that may cause cloudiness in the bottom of a jar. Use ½ teaspoon salt to each pint, one teaspoon to each quart. More or less salt may be added to suit individual taste.
Cooling
In general, you want to cool the processed jars as quickly as possible to prevent the growth of thermophilic bacteria. However, that is not possible in the home environment. This is another reason to ensure cleanliness during preparing meat.
So, you must let the pressure canner depressurize on its own. It will take about 30 minutes. The contents of the glass jar will boil over through the still soft sealing compound if you let the steam out quickly. The meat will be fine and safe, as the sealant will reseal the lid when the pressure inside the jar drops again. A stuck food particle, however, may prevent the seal.
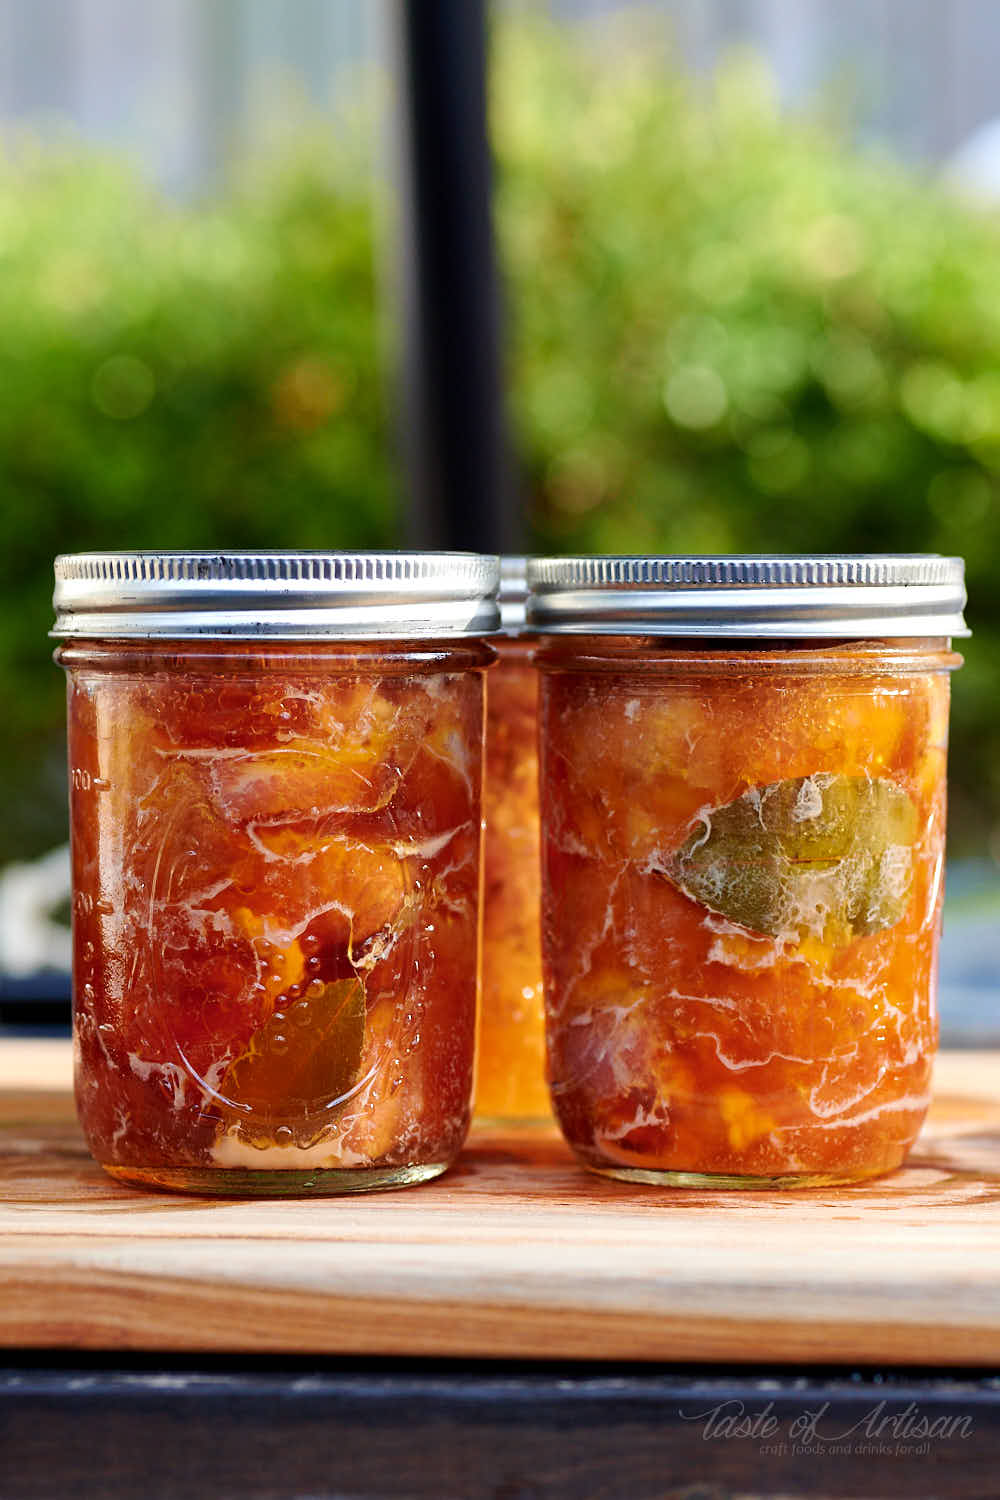
Once the pressure in the canner drops, remove the jars and let them cool down. Do not place in cold water as that will cause a thermal shock, which may cause the glass to shatter.
Storage
Canned products should be stored in a dry, cool place. The best storage temperature is about 35F-59F (2C-15C). The higher the temperature is, the more unwelcome changes will occur in stored foods. Correct processing will kill spoilage bacteria and foods will not spoil, unless kept at temperatures over 95F (35C). At these temperatures, certain heat-loving microorganisms, which could have survived the canning process, might start growing again.
Ideally, the storage area should have some air circulation to prevent mold growth and rusting of the jar lids. Glass jars should be protected from light; otherwise fats will develop rancidity, which will affect the taste.
If canned meat is stored at less than optimal temperatures, certain chemical reactions that affect fat rancidity, food texture, color and nutritional value may begin to occur over time.
If jars must be kept in a very cold place, just insulate them by any practical means, for example, wrapping them in newspapers or keeping them in boxes covered with more newspapers or blankets.
Shelf life
Canned meat has a great shelf life. At proper storage conditions, canned meat will keep well for 2-3 years. Personally, I think canned meat tastes best before the 1-year mark, after which its taste begins to slowly decrease. That's not to say that after 2 or 3 years the meat won't be safe to eat. Not at all. But you may notice some degradation in taste quality.
My favorite canned meat recipes
Instructions
- Prepare the jars. They must be clean but don't have to be sterilized. Have all the necessary tools (pressure canner, funnel, jar lifter, paper towels) ready.
- Prepare the meat, either for raw-packing or cooked for hot-packing.
- Raw-pack or hot-pack the meat in the jars, leaving 1-inch headspace for hot-packed meat and up to 1-inch for raw-packed meat. Raw meat will shrink so you may fill up the jars all the way to the top. When raw-packing, add only meat and seasonings, don’t add liquid. The meat will release own juices during processing. Run a plastic utensil around the inside of the jar to free bubbles and remove excess air.
- Wipe off the rim of the jars and place the lid on top. Screw on the bands finger-tight.
- Put about 3 inches of water in the canner or as recommended in your pressure canner's manual. The temperature of the water should be similar to the temperature of the jar contents.
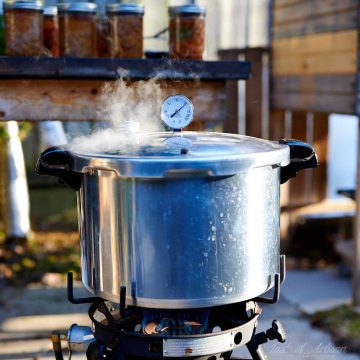
- Fasten the canner lid. Leave the weight off the vent pipe. Heat on high until steam flows freely from the vent pipe. This pushes the excess air out of the canner through the vent port. If the canner is not exhausted, the inside temperature may not correspond to the pressure on the gauge.
- Let the steam escape continuously for a minute, then place the weight on the vent pipe. Let the canner pressurize, which will take about 3 to 5 minutes. Turn the heat down a little and wait until the pressure dial indicates 11 PSI or the 10 pounds weighted gauge starts to jiggle. Stat the countdown from this point.
- Process meat at 10 pounds pressure, pints for 75 minutes, and quarts for 90 minutes. Keep an eye on the canner and regulate heat to maintain a steady pressure at or slightly above the set gauge pressure. (see note 1)
- Remove the canner from heat and let it depressurize naturally. (see note 2)This will take about 30 minutes on average. It may take less or more depending on the canner size.
- Slightly rock the weight, no steam should be released and no resistance should be felt. Remove the weight from the vent pipe. Wait a minute, then carefully unfasten and remove the lid (opening away from your face) from the pressure canner.
- Using a jar lifter, carefully remove the jars and place them on a towel or a cooling rack to cool down to room temperature, undisturbed and away from drafts. Allow at least 12 hours for this.
- Remove the bands. Wipe the jars with a damp towel or paper towels. Test the seals.
- Store in a cool, dry place for up to 2-3 years. The most optimal storage temperature is about 35F-59F (2C-15C).
Special Equipment
- A pressure canner
- Wide mouth canning jars
- A wide mouth funnel
- A jar lifter
Notes


Jeanne says
Victor what is your elevation. I normally use 10# pressure when canning meat. I am at 1000 ft. Your recipes state use 15 psi. I want to know if that is related to elevation or if the add'l psi is required for me. I just found your site and have bookmarked many things to try.
Victor @ Taste of Artisan says
Jeanne, I am at about sea level. 10 PSI is the minimum recommended, but I do 15PSI as I like the softer texture of the meat it gives. I mentioned this in one of the meat canning post, not sure if you saw that. Enjoy!
Ramin Melikov says
If I am at sea level and my pressure canner at 15 PSI, how long to process fish?
Victor @ Taste of Artisan says
Here is what USDA recommends for fish canning.
Red Clay says
Hello,
Is it ok to can cook meat recipes like BEEF CHILI, BEEF STEW, etc?
Thank You,
Red
Victor @ Taste of Artisan says
Hi, yes, you can do that. I canned both of those. Take a look at my canned tomato sauce, one variation of it is with ground beef, it's very similar to canning chili.
Olya says
How to I use the cure #1, i bought it bu theres no instructions, do I mix it dry or mix with water then add to raw meat?
Victor @ Taste of Artisan says
Olya, use 5g or 1 level tsp of Cure #1 per 5 lbs of meat. I apply it in different ways depending on recipe and all are acceptable. You can rub the meat with a salt/cure#1 mix, you can also dissolve the salt/Cure #1 in water and mix with meat chunks or ground meat, or you can grind the meat, then mix it with salt/Cure#1 and dry spices.