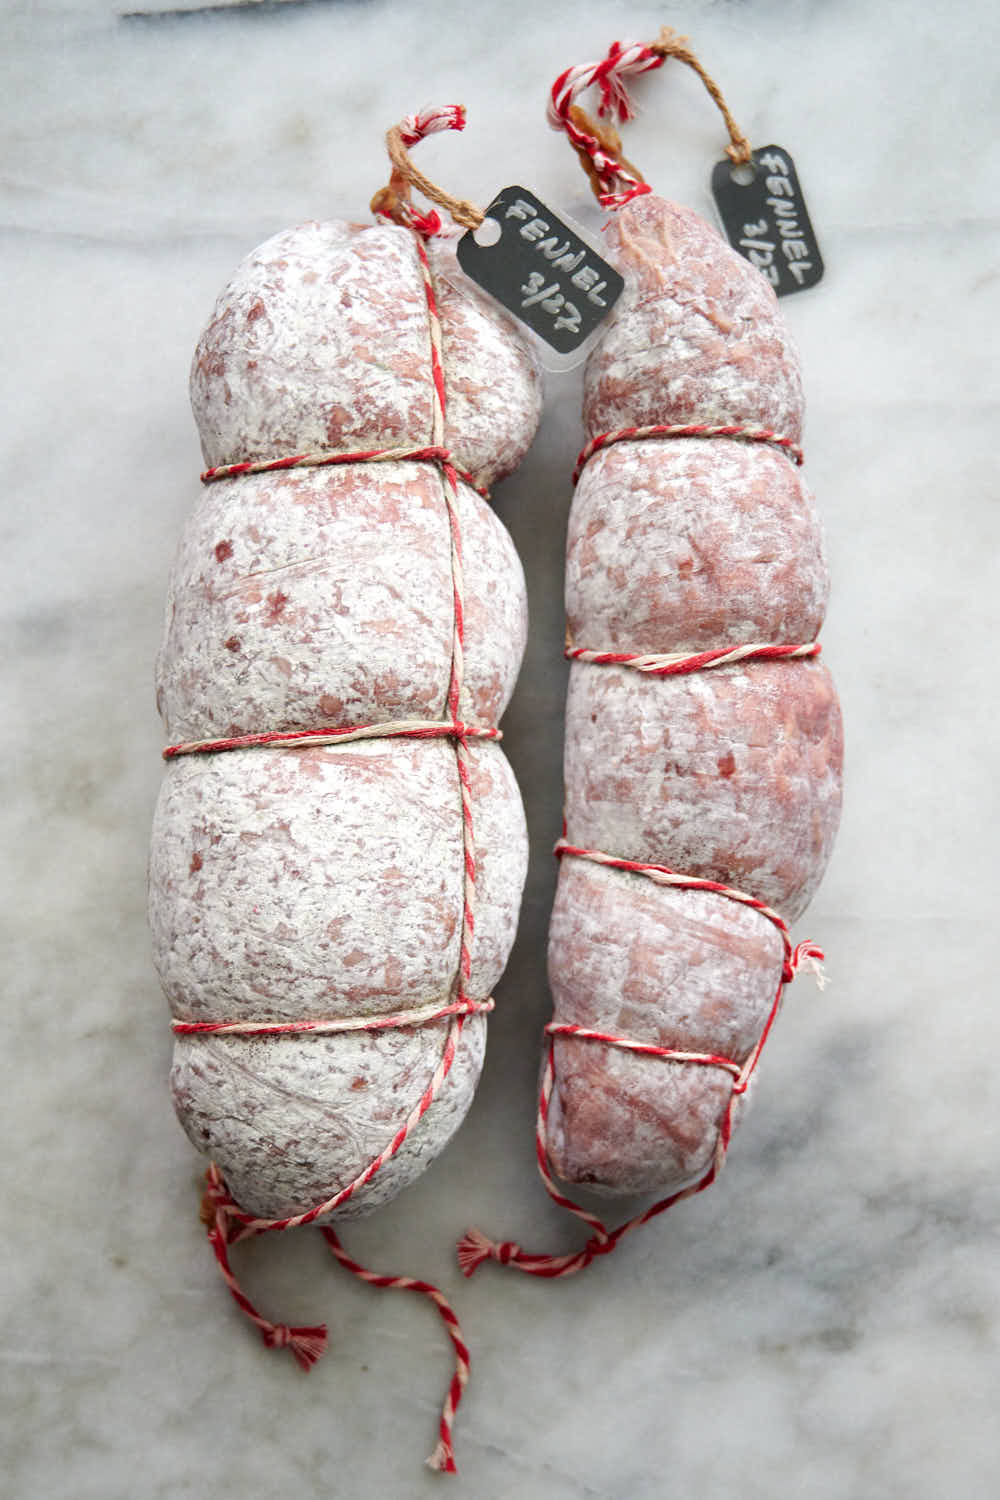
Finocchiona is a type of salami characterized by the aroma of fennel, used as seeds and/or flowers, and by the soft consistency of the slice which sometimes tends to crumble. This salami comes in a variety of sizes, from 0.5 kg to up to a maximum of 25 kg. The meat is has a medium-coarse grain (4.5mm and 8mm) without well-defined borders.
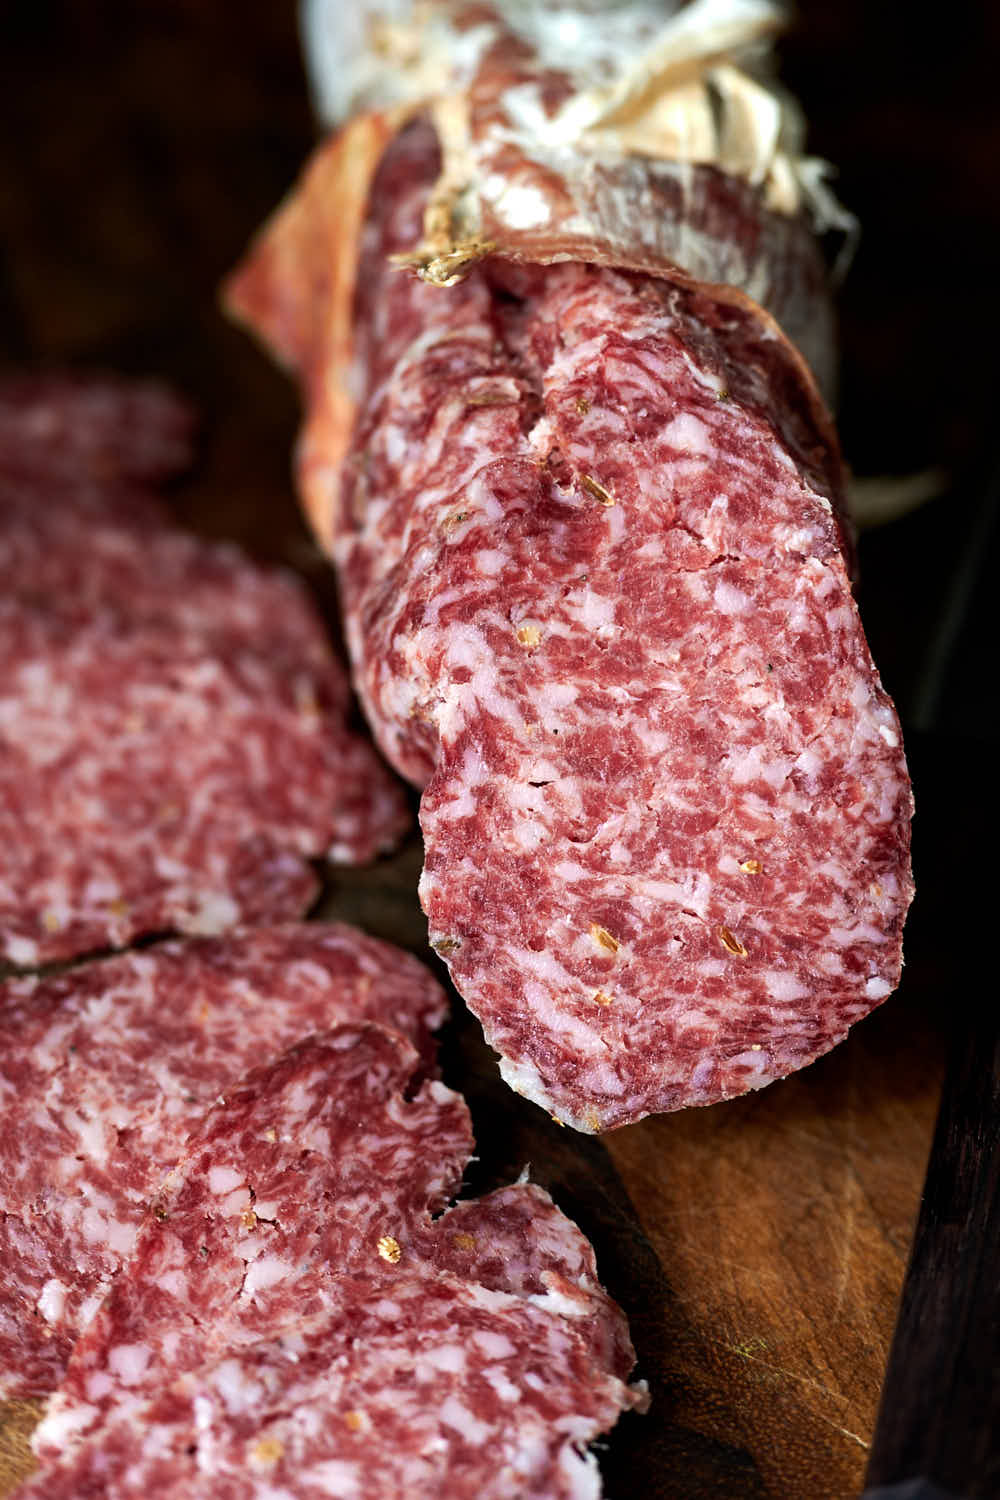
Finocchiona is traditionally made of the following pork cuts: boneless, trimmed shoulder, trimmed ham, lean belly meat, coppa/pork neck, pork belly fat, pork cheeks.
Finocchiona PDO description specifies the following seasonings per 100 kg of meat:
- Salt - between 2.5 and 3.5 kg (2.5% - 3.5%);
- Ground pepper - between 50 and 100 grams (0.05% - 0.1%);
- Peppercorns (cracked and/or whole) - between 150 and 400 grams (0.15% - 0.4%);
- Dehydrated garlic - between 50 and 100 grams (0.05% - 0.1%);
- Fennel seeds and/or fennel flowers - between 200 and 500 grams (0.2% - 0.5%).
Nitrates and starter cultures are also permitted.
Finocchiona is stuffed in natural casings and subjected to intensive drying which is the period during which there is the most marked dehydration. To achieve this result, the Finocchiona is kept in rooms with a temperature between 64F (12C) and 77F (25C). Once the drying phase is over, the maturing phase begins, which is carried out with temperatures between 52F (11C) and 64F (18C) and relative humidity between 65% and 90%.
Maturing duration depends on the size of the salami:
- 0. 5 - 1 kg - a minimum of 15 days
- 1 - 6 kg - a minimum of 21 days
- 6 - 25 kg - a minimum of 45 days
Since I have several other types of salami in my curing chamber, I am going to use a slightly different drying/maturing schedule which I used for making the other types.
For drying my salami (75mm – 110mm), I used the following schedule:
| Stage | Duration | Temp | RH |
|---|---|---|---|
| Fermentation | 14 hours | 77F (25C) | < 99 % |
| Drying | 17 hours | 73F (23C) | 75-85 % |
| Drying | 24 hours | 71F (22C) | 68-78 % |
| Drying | 24 hours | 68F (20C) | 65-75 % |
| Drying | 24 hours | 64F (18C) | 68-78 % |
| Drying | 24 hours | 61F (16C) | 72-82 % |
| Drying | 24 hours | 59F (15C) | 76-86 % |
After drying, the salami went into the meat curing chamber where it will slowly mature at 55F – 57F (13C – 14C) and 80% – 84% for 3+ months. Note the higher humidity level here.
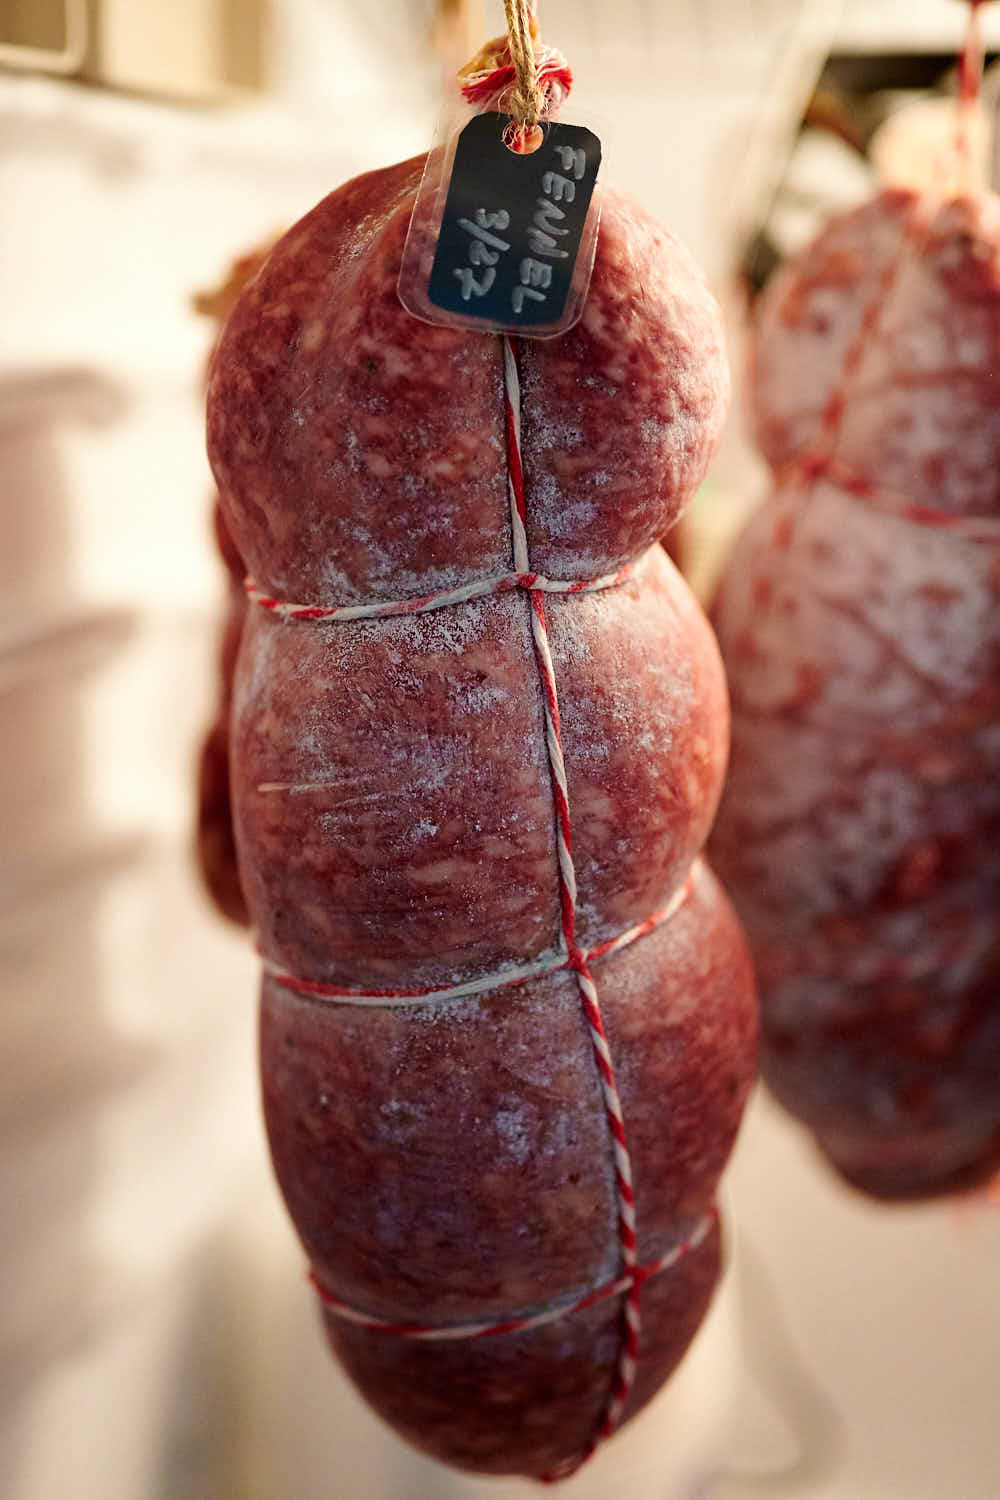
The starting pH was at 5.79, which dropped to about 5.10 by the end of the 7th day.
I expect the pH to continue dropping a little lower over the following 3 days, level off and gradually come back up a little.
Salami weight loss progress
Below is the weight loss progress of my 90mm and 110mm salami using the new drying technique.
| #1 (80mm) | Weight, g | Loss, g | Loss, % |
|---|---|---|---|
| Start | 1,511 | ||
| 3 days | 1,360 | 151 | 9.9 % |
| 5 days | 1,305 | 206 | 13.6 % |
| 7 days (end of drying) | 1,274 | 237 | 15.7 % |
| 12 days | 1,215 | 246 | 19.6 % |
| 23 days | 1,120 | 391 | 25.9 % |
| 1 Month | 1,082 | 424 | 28.4 % |
| 2 Months | 955 | 556 | 36.8 % |
| 2.5 Months | 921 | 589 | 39.0 % |
| #2 (115mm) | Weight, g | Loss, g | Loss, % |
|---|---|---|---|
| Start | 2,434 | ||
| 3 days | 2,258 | 176 | 7.2 % |
| 5 days | 2,179 | 255 | 10.5 % |
| 7 days (end of drying) | 2,133 | 301 | 12.4% |
| 12 days | 2,041 | 393 | 16.1 % |
| 23 days | 1,903 | 531 | 21.8 % |
| 1 Month | 1,846 | 588 | 24.2 % |
| 2 Months | 1,645 | 789 | 32.4 % |
| 3 Months | 1,520 | 914 | 37.5 % |
| 4 Months | 1,479 | 955 | 39.2 % |
Tasting notes
The 80mm diameter Finocchiona reached a 39% weight loss after 2.5 months and felt firm enough to slice. Even at a 39% weight loss it's not a hard salami by any means. It's firm but at the same time has a soft texture.
The uniformity of drying using my new favorite method is very good. I can's say that it's 100% perfect but, honestly, I haven't seen one piece of salumi that was perfect in that respect. That includes highly regarded Italian imports. But, overall, I feel like using this method I have more control over drying, the results (flavor and drying) are better and my stress level is very low.
The fennel aroma is bold but without overpowering the porky flavor. Compared to Tuscan salami, this one is enjoyed way more by my family as they prefer the finer fat grind. Personally, I also prefer the finer fat grind of Finocchiona and I really like the addition of fennel aroma.
The acidity at 5.26 is a little higher than I expected but taste-wise the salami had a lovely tang so I was quite happy with the results. The acidity level was on par with the Fuet that I made recently but overall the acidity was less apparent in Finocchiona. Unless there was a mistake in pH measurement (I don't think there was), the only explanation I have is the salt content. I think the higher content of salt in Fuet accentuated the acidic taste.
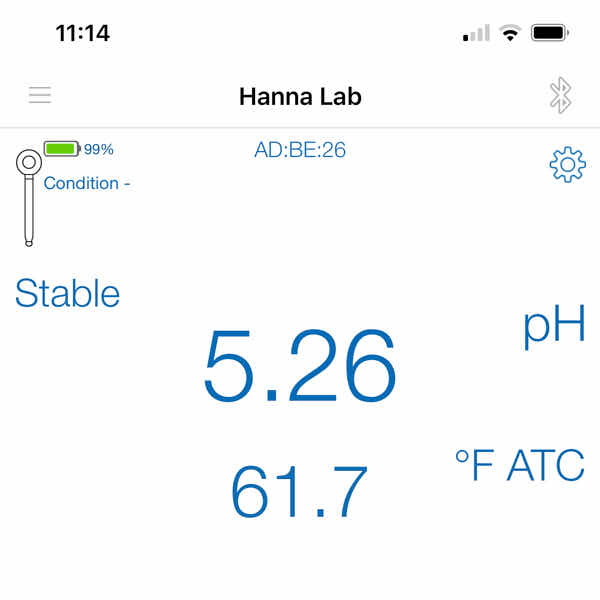
Thinking about it, the thinner salami had less mold so that explains the reason why the pH didn't recover as much as I had expected.
Overall, this salami is a joy to eat. Full of bold flavors, rich porky taste and a wonderful soft texture. I used Berkshire pork to make this salami and I can definitely tell the difference. The richer color and taste are quite apparent. You can't go wrong with heritage pork.
The seasonings are spot on, as is expected with time-tested PDO recipes. This salami reminded me of the reason why I make salami at home - you can't find anything like this at your supermarket. Without a doubt, this recipe is a must-try for any salami maker.
Ingredients
- 750 g lean pork boneless, trimmed shoulder, trimmed ham, lean belly meat, coppa/pork neck
- 250 g pork belly fatty part
- 25.5 g sea salt
- 2.5 g Cure #2
- 2.25 g dextrose
- 0.12 g T-SPX culture
- 60 ml distilled water
- 10 ml red wine good Tuscan red wine
- 0.75 g garlic powder
- 4 g fennel seeds wild fennel seeds or a combination of fennel seeds and fennel pollen are recommended.
- 2 g black pepper coarsely ground
Instructions
- Rehydrate the starter culture in 60 ml distilled water. (see notes)
- Weigh the lean meat and the pork belly in grams. Calculate the rest of the ingredients, except the distilled water which will remain the same (see notes), weigh them out and set aside.
- In a small bowl, combine the salt, Cure #2 and dextrose.
- Cut the lean and the fatty pork into 1-inch pieces. Sprinkle the salt mixture over the meat and mix well. Freeze for 20 minutes.
- Grind through a 3/16″ (4.5mm) grinder plate.
- Combine the ground pork with seasonings, dextrose, and starter culture. Mix well, until sticky.
- Stuff into 70-110 mm natural casings (beef bungs) and tie into 10"-12" links.
- Using a sterilized needle or sausage pricker, prick holes across the entire salami.
- Weigh the salami, write down its weight on a tag and attach the tag to the salami.
- If desired, inoculate with mold.
- Use the leftover meat from the stuffer/stuffing tube to make a small sample for measuring the initial pH and the pH at later stages. Make sure to record the readings.
- Dry at 59F - 77F (15C - 25C) and 65% - 86% RH for a period of 7 days as per the drying protocol above. Measure the pH, it should be below 5.3 at this point.
- Mature in the curing chamber at 55F - 57F (13C - 14C) and 80% - 84% for about 3 months.
Alternative curing method
- Ferment salami at 68F-70F for three days to get the pH below 5.3.
- Cure at the standard 55F-57F and 75% RH until 35% weight loss is obtained.
Notes


O says
Hi
Any chance you could do a post on how you monitor the pH? I'd love to know more about what influences the pH, and how better to control that, and the impacts of varying pH might be.
O
Victor @ Taste of Artisan says
Hi, I will consider it. Meanwhile, check out Feiner's Meat Products Handbook book, it has a ton of useful info, including on pH.
George Lathrop says
Some time ago I recall that you addressed the issue of case hardening when a salami drys too quickly? I am wondering if there is a save. I vaguely recall something like soak or spray with wine. to soften the rind . Is it advisable to prick the salami at that point. as when fresh before the ageing. Any help?? Ideas?
George Lathrop
Victor @ Taste of Artisan says
Did it really dry too quickly or did the rind dry too quickly leaving the center soft and mushy? If it dried too quickly all the way you could just soak it in dry wine for a couple of days to soften it up. If the rind is dry but the center is soft, you could wipe it with a damp cloth and bump up humidity. If the humidity is high enough the sausage will re-absorb it back. Eventually, it should dry the center as well. But better not let that happen. Pricking salami when it's already drying is probably of no benefit. You do that right after stuffing to get rid of air pockets.
PETER says
Hi! Is there a typo? Infuse wine with garlic powder and then remove the powder again?
This sounds a but odd to me! 🙂
Thanks a lot!
Peter
Victor @ Taste of Artisan says
Hi Peter, that was, indeed, a typo, thanks for pointing it out. In this recipe, I specified dried garlic (powder) as per the PDO guidelines, not the infusion. I use the garlic infusion often, I guess my mind wandered off when I was writing down the instructions. Corrected.
Nellie says
looks delicious. Another great recipe. Can't wait to try it.
Justin says
Where did you find the PDO guidelines for finocchiona?
Victor @ Taste of Artisan says
I could swear I bookmarked the website but can't seem to find it. When I do, I will update the post with the link.
Justin says
I did some poking around and came across the consortium that sets the guidelines:
https://www.finocchionaigp.it/il-disciplinare/
Victor @ Taste of Artisan says
This one is a little skimpy on the info but provides good insights. The one that I saw was in a pdf format, with long descriptions of ingredients, processes, temps and more. There isn't one place for these, you kinda want to search until you find the one that has enough info. In that respect, I really like the Saleme Piacentino PDO description. This one is quite outstanding, highly recommend making it.
Louis Rocheleau says
Beautiful Salami! Question - What equipment do you use to ferment and dry your projects? I'm building 2 curing chambers based off of your build post. I was able to get my hands on 2 single soda fridges that I'll be able to make 2 completely separate curing chambers out of. This way I should be able to ferment and dry in one of them while curing other projects in the second chamber. Does this method seem sound to you?
Victor @ Taste of Artisan says
Hi Louis, I am so terribly sorry for the delay with my response. Yes, your approach is perfectly sound and, coincidentally, this is what I am planning as well. I grew tired of make-shift fermentation boxes/places so having a second curing fridge that can be used for fermentation and curing/maturing when not in use is the perfect way to go. Lately, if you look through my most recent salumi recipes, I've been using a bar fridge for fermentation when my curing fridge is occupied. I sort was able to make it work but it was painful. I am not quite ready for a new fridge yet but hope to get one in a month or two. Definitely a fantastic idea.
Thomasine Ethelred Bar says
Un buen blog! Voy a marcar unos pocos de estos .. Thomasine Ethelred Bar
Xavier says
Hola y gracias por este blog es una verdadera inspiración ..
Tsvetomir Tsonev says
What type of meat grinder is used? The texture look great.
Victor @ Taste of Artisan says
It does, doesn't it? I noticed that too. I use a #8 LEM grinder using their Salvinox Stainless Steel knives and plates.