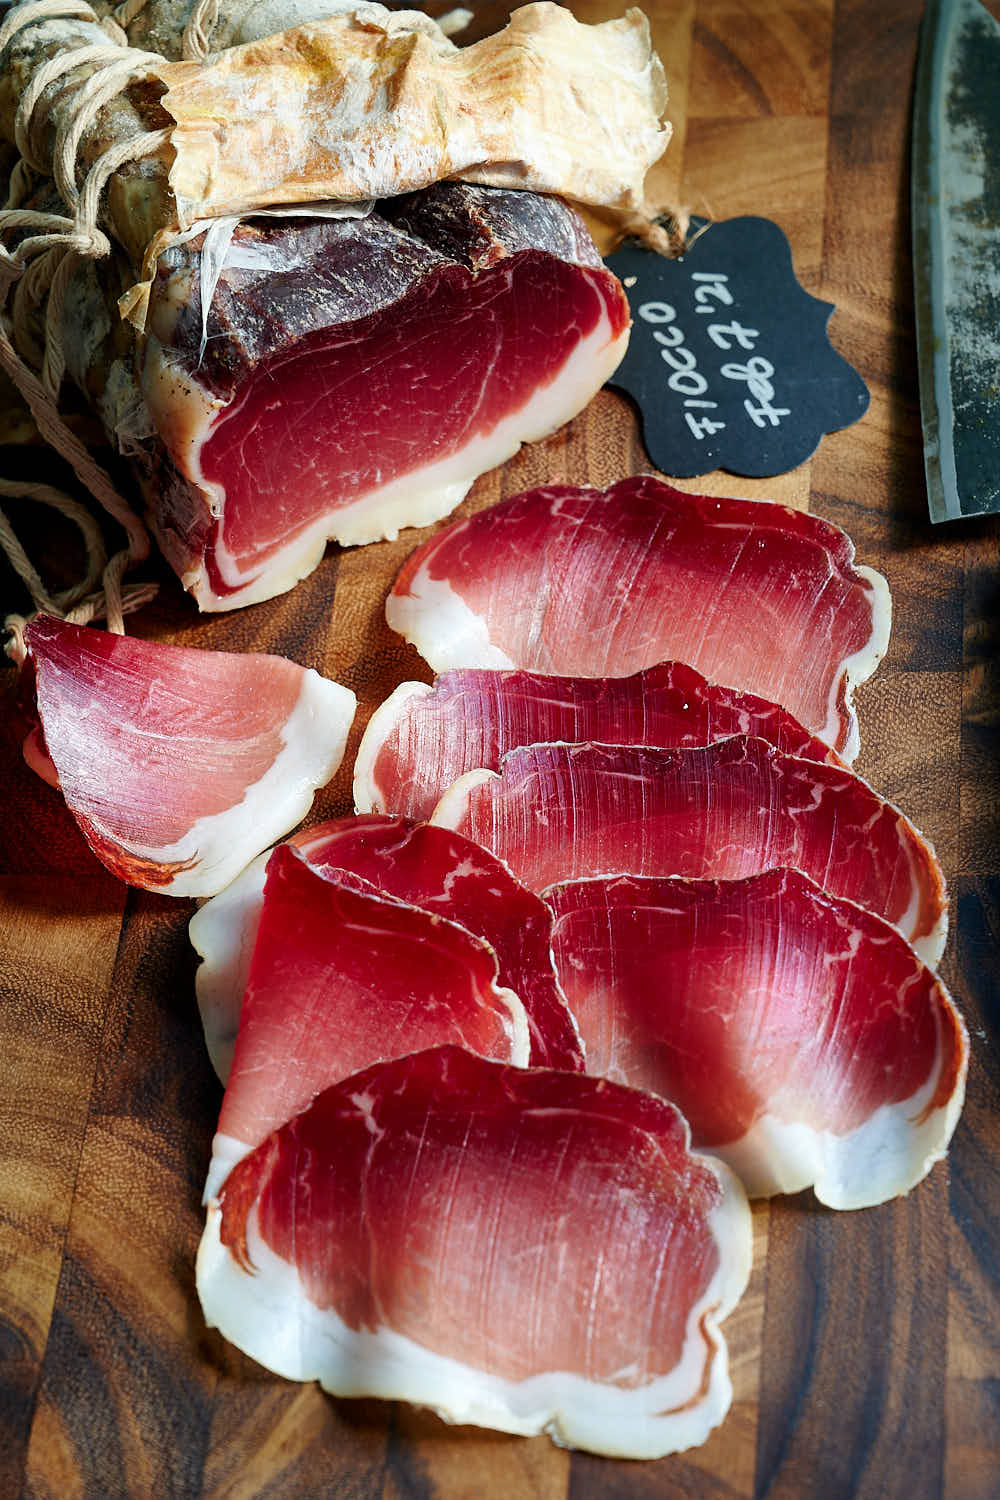
Fiocco, also known as Fiocchetto or Fiocco di Culatello, is the smallest and most muscular part of the pig's leg/ham. Fiocco is the little brother of the more famous Culatello, traditionally made from pigs born and raised in Central-Northern Italy.
The processing
Once the leg has been deboned and the Culatello part removed, what remains is the fiocco. Fiocco muscle is then trimmed to give it its characteristic rounded shape.
Here is a good video that shows how the leg is deboned and the Culatello and Fiocco pieces are prepared. I used it as a guide and it helped me a lot.
In a way, it's similar to preparing meat for making Speck.
Curing and drying
Once the meat is trimmed, it's tied and salt-cured for 14 days, followed by stuffing it into a pig bladder and tying it with natural twine. I used a beef bung instead as it's more readily available.
After the curing, fiocco typically undergoes a week of drying, during which the meat releases a lot of water. After that, Fiocco is ready for maturing. Compared to Culatello, Fiocco is leaner salumi, which requires a shorter maturation time. While Culatello di Zibello requires 10-14 months of maturing time, seven or eight months are sufficient for Fiocco. Maturing can take place in natural conditions, such as in the ancient cellars of the Lower Parma area, or in special environments, like a curing fridge, with controlled temperature and humidity.
How to cut and consume fiocco
I've come across some very interesting information on how to prepare fiocco for consumption. This also applies to culatello. No, you don't just remove the casing and the twine, and then slice it. No. You first remove the twine and wash the fiocco under cold running water to remove mold, then let it dry. Once dried, the meat needs to be softened. To soften it, you would soak it for two to three days in dry white or red wine.
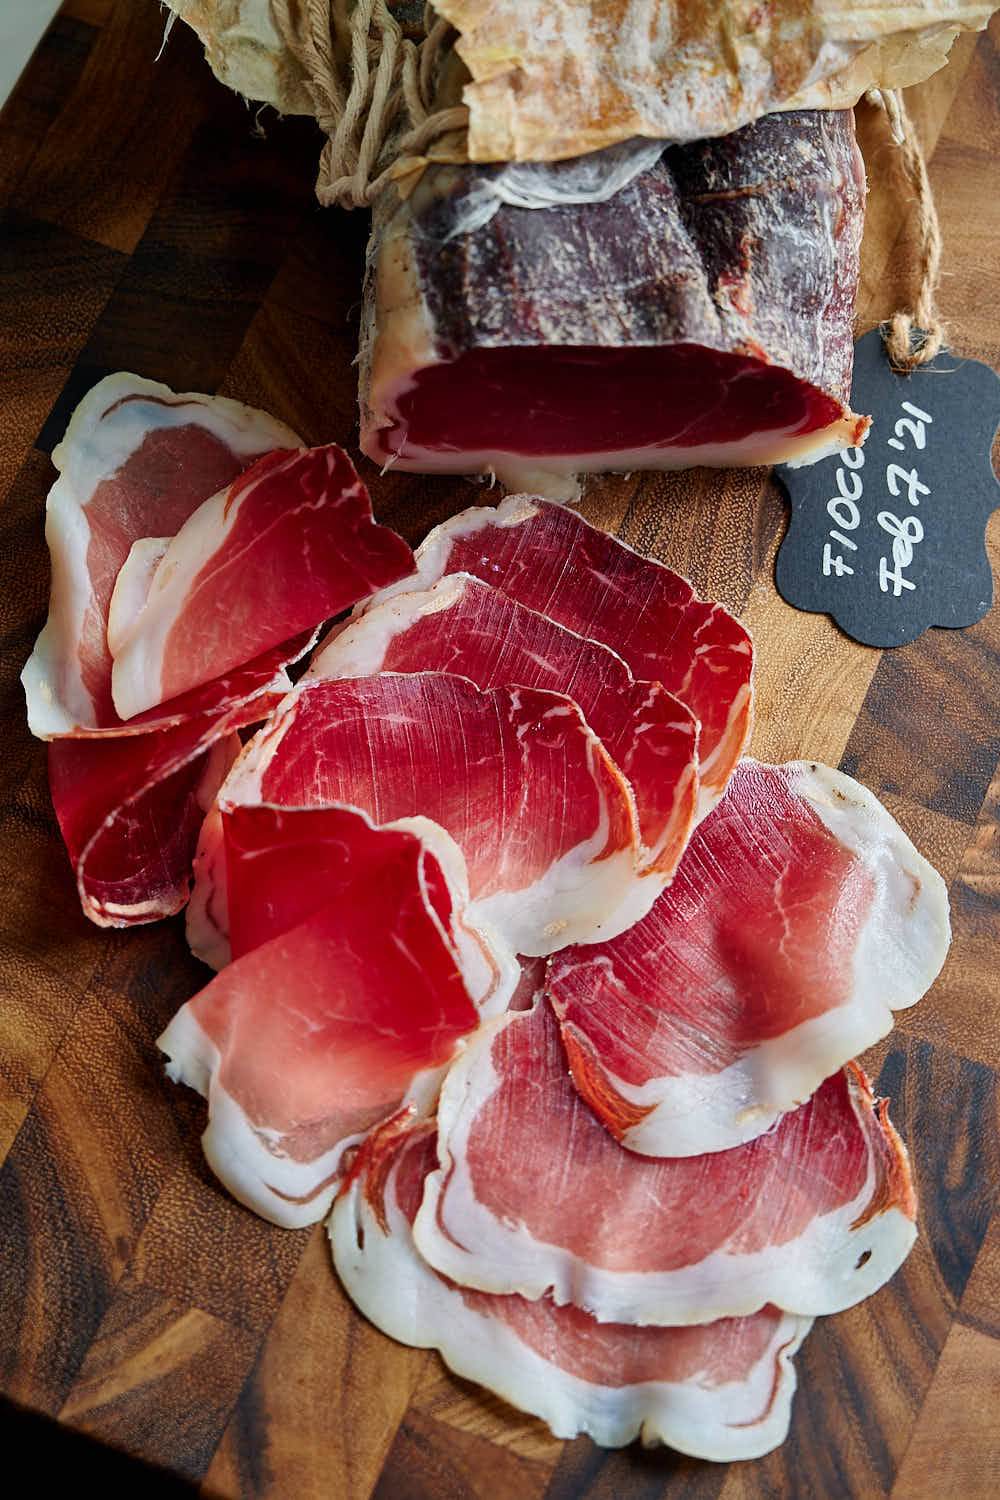
Only then you can proceed with the cutting. First, remove the casing from the part you want to consume. Then slice it very thinly. It's highly recommended to use a slicer.
Personally, I simply removed the twine and the casing and sliced right away. I am curious to try though.
When cut, the meat has a ruby red color, with minimal fat. The aroma is characteristic of that of Culatello, with intense pork flavor and hints of musk.
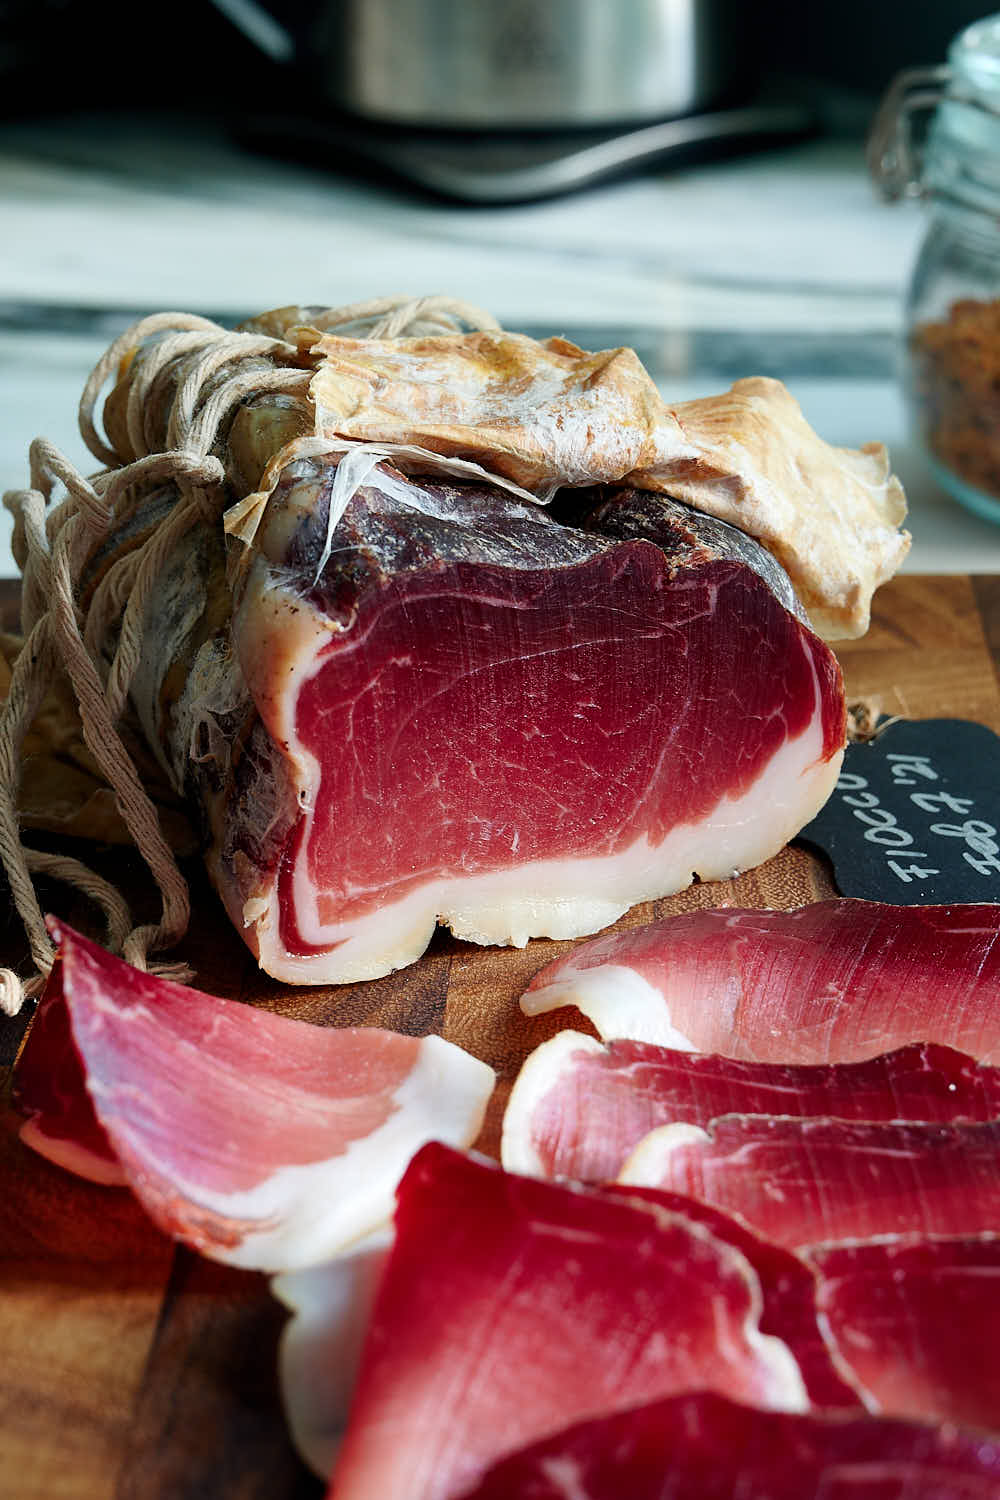
If Fiocco is very lean with no fat, it can feel a little dry on the palate. If so, accompany it with a few curls of butter.
How to store fiocco (an interesting old-fashioned way)
Spread a drizzle of olive oil and butter on the cut part of fiocco. After that, wrap the meat with a linen cloth. Avoid storing it in the refrigerator; instead, choose a cool, dry place, away from light. Like the curing chamber.
Tasting notes
My very first fiocco and it's a huge success! Some say that culatello and fiocco are better versions of prosciutto. I agree. While I love Prosciutto di Parma, I feel like fiocco and culatello are noticeably more flavorful and have a better texture. This fiocco matured for a little over 4 months, 3-4 months short of the recommended 7-8 months. I couldn't wait any longer. Still, the rich, intense porky flavor is already off the charts. It's more pronounced than in lonzino or even capicola. I love it. The rich burgundy color is a pleasure to look at. I think this is one of the very best salumi that you can make at home. In hindsight, it's fairly easy to make and the results are quite impressive.
Ingredients
- 1000 g pork leg fiocco part
- 27.5 g Salt 2.75%; medium grain sea or kosher
- 2.5 g Cure #2 0.25%
- 1 g black pepper 0.1%
Instructions
- Debone and trim the ham into a uniform shape as shown in the instruction video in the post above.
- Weigh the meat in grams. Calculate how much of each ingredient you will need. If the meat weighs 1,650 grams, you will need 27.5 x 1.65 = 45.4 grams of salt, etc.
- Tie the meat with butchers twine as shown in the picture to give it a nice, rounded shape.
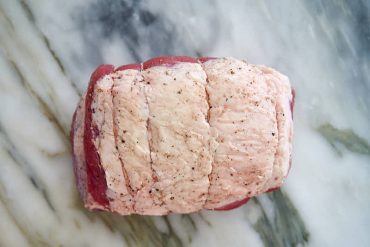
- Mix the salt, Cure #2, and black pepper together and apply evenly to the meat. Vacuum seal. Alternatively, you can place the meat and all the extra salt and pepper in a Ziploc bag and expel as much air as possible.
- Refrigerate for 14 days flipping the bag daily or so.
- After 2 weeks in the fridge, remove the meat from the bag, scrape the surface with the dull side of a knife.
- Insert the meat into a beef bung or a similar large natural casing, tie on both ends, prickle small holes all over with a sterilized needle, and truss with butchers twine.
- Weigh the meat and write it down on a tag. Add the date and attach the tag to the meat.
- Hang and dry in the curing chamber for about 7 days as per the schedule below in the note section.
- Mature in the curing chamber at 55F - 57F (13C - 14C) and 76% - 80% Rh for 7-8 months.
- When the meat is ready, remove the twine and the casing, slice paper-thin and enjoy. If the meat is too dry, soak in wine as per the notes in the post above.
Notes
| Stage | Duration | Temp | RH |
|---|---|---|---|
| Fermentation | 10 hours | 75F (24C) | < 99 % |
| Drying | 15 hours | 72F (22C) | 75-85 % |
| Drying | 24 hours | 66F (19C) | 68-78 % |
| Drying | 24 hours | 64F (18C) | 65-75 % |
| Drying | 24 hours | 62F (17C) | 68-78 % |
| Drying | 24 hours | 60F (16C) | 72-82 % |
| Drying | 24 hours | 59F (15C) | 75-85 % |


Alvar says
Hi Victor,
For sure that it looks (and it should taste) fantastic.
Congratulations
Victor @ Taste of Artisan says
Hey Alvar, good to hear from you. We all liked it a lot, will be making more for sure.