Making hard cider can be as simple as leaving a gallon of apple juice sitting at room temperature for a week or two, and you can get a pretty darn good cider if the stars align. The challenge is making great cider consistently. If you do it right, your cider will taste great, be perfectly carbonated, and have the desired ABV (alcohol by volume) and residual sugar levels. It will also have a long shelf life.
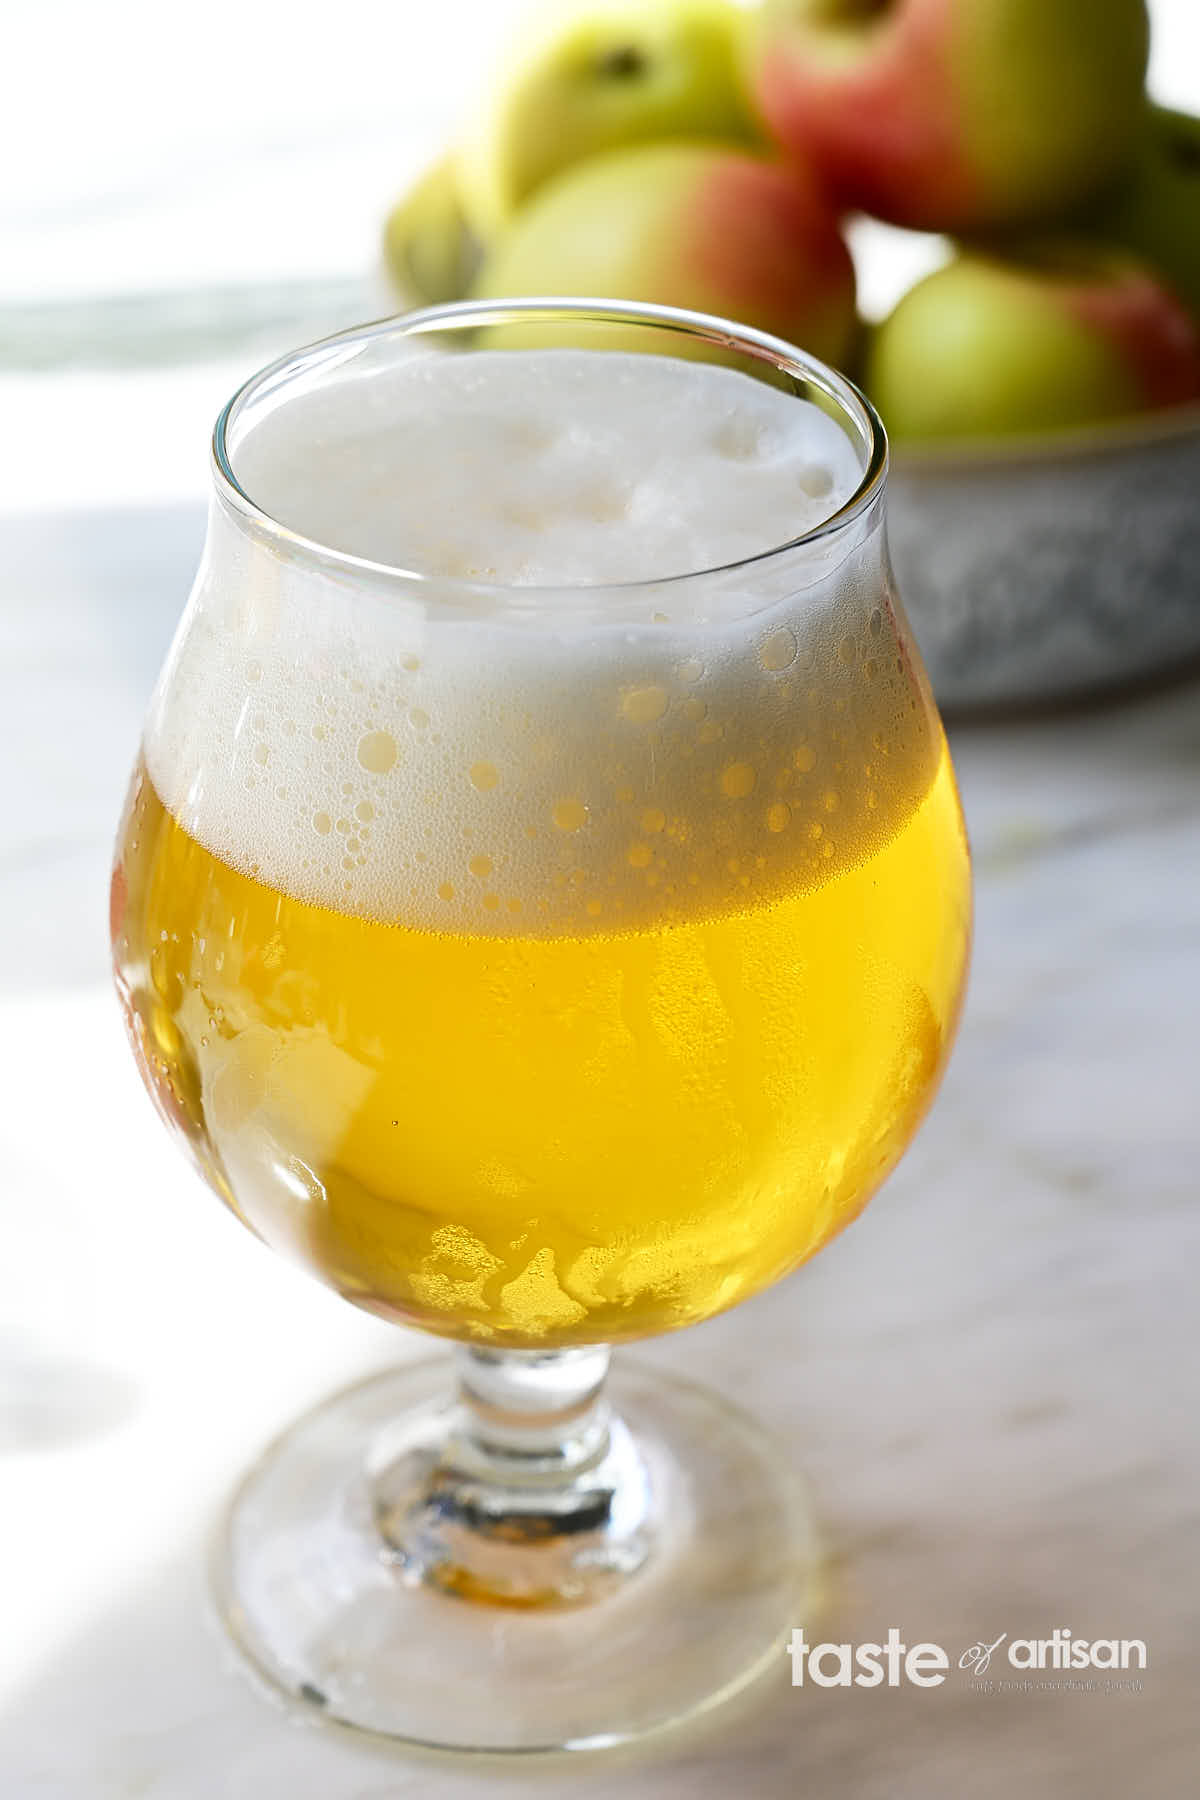
Making hard apple cider
There are many ways to make hard cider. The process, the tools, and the ingredients that turn raw apple juice into a refreshing cider can vary a lot. Some are super simple and some are very intricate, and come with their own pros and cons. I prefer making hard apple cider in kegs which is very easy to do and consistently yields excellent results for me.
The equipment
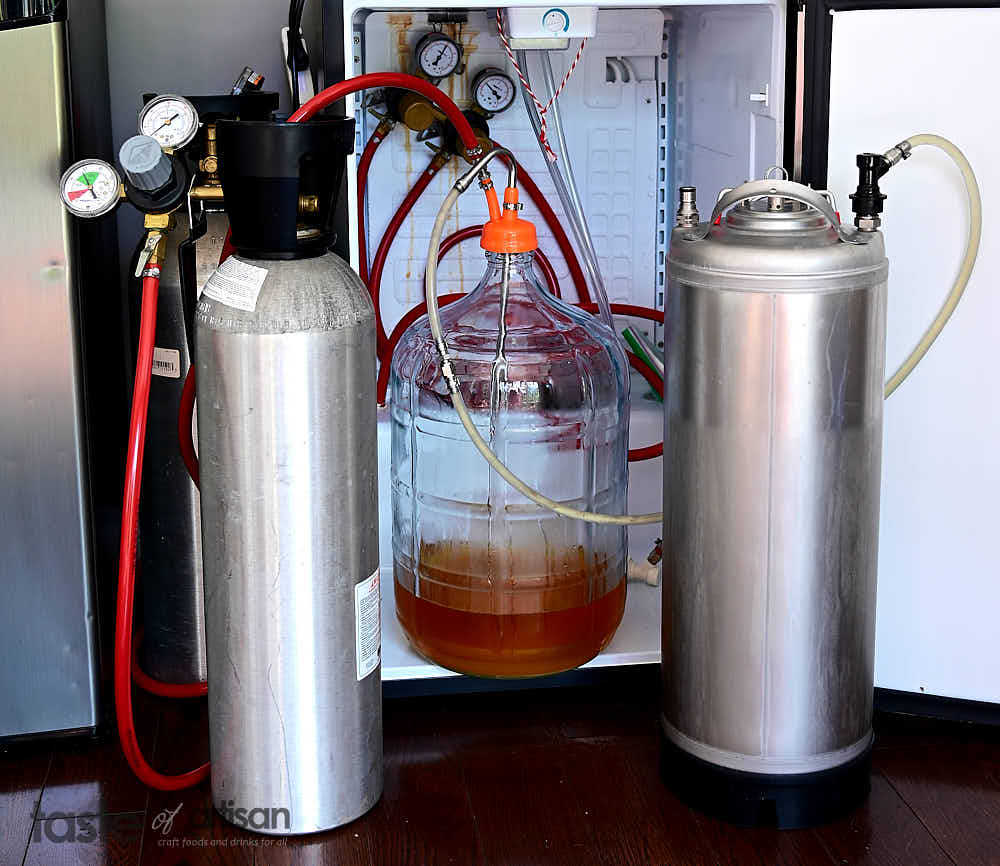
You will need a 5-gallon fermentation carboy, ideally two. One for primary fermentation and one for secondary. You can skip the secondary and go from primary to the keg though. You will also need a DIY kegerator or a store-bought kegerator, or a regular fridge, with one 5-gallon corny keg. These are the biggest pieces.
The smaller pieces will include various auxiliary tools like a funnel, siphon, additional tubing, etc.
The apple juice
I now use filtered bottled apple juice to make hard cider. For me, it's a LOT easier to make great-tasting cider with. Unfiltered freshly-pressed sweet cider was one of the biggest challenges for me that I could not solve. No matter what I tried, after many batches, I'd always end up with a slightly cloudy cider that had a yeasty flavor that I couldn't get over. If you know of a fool-proof way of getting rid of yeasty flavor, leave me a comment.
Any juice without chemical additives such as potassium sorbate will do. Potassium sorbate is sometimes added to apple juice to prolong its shelf life by stopping the growth of mold, yeast, and fungi. If you use apple juice with potassium sorbate, you will have a hard time getting fermentation going.
I've made excellent hard cider from Costco apple juice that cost me about $25 for 5 gallons and I've tasted ciders made from carefully selected apple juice blends by craft breweries that were quite bad, to be honest. One reason for that is that at the end of the day, homemade hard cider is made of apple juice, sugar, and yeast. Most commercial ciders include sulfites to preserve freshness, and/or potassium sorbate to prevent any further yeast activity. Those additives and stabilizers impart off-flavors.
Carbonation
I force-carbonate my cider in the kegerator so I don't need to worry about adding priming sugar, cider-bombs, getting the right final gravity, yeast sediment, etc. Things are just so much easier when kegging hard cider.
The yeast
I spent countless hours researching the subject when I started my adventure into hard cider making. One cool resource I stumbled upon was Results from juice, yeast and sugar experiments. It's a good read but don't get too hung up on all the details. There is just too much information there. I'll make it easy for you - use Safale S-04 ale yeast. I've tried many kinds of yeast strains recommended there and other ones, but this one has been consistently better than others. It's also readily available at most homebrew supply stores.
Cider sweetness and alcohol level
The sugars in the apple juice will be converted to alcohol during fermentation. What sugars that won't be converted to alcohol will add sweetness to the hard cider. How much alcohol and how much sweetness do you want in your hard cider? This is a very important question to answer before you start making your cider. Go to your local beer store and get a can of your favorite cider. Note the alcohol percentage. I like my cider with about 5.75% - 6.00% alcohol level.
Specific gravity
Once you know what kind of hard cider you want to make and you know the alcohol level, the next step is to figure out the residual sugar level. No doubt, you can just wing it and get good results but if you take a slightly more scientific approach, your results will be more precise and highly repeatable.
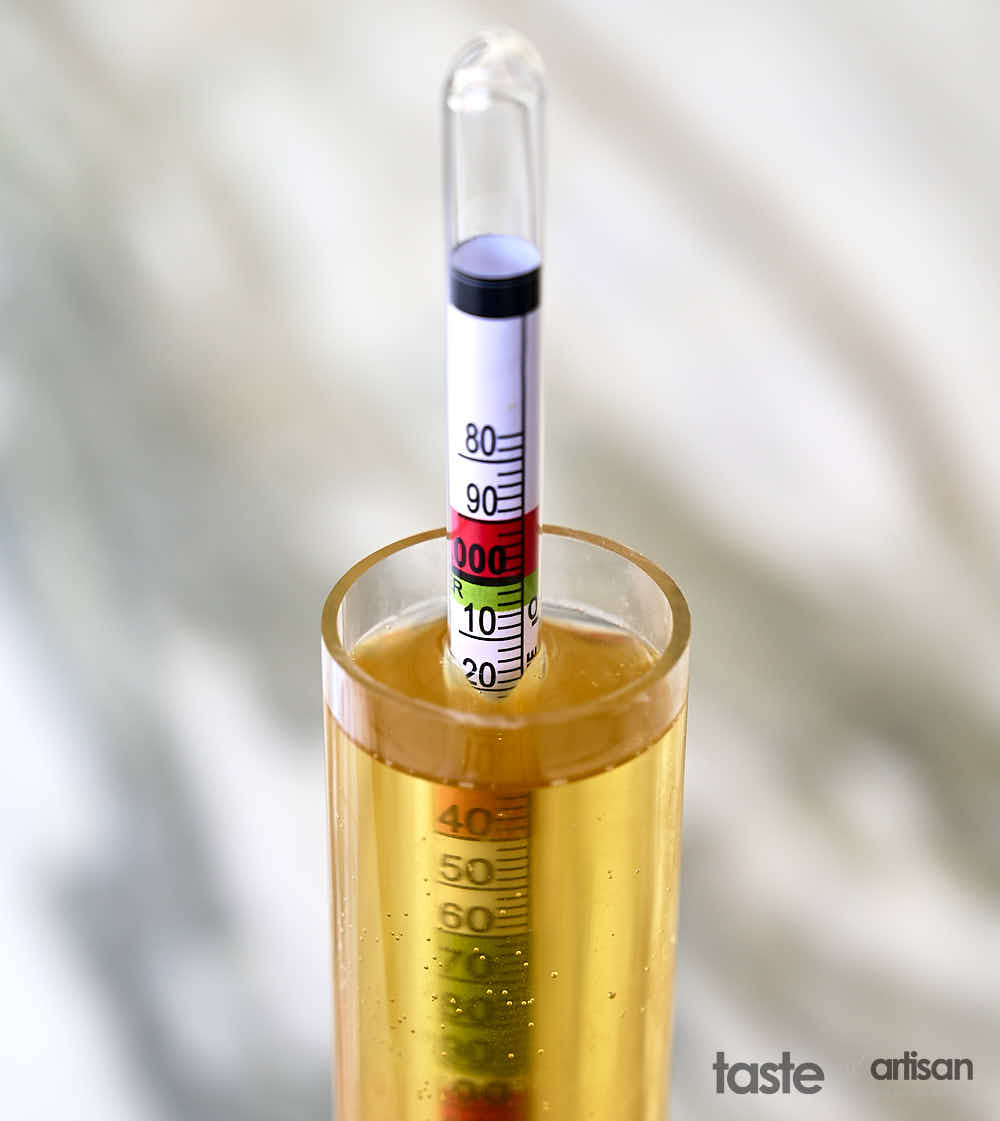
Pour your favorite cider into a glass and let it sit overnight, let it go flat. The next day, check its specific gravity with a hydrometer. Specific gravity is the ratio of the density of a liquid to the density of water. This will be the target gravity for your homemade hard cider, or Final Gravity (FG).
The sweeter the cider the higher the specific gravity is. I like the FG of about 1.016. This will be similar to Growers Granny Smith cider. You can see a quite comprehensive list of various commercial ciders and their sweetness here.
Alcohol by Volume level (ABV)
Once you know the FG and the target alcohol content, you can figure out the required Starting Gravity (SG).
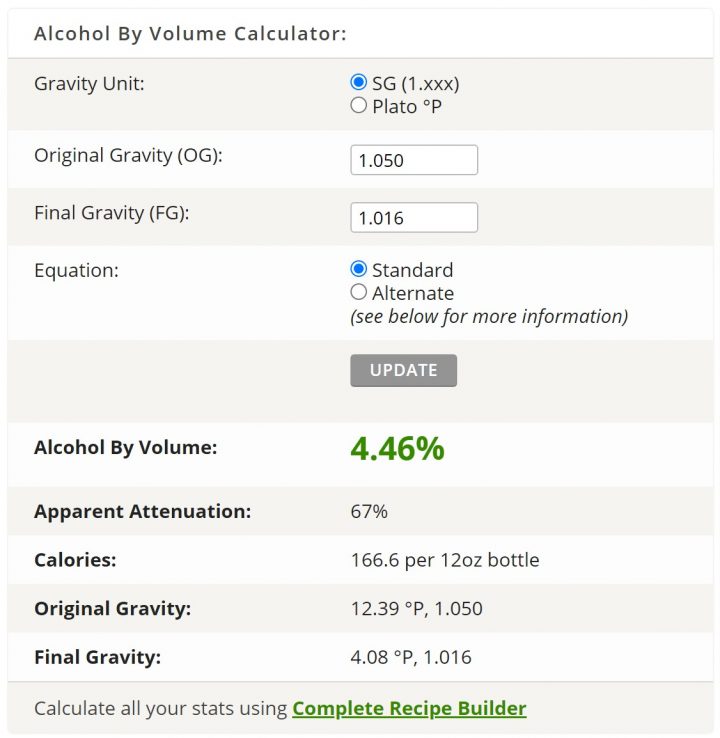
SG of apple juice is usually about 1.05. If SG is left unchanged, the ABV will be 4.46% according to the online ABV calculator. As is, this will make a very good, easily drinkable cider with a mild and pleasant sweetness.
Adding sugar
Let's say that you want your hard cider stronger and to have an ABV of roughly 5.75%, as I do. The calculator tells you that you will need to start with the SG of 1.06. That means that you need to add sugar.
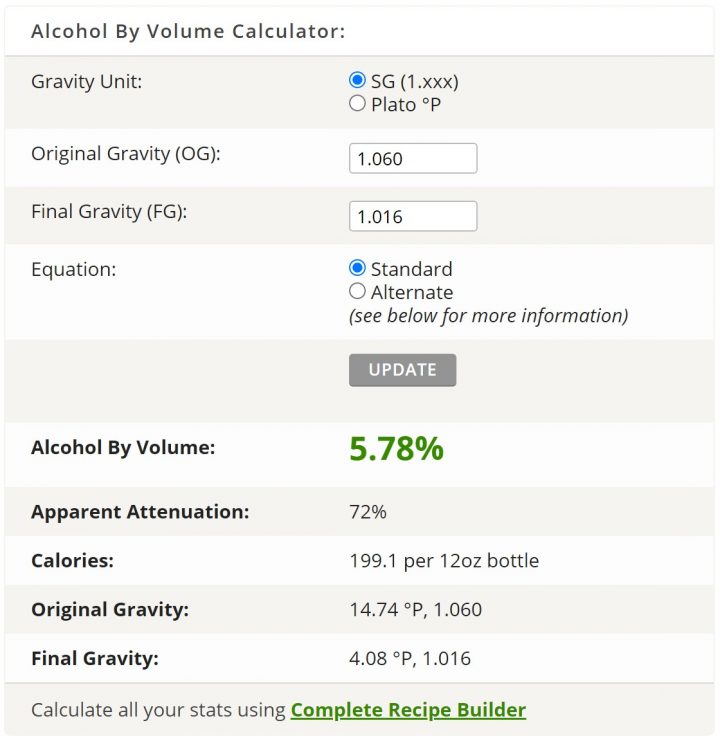
To bump up the SG from 1.05 to 1.06 you will need to add about 18 ounces of sugar. I use 100% turbinado sugar but many have had great results with 3/4 turbinado and 1/4 dextrose. Great Fermentations has a nice table that shows how much sugar is required to bump specific gravity by a certain level.
Hard cider-making process
Once you have the equipment, the ingredients (juice, sugar, and yeast), and have figured out the target SG, FG, and ABV, the rest is really simple.
Step #1 - Mix the ingredients
Pour 1/3 of the juice into a clean, sanitized carboy. Add the sugar and the dry yeast, and shake the carboy until the sugar is dissolved. Add the rest of the juice and check the specific gravity. Adjust if needed.
Step #2 - Oxygenation and purging air
To ensure proper fermentation it's critical to oxygenate the juice. You can accomplish this by shaking the carboy for a few minutes or giving the juice a 30-second blast of oxygen.
Once that's done, you want to remove any air from the carboy to prevent oxidation. This is done by blowing some CO2 into the carboy. CO2 is heavier than air and will quickly push it out.
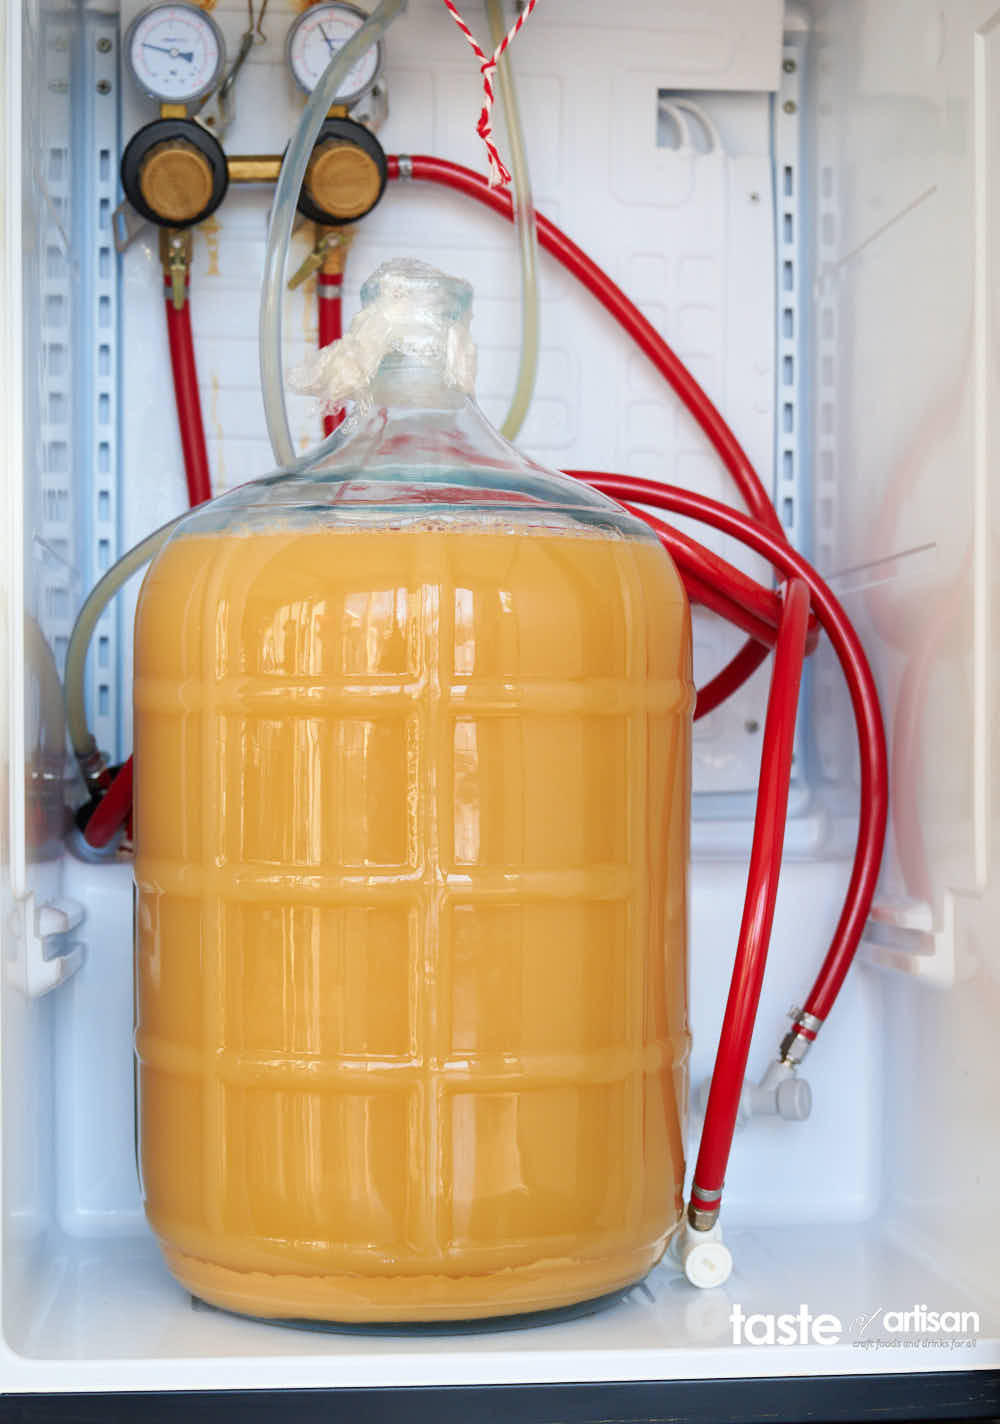
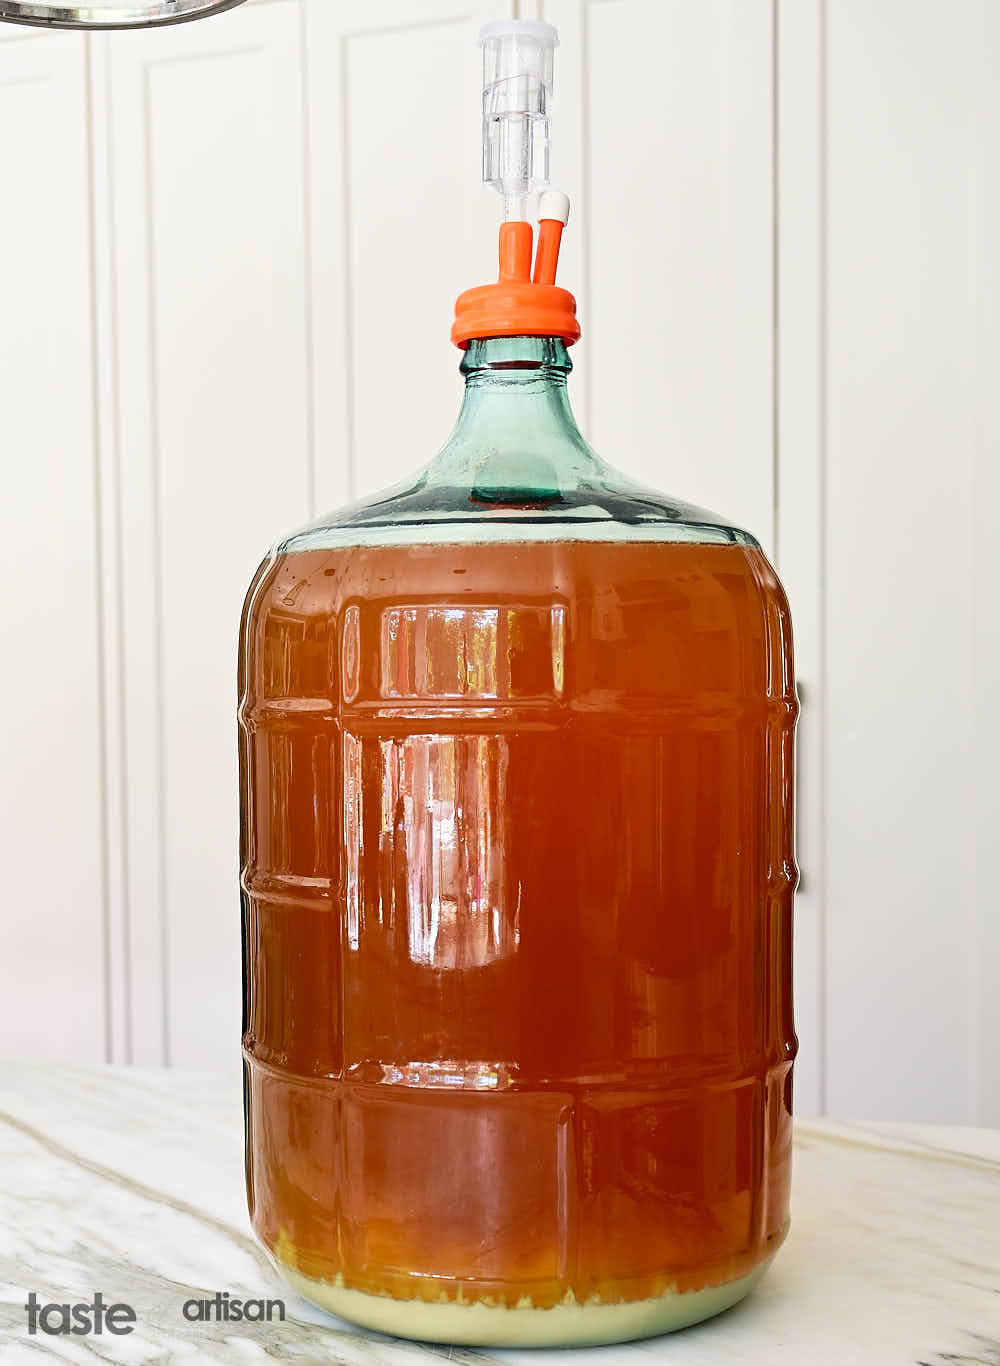
Step #3 - Fermentation
Quickly close the carboy with a cap fitted with an airlock. Fill the airlock with plain vodka or distilled water and let the cider ferment at 68F for 4-5 days.
Starting on day 4, start periodically checking specific gravity using a hydrometer.
Step #4 - Cold Crashing
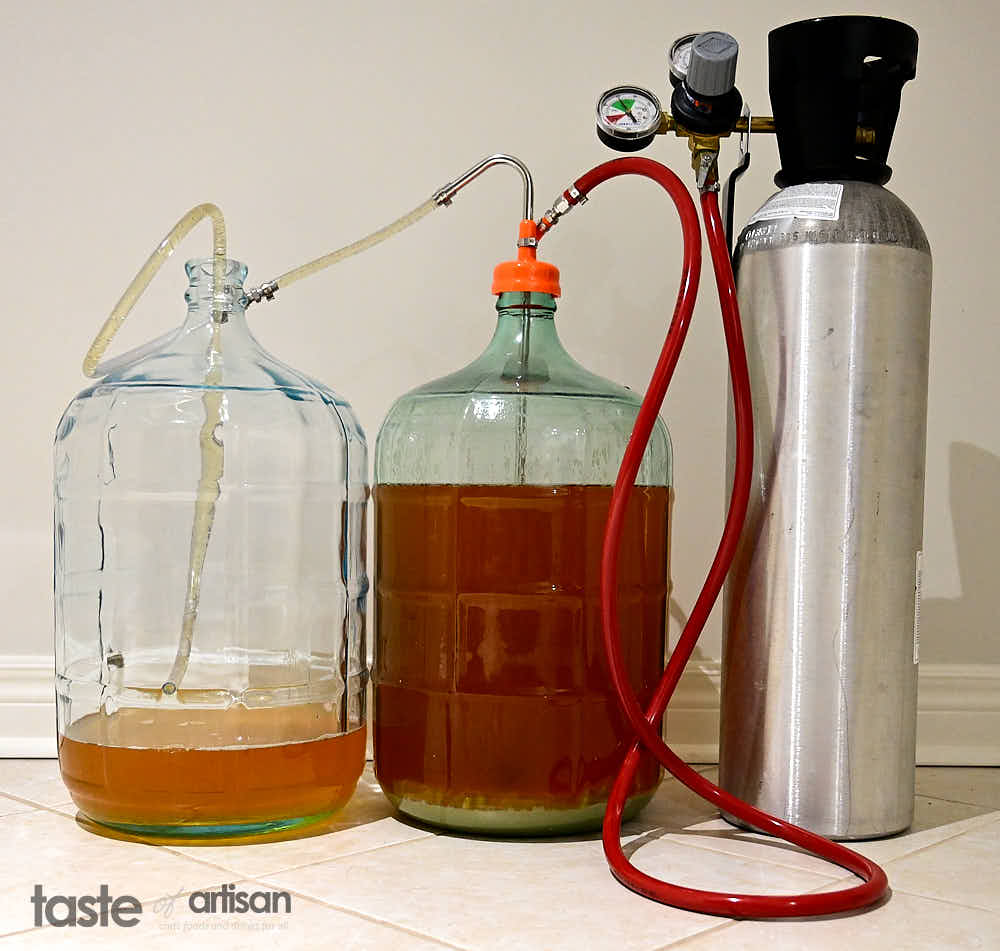
Once the FG target is achieved, in my case 1.016, transfer the cider to another clean, sanitized carboy. Purge the air out with CO2 gas, replace the original cap, and put the cider in the fridge at 34F - 38F.
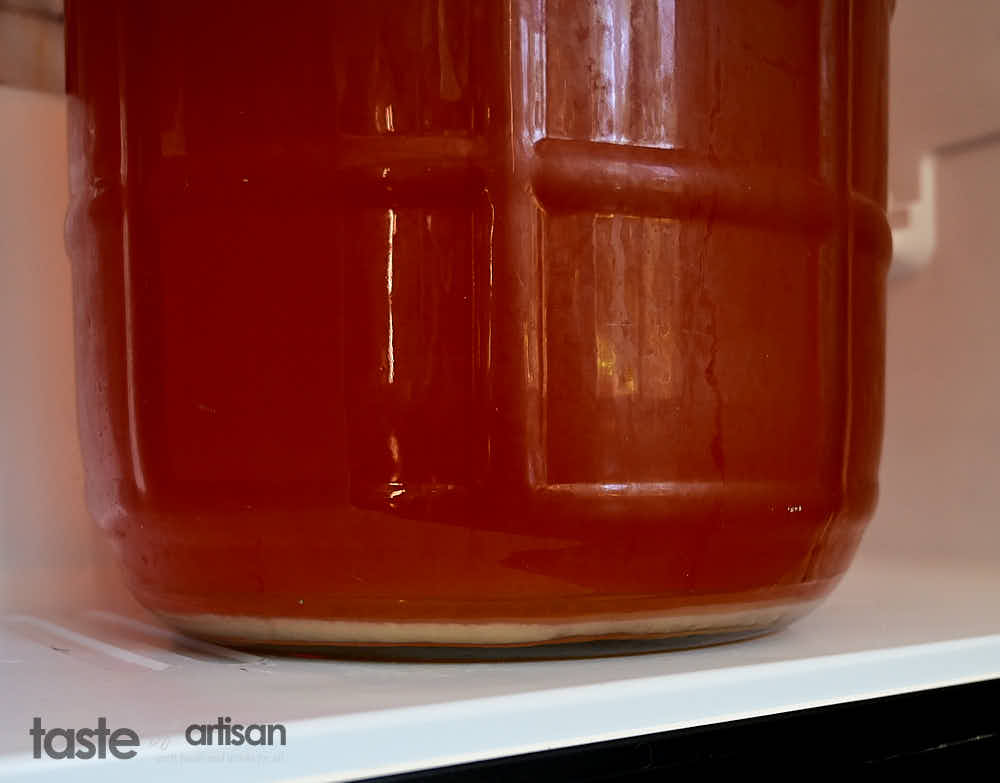
After 24 hours in the fridge, the cider will become clearer and more yeast will drop down to the bottom.
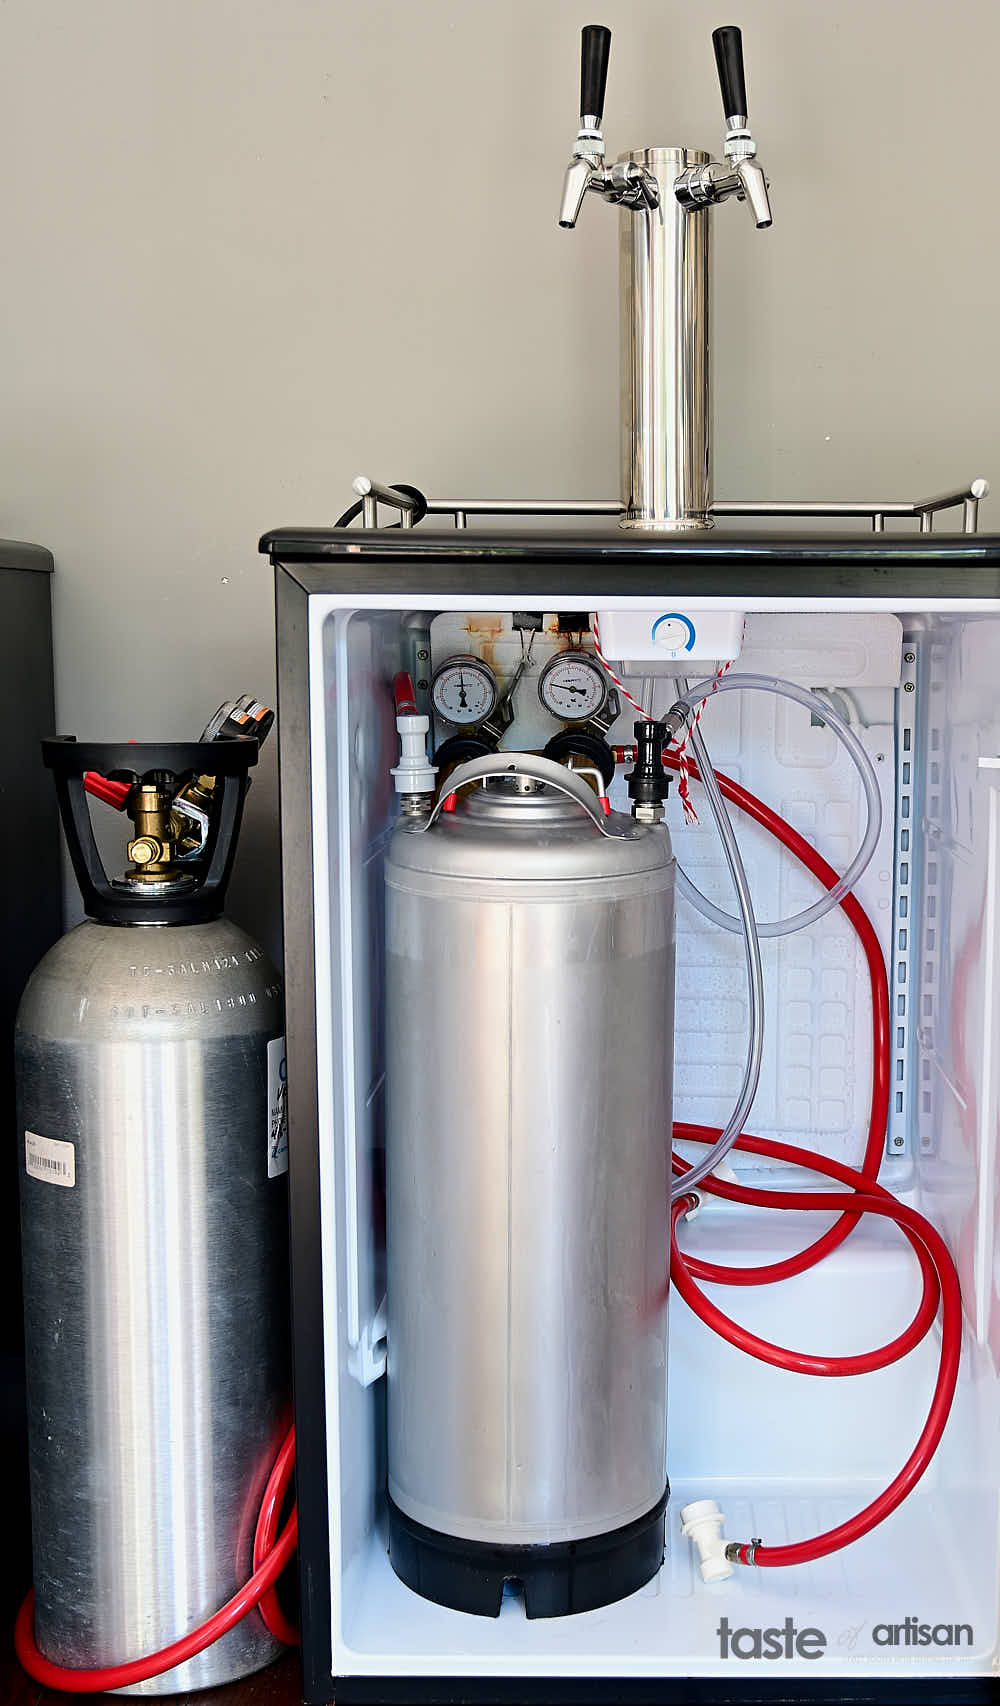
Step #5 - Kegging
Transfer the cider to a sanitized keg, and purge the air if doing open-air transfer.
Set the CO2 regulator to 30 PSI and let the cider chill in the kegerator and carbonate for 24 hours.
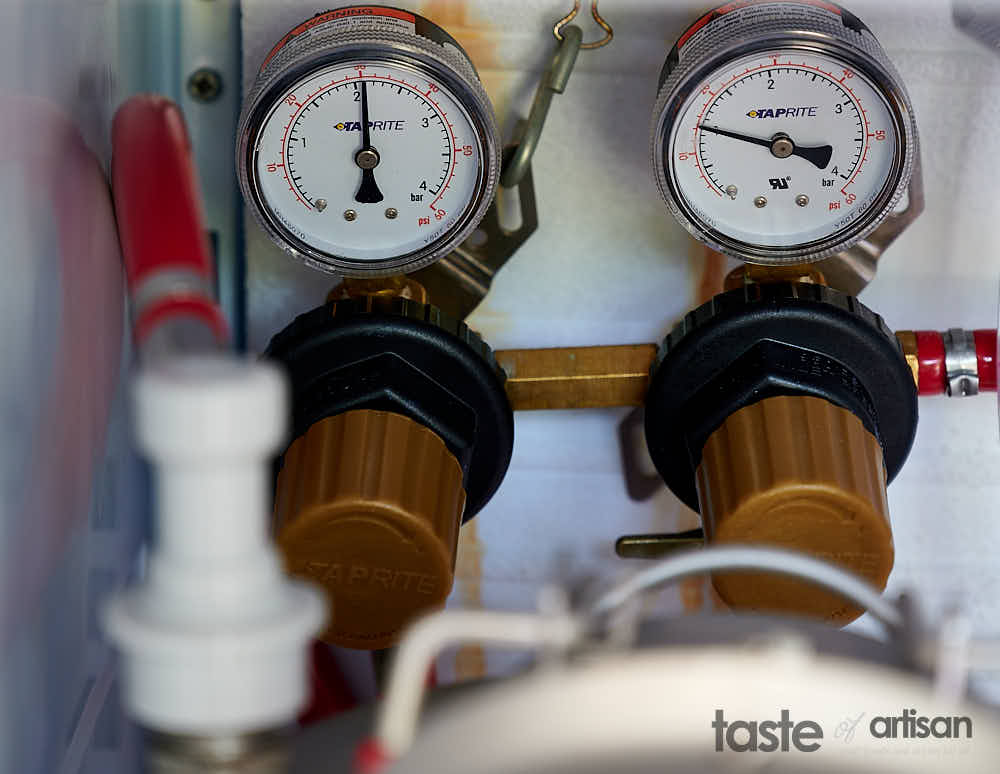
After 24 hours, purge the CO2 out and set the pressure in the keg to 12 PSI (or higher if you like your hard cider more carbonated).
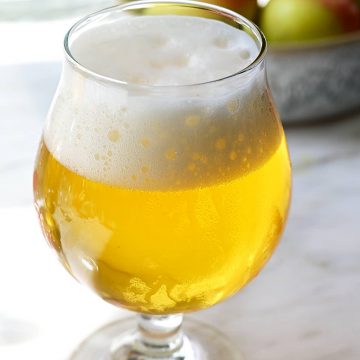
And that's all there is to it, your cider is now ready for consumption. Though, you will notice that it will be getting better and better over the following few months.
How to Make Hard Apple Cider
Ingredients
- 5 gallons apple juice
- 18 oz turbinado sugar
- 1 pack Safale S-04 ale yeast
Instructions
- Bring the juice to room temperature if needed. Pour 1/3 of the juice into a sanitized carboy. Add the sugar and shake well to dissolve. Add the remaining juice. Check specific gravity to make sure it reads 1.06 or whatever SG you are targetting. If not, adjust.
- Next, oxygenate the juice. Close and shake the carboy for a few minutes or give it a 30-second blast of oxygen.
- Next, remove any air from the carboy's headspace to prevent oxidation by blowing some CO2 into the carboy.
- Quickly close the carboy with a cap fitted with an airlock. Fill the airlock with plain vodka or distilled water and let the cider ferment at 68F for 4-5 days.
- Starting on day 4, start periodically checking specific gravity using a hydrometer.
- Once the FG of 0.016 (or whatever your target) is achieved, transfer the cider to another sanitized carboy. Purge the headspace air out with CO2 gas, close with a cap with an airlock (using the original one is fine), and put the cider in the fridge a 34F - 38F for 24 hours.
- After 24 hours in the fridge, the cider will become very clear and most of the yeast will drop to the bottom.
- Transfer the cider to a keg, and purge the air if doing open-air transfer.
- Set the CO2 regulator to 30 PSI and let the cider chill in the kegerator and carbonate for 24 hours.
- After 24 hours, purge the CO2 out and set the pressure in the keg to 12 PSI (or higher if you like your hard cider more carbonated). The cider is now ready for consumption but will improve its taste as it ages.

Leave a Reply