Canning is one of the best ways to preserve peppers - you don't need to load them with vinegar and you don't need to use precious refrigerator space. Canned peppers can be made plain with just a bit of salt added or fully seasoned. The instructions on canning in this guide apply to sweet and hot peppers, including chiles, banana peppers, pimento peppers, chipotle peppers, and others.
Safety
The current recommendation from USDA is that pressure canning is the only recommended method for canning peppers. This applies to fresh, non-pickled peppers. The bacterium Clostridium botulinum is destroyed in low-acid foods when they are processed at the correct time and pressure in pressure canners. Using boiling water canners for peppers poses a real risk of botulism poisoning.
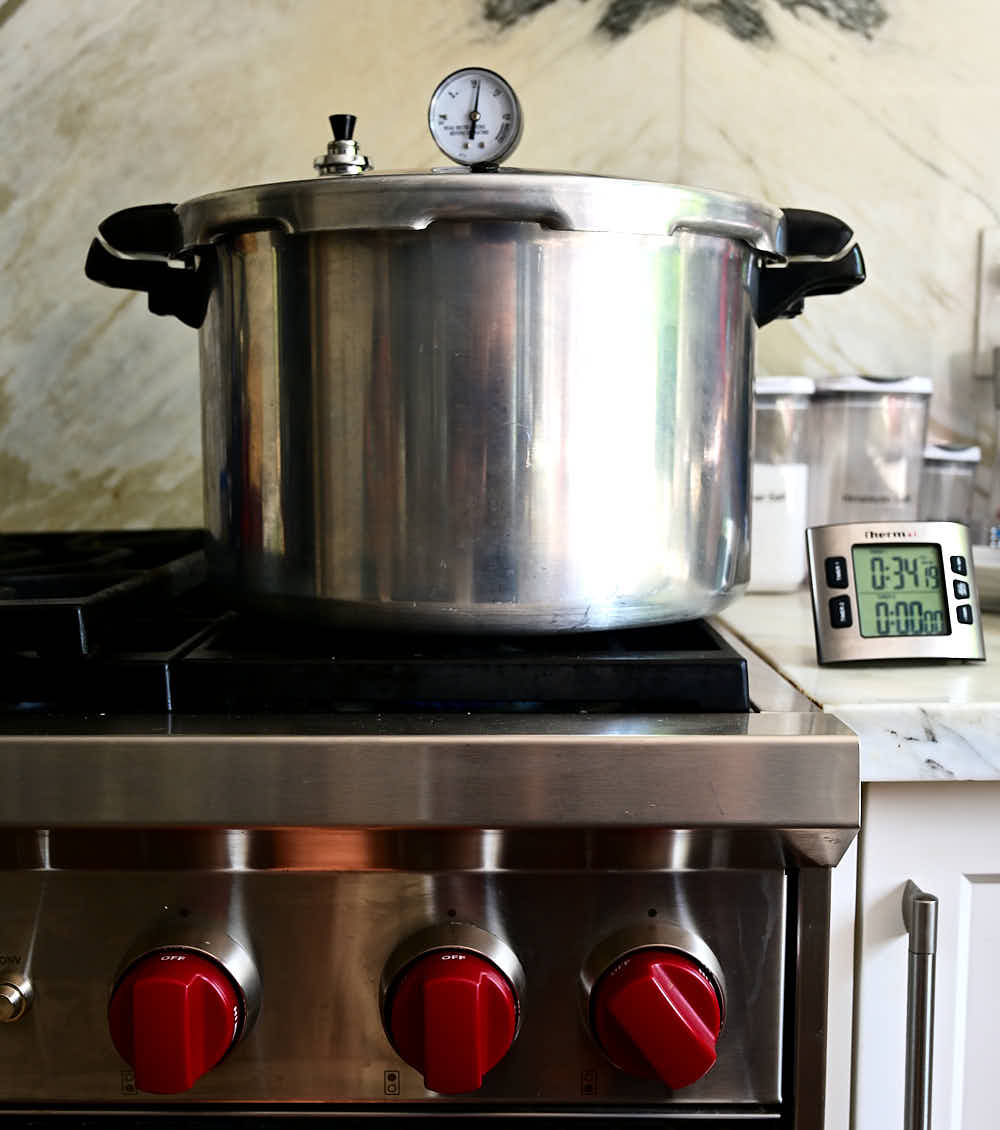
Equipment for canning peppers
Similar to canning pickles, to can peppers, you will need a dial-gauge or a weighted-gauge pressure canner. Presto and All American are the leading brands that make very good quality pressure canners. I own a 16qt Presto and 41.5qt All American pressure canners and like them a lot. Do not use your Instant Pot for pressure canning! Instant Pot pressure canners are not rated for canning food, at least not at the time of this writing.
You will also need clean half-pint or pint canning jars with lids. Since peppers will be processed in a pressure canner, the jars don't need to be sterilized.
Finally, it's a good idea to use a kitchen timer to alert you when processing is done.
Picking the right peppers
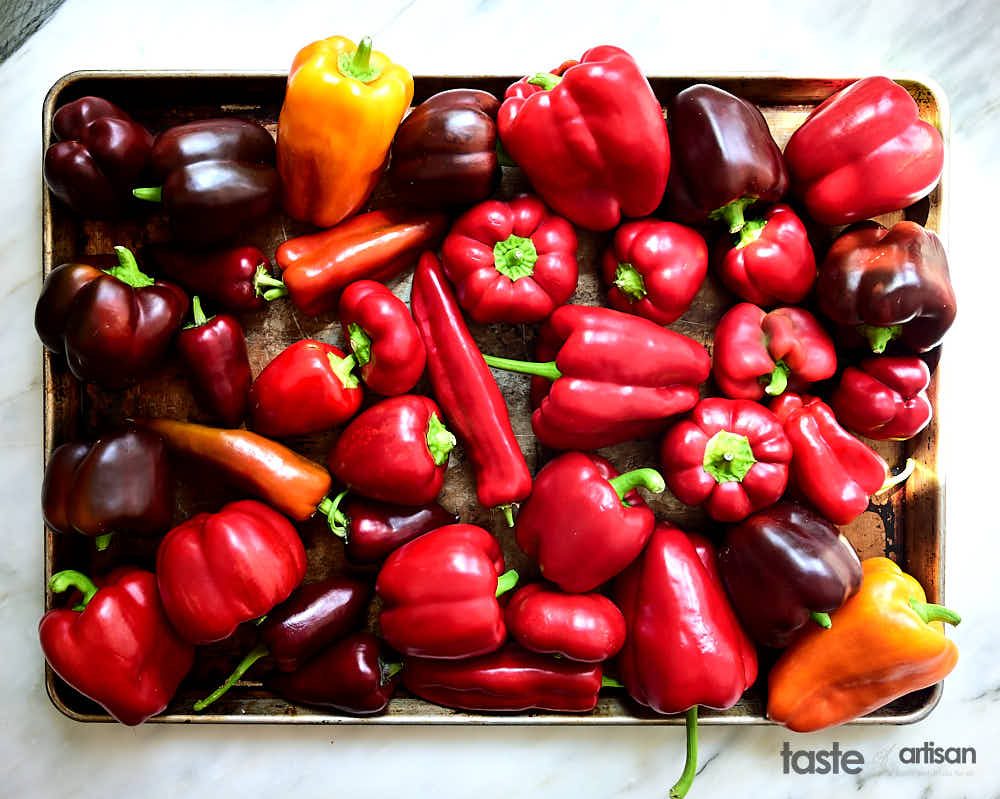
You may be tempted to use all your peppers, no matter how they look. That can present a problem. Instead, always select firm peppers without any discoloration, softness, or disease.
Application of this canning method
The method described here applies to canning bell peppers as well as canning hot peppers, banana peppers, jalapeno peppers, and any other peppers you may decide to can.
Preparing peppers for canning
Before canning, peppers need to be cored, seeded, and peeled. There are two ways to do it:
- Blister or blanche the peppers, cool them, then peel, core and seed.
- Cut, core, and seed, then blister or blanche in boiling water, then peel.
There is no significant difference between the two methods, pick the one that works best for you.
If you decide to go with the blistering method, you have two options:
- Range-top method - cover hot burner, either gas or electric, with heavy-duty wire mesh. Place peppers on the burner for several minutes until skins blister.
- Oven or broiler method- place peppers in a hot oven (400°F) or broiler for 6-8 minutes until skins blister.
You can blister/blanche peppers whole or halved/quartered. You may also slash two to four slits in each pepper before blanching or blistering.
My preferred pepper blistering and peeling method
My preferred method is to blister peppers whole under a broiler.
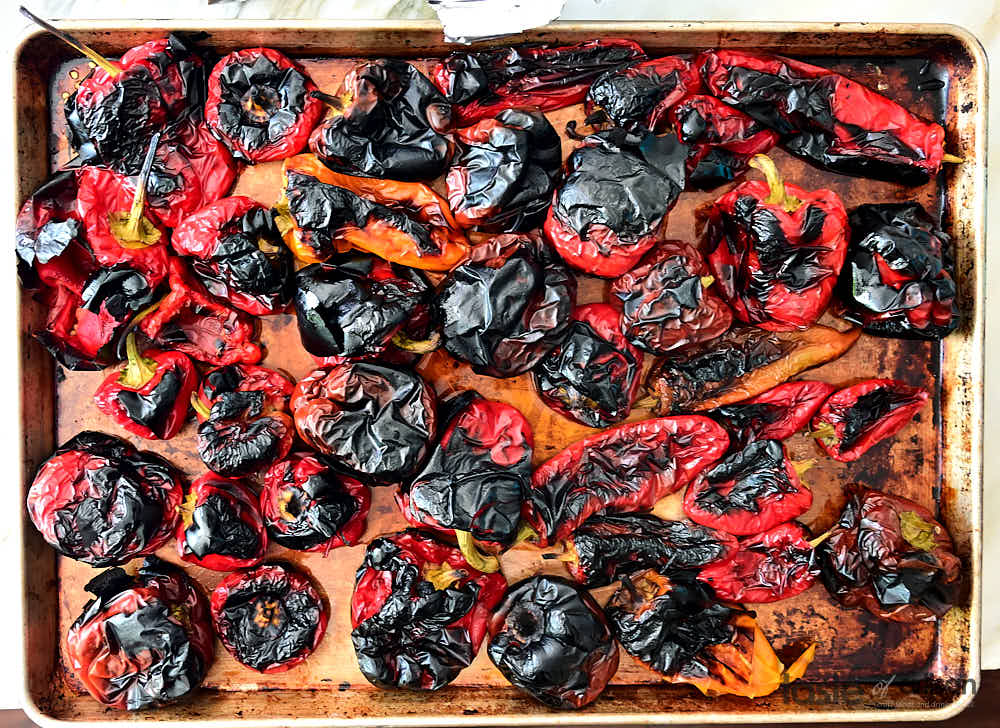
1 - Rinse the peppers, dry them with paper towels and lay on a large (21" x 15") baking sheet in a single layer.
2 - Keep the peppers under the broiler until the skins turn black, about 5-8 minutes.

3 - Flip the peppers and blister on the other side. Keep turning until all sides are blistered.
3 - Cover the peppers with a foil and let cool for 20-30 minutes.
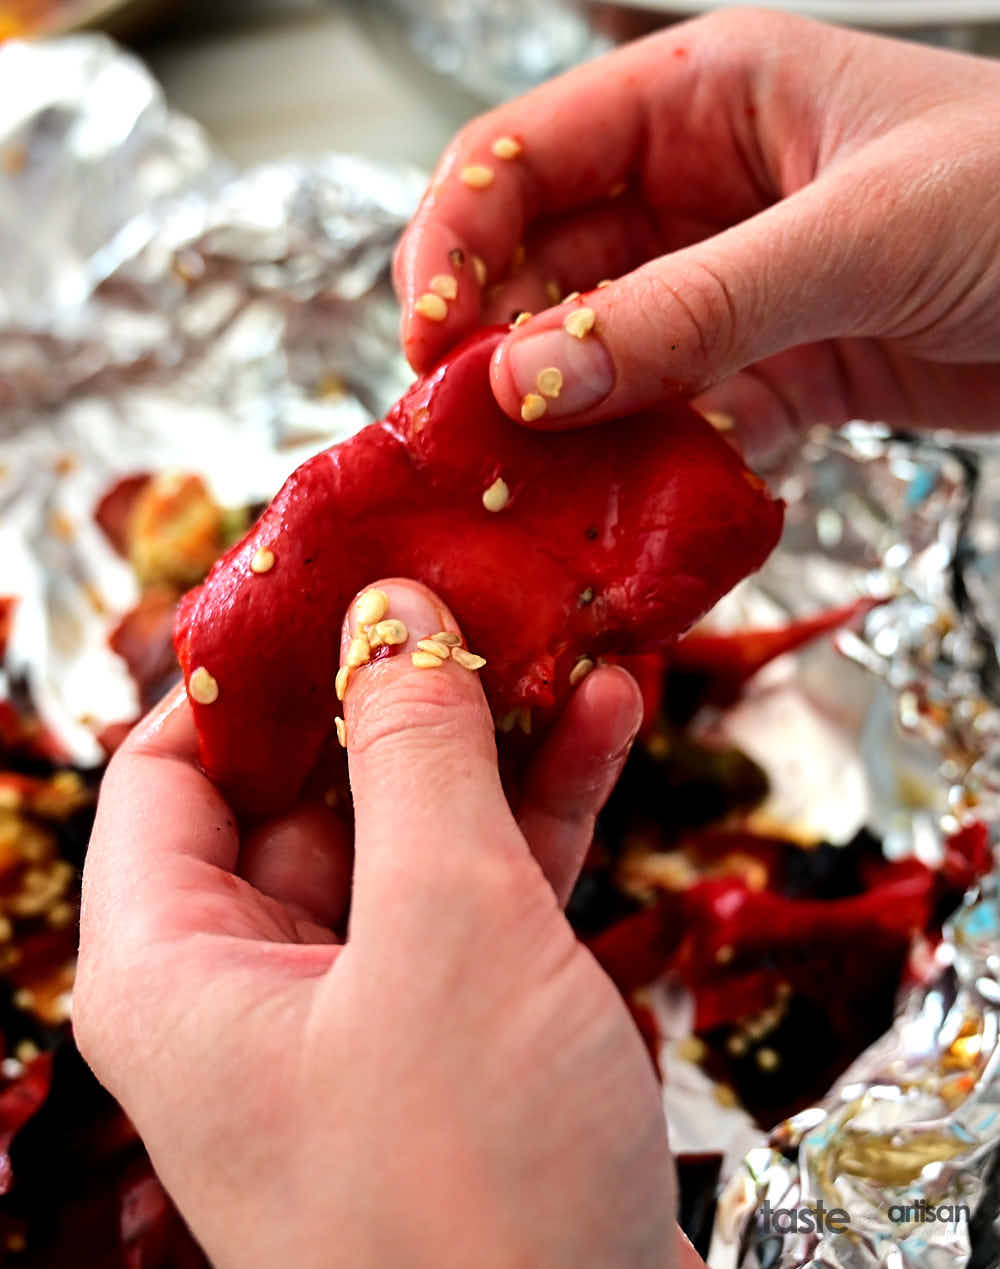
5 - Peel the peppers, removing cores, stems, and seeds. The peppers will be very tender so coring and stemming will be very easy. I don't bother removing all seeds. Can you eat pepper seeds? Absolutely. They are harmless. I don't leave all of them but a few normally get left behind and that's totally fine.
6 - Cut the peppers into strips, as small or as large as you like, and place them into a bowl.
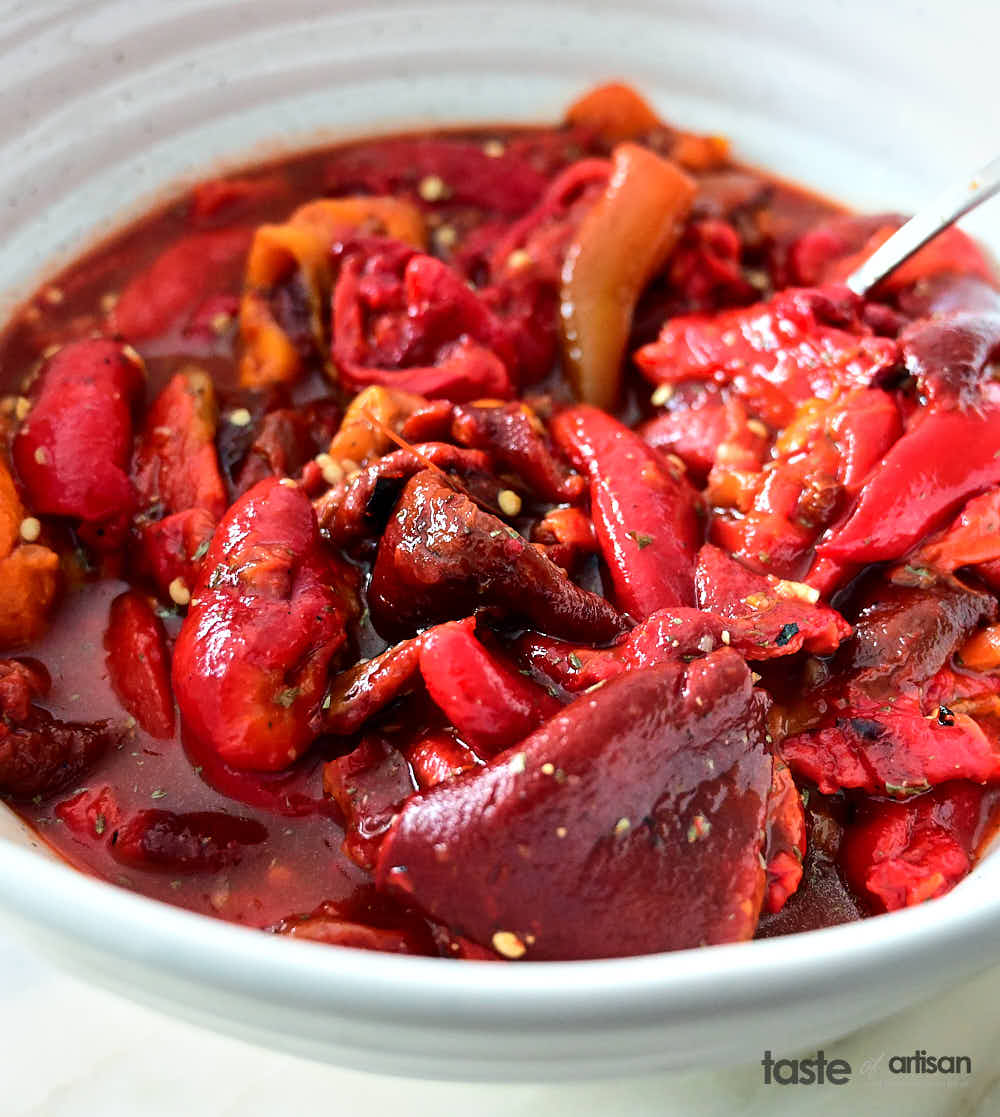
The peppers are now ready for canning. Almost.
Seasoning peppers before canning
Peppers do not need to be seasoned before canning. However, adding a little bit of salt, such as 1/2 tsp per pint jar, will improve the taste. You don't have to if you want to keep the peppers sodium-free for use in other dishes.
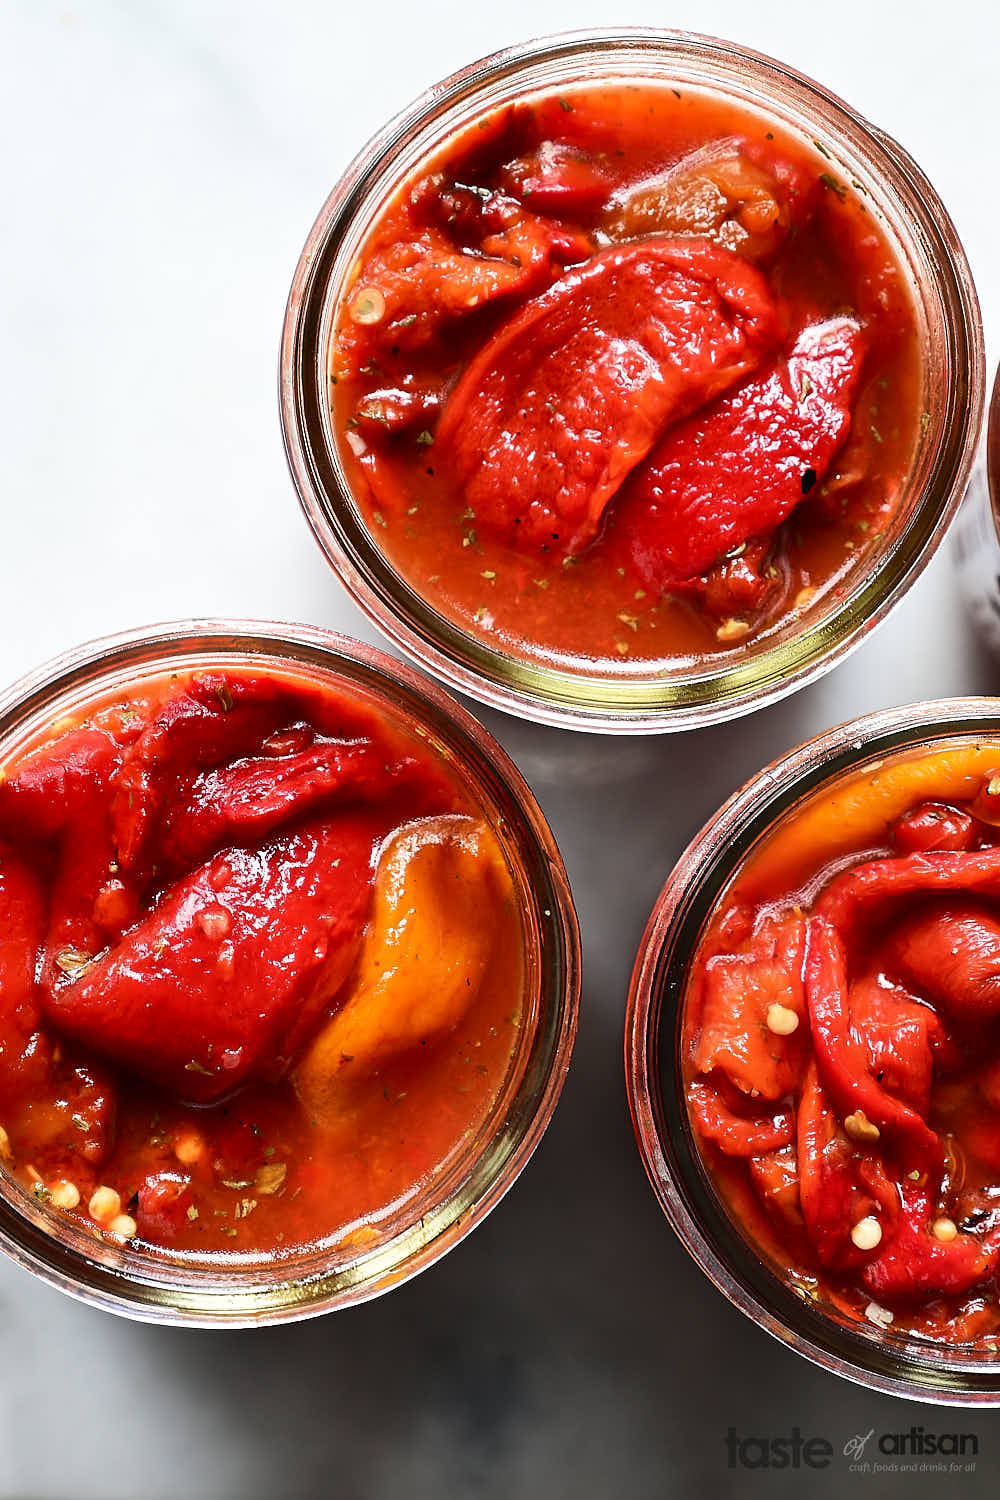
On the other hand, you can also fully season your canned peppers so they are ready for consumption straight from the jar. You can serve seasoned canned peppers as an appetizer or as a side dish with grilled, roasted, fried, and BBQ-ed meat. You can also add them to sandwiches or serve as a side dish together with mashed potatoes, rice, and more. My favorite recipe for seasoned canned peppers is provided below.
When canning peppers for use as a side dish for various meats, I like adding some vinegar. Acidity is welcome when paired with meats. These peppers turn out not vinegary or overly acidic though.
Canning peppers
USDA recommends using hot jars for canning. Jars are washed but hand or in a dishwasher and kept in simmering water (180F) until ready for filling.
1 - Fill half-pint or pint jars loosely with peppers and add fresh boiling water to fill gaps, leaving 1-inch headspace.
2 - Remove air bubbles and adjust headspace if needed.
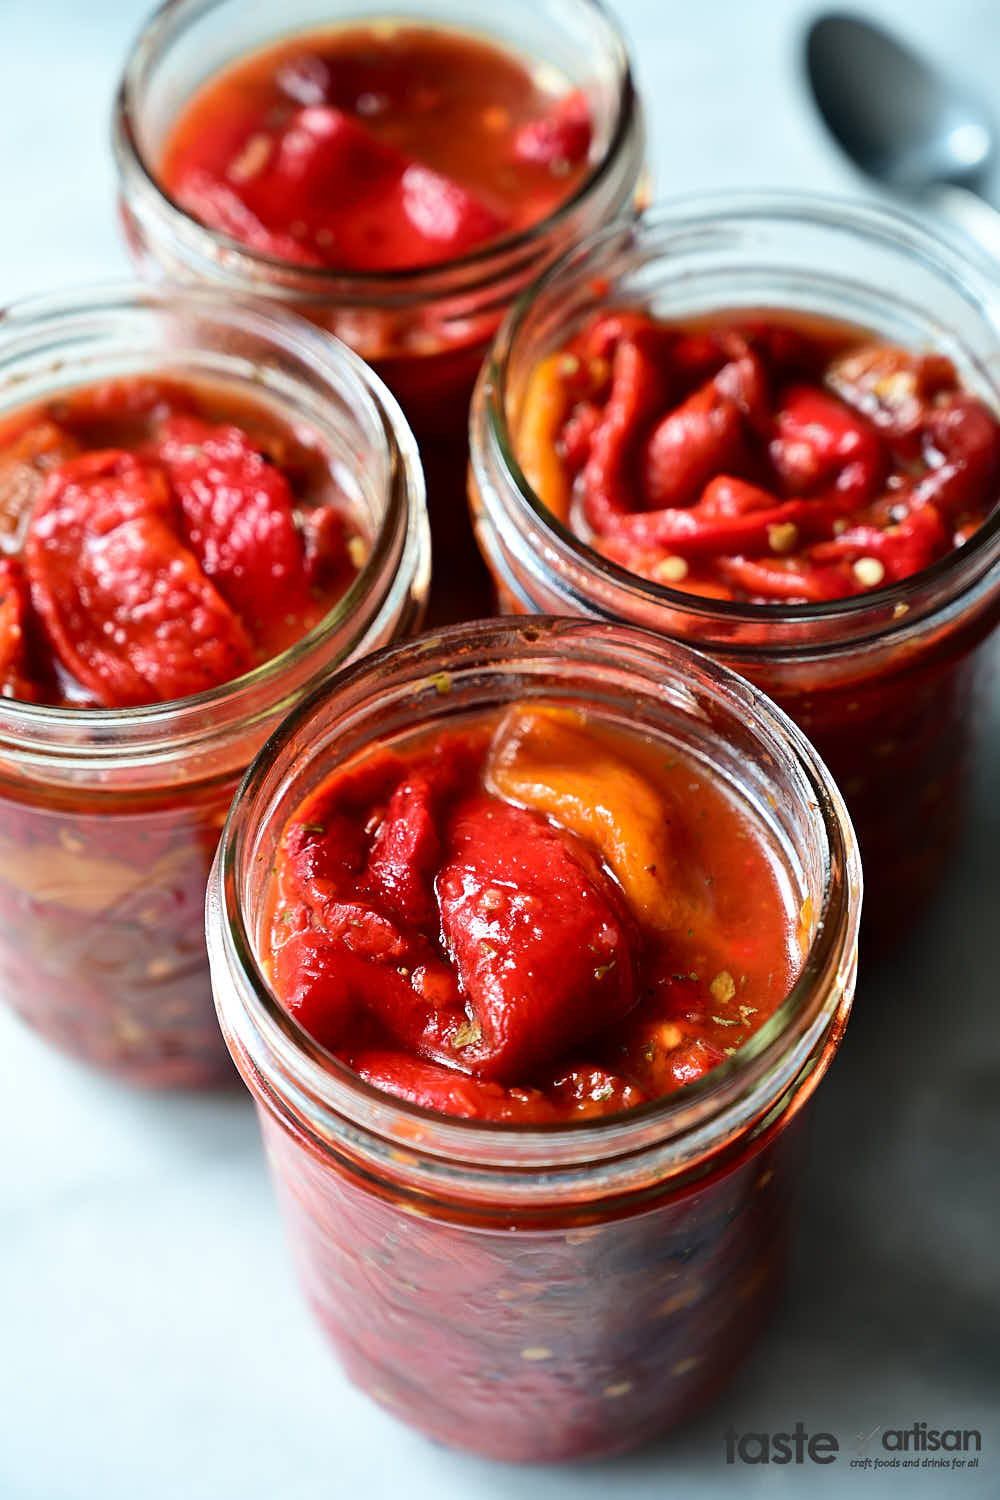
3 - Wipe rims of jars with a clean damp paper towel. Put on lids, tighten the bands finger-tight, and process according to the tables below.
For dial-gauge pressure canners:
| Temperature | Holding Time | Pressure (PSI) | at altitudes of | ||
|---|---|---|---|---|---|
| Jar Size | Processing Time | 0-2,000 ft | 2,001-4,000 ft | 4,001 - 6,000 ft | 6,001 - 8000 ft |
| pint or half-pint | 35 minutes | 11 lb | 12 lb | 13 lb | 14 lb |
For weighted-gauge pressure canners:
| Temperature | Holding Time | Pressure (PSI) | at altitudes of |
|---|---|---|---|
| Jar Size | Processing Time | 0-1,000 ft | 1,001 ft and up |
| pint or half-pint | 35 minutes | 10 lb | 15 lb |
Source: USDA Complete Guide to Home Canning.
4 - Let the pressure canner depressurize on its own. Remove jars from the pressure canner and let cool completely.
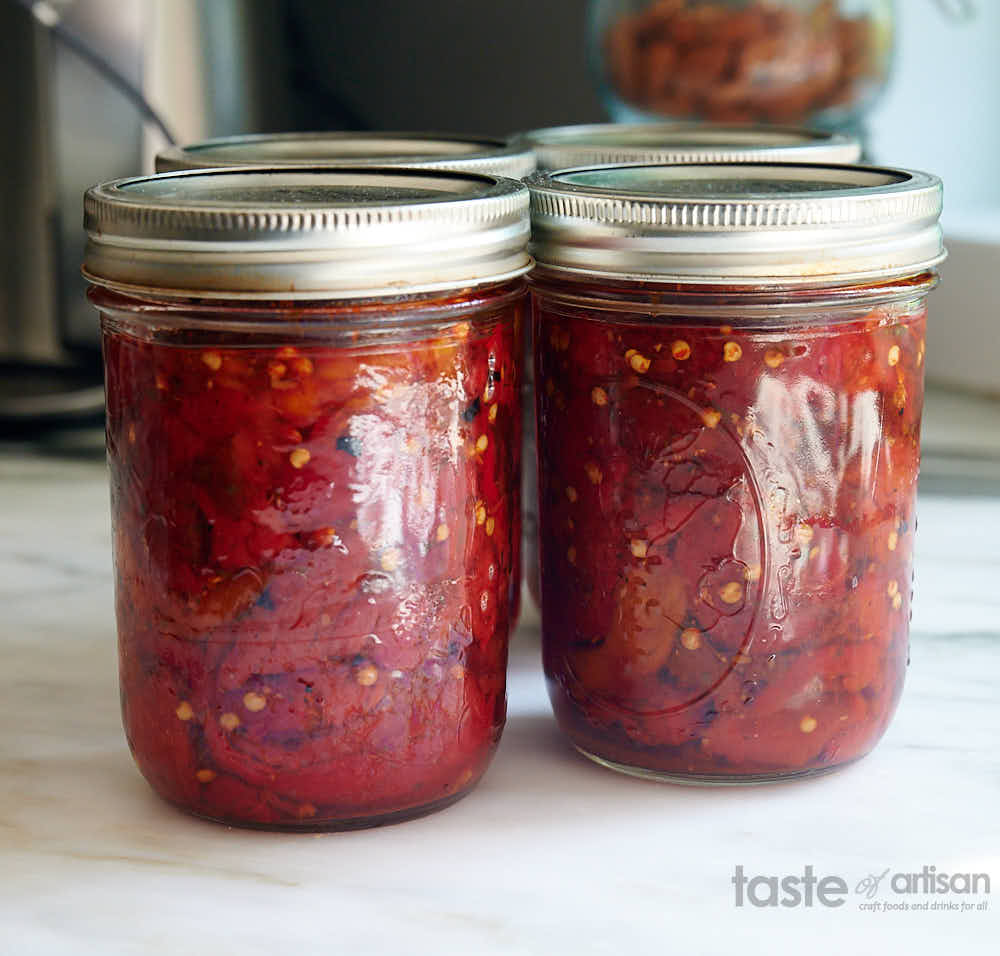
5 - Wipe the jars and carefully remove the bands.
Yield
USDA canning guide mentions an average of 1 pound of peppers per pint jar. It also goes on to say that "an average of 9 pounds is needed per canner load of 9 pints. A bushel weighs 25 pounds and yields 20 to 30 pints—an average of 1 pound per pint."
This is somewhat correct, based on my experience, and needs to be clarified. One pint jar will fit roughly a pound of peeled, cored, and seeded peppers. My canned peppers come out at about 14 ounces per pint jar in the final product. This is the pure contents of a jar, excluding the jar itself.
That said, the starting weight of raw peppers will be much higher - about double that. For example, to fill four 1-pint jars, I start with about 8.5 lbs of peppers. A lot of the weight will be lost to peeling, coloring, seeding, and water being released during blistering.
Storing canned peppers
Store in a cool, dark, and dry place. Canned peppers, if stored properly, will keep their taste qualities for a year or even longer.
How to Can Peppers (Sweet and Hot)
Print Pin RateIngredients
- 8.5 lbs peppers Hot or sweet, including banana peppers, chipotle peppers, chiles, jalapeño, and pimento peppers.
- 3 cloves garlic pressed
- 2 Tbsp white wine vinegar
- 2 Tbsp white balsamic vinegar or regular balsamic vinegar
- 2 Tbsp sunflower oil
- 1 Tbsp salt
- 1 Tbsp dry parsley
- 1/2 Tbsp black pepper
Instructions
- Select healthy, firm peppers. Do not use soft or diseased peppers.
- Place the peppers on a large 21" x 15" sheet pan. Place on the top rack of the oven and turn on the broiler. Broil for 5-8 minutes until the skin blisters and turns black. Flip the peppers and continue until all sides are blackened. It takes about 20-25 minutes to complete this step in a gas oven. (see notes)
- Take the pan out of the oven and set it on a cooling rack. Cover with foil or a damp cloth. Cool the peppers until they are comfortable to work with.
- Peel off the skins, stems, and most of the seeds. Cut or split into pieces of the desired size and place them in a large bowl.
- Add the seasonings (garlic, oil, salt, pepper, parsley, and vinegar) and mix well.
- Fill hot jars loosely with peppers and any liquid from the mixing bowl. Top with boiling water, if needed, leaving 1-inch headspace. If canning unseasoned peppers, optionally add 1/2 tsp of salt per pint jar.
- Remove air bubbles, wipe the rims, add the lid and the bands and tighten them finger-tight.
- Process in a pressure canner using the schedule specified in the notes sections and in the post above.
Notes
| Temperature | Holding Time | Pressure (PSI) | at altitudes of | ||
|---|---|---|---|---|---|
| Jar Size | Processing Time | 0-2,000 ft | 2,001-4,000 ft | 4,001 - 6,000 ft | 6,001 - 8000 ft |
| pint or half-pint | 35 minutes | 11 lb | 12 lb | 13 lb | 14 lb |
| Temperature | Holding Time | Pressure (PSI) | at altitudes of |
|---|---|---|---|
| Jar Size | Processing Time | 0-1,000 ft | 1,001 ft and up |
| pint or half-pint | 35 minutes | 10 lb | 15 lb |
Nutrition

Lisa Sharpe says
What's the processing time for 4 oz jars?
Victor @ Taste of Artisan says
Same as pint/half-pint. Good luck!