If you are looking for a relatively easier and quicker way to make tasty salami, try making these salami sticks. They are made with simple seasonings and are fully ready in 3 - 4 weeks. Delicious, showcasing rich porky flavor with hints of aged cheese and powerful savoriness, this sausage is great as a snack or an appetizer.
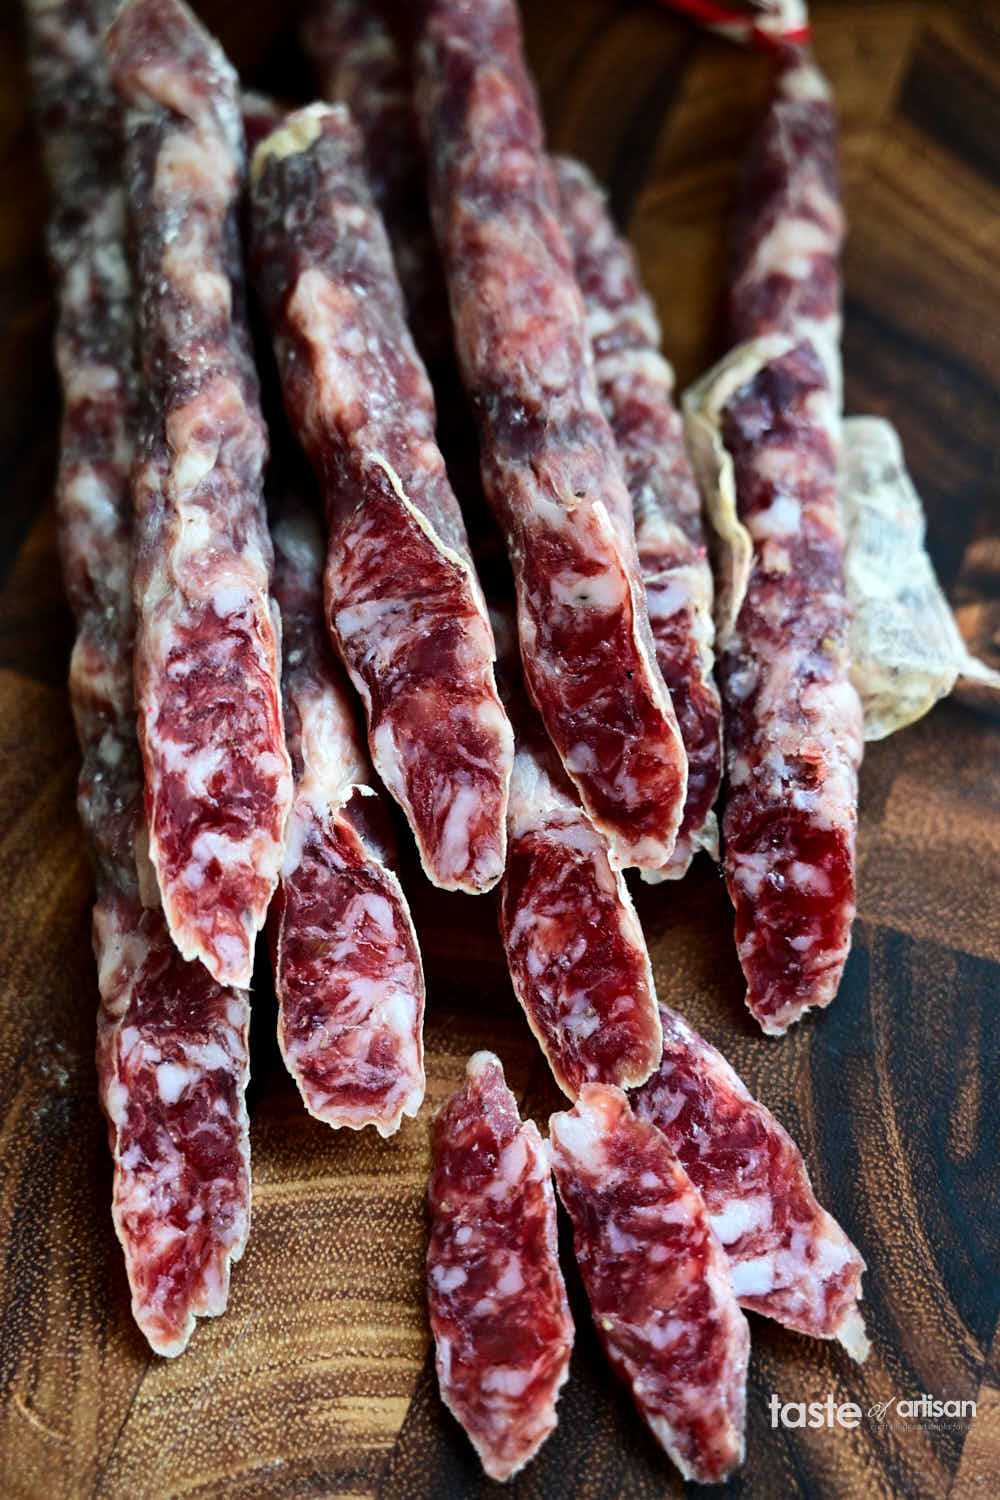
Some grocery stores in my area sell a variety of really tasty salami sticks cutely named 'Artisan Stickini' made by Salumeria Il Tagliere. They are about 1/2" thick and look like they are encased in collagen casings. The taste is slightly acidic, about 5.3 pH. The flavor profiles include olive, hot, sweet and rosemary which is quite fantastic and is my favorite of the four. The seasonings are subtle and the saltiness is nice.
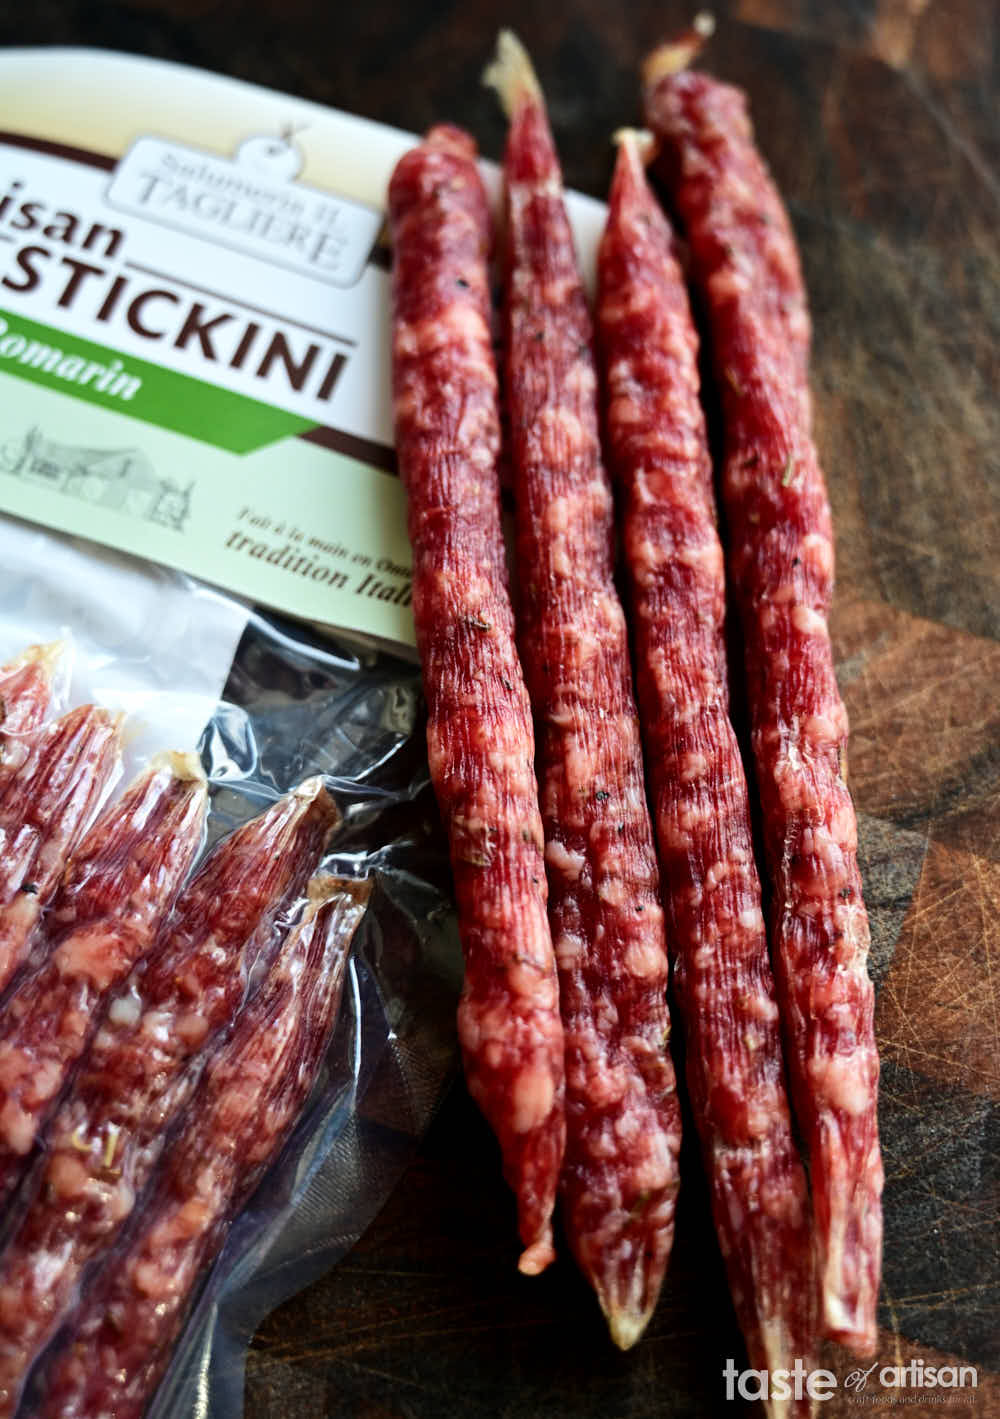
The sticks are quite dry and hard, you'd say they lost about 55% of the original weight by the look and feel of it. As far as the level of dryness goes, they resemble my sujuk, which I love.
Needless to say, I've been wanting to make these at home and start experimenting with creating my own flavors. So I finally did it, and I must say, my salami sticks turned out quite good, but there was some room for improvement next time.
Ingredients for salami sticks
I am more than comfortable making regular-size salami, but how do you make salami sticks? Since they will dry lightning-speed quickly, do you need to use a starter culture and Cure #2? Will nitrates have enough time to convert to nitrites? Perhaps I should use Cure #1? Unfortunately, I could not find answers in the literature, nor did I find any reputable online resources on this. I don't even recall ever seeing any traditional Italian salami of this caliber. Michael Ruhlman, in his Charcuterie book, specifies 2-3 weeks drying time for dry-cured sausages such as soppressata and chorizo, but I found a lot of inaccuracies in his books, so I would take his recipes with a grain of salt.
If I were pressed to do it, I'd use a starter culture and Cure #2 without a doubt. Luckily, the ingredient list on the Artisan Stickini package confirmed it for me - it listed a starter culture, nitrates, and nitrites. Aren't these guys amazing? I trust that these guys did their research and surely followed federal standards, so I am on the right track.
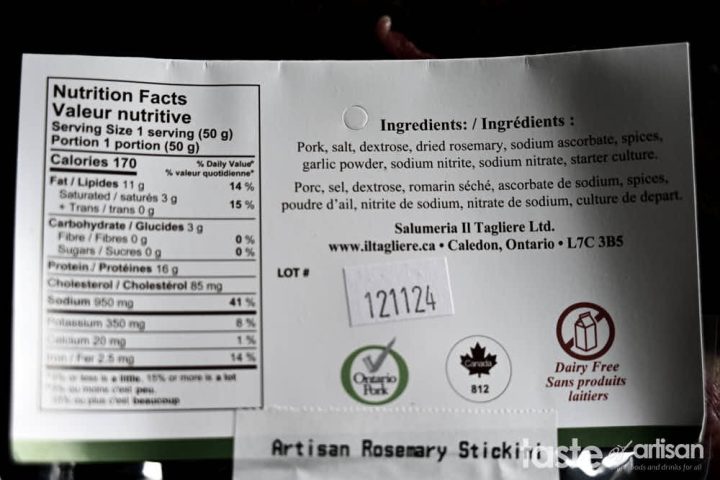
To summarize, to make salami sticks, I am going to use the usual suspects: pork/fat, salt, Cure#2, starter culture, dextrose/sugar, spices, and seasonings.
For my first batch of salami sticks, I went with a simple tried-and-true seasoning mix used by many Italian artisan salumi makers: salt, pepper, and garlic-infused red wine. In the future, I will be experimenting with other flavors.
Casings
I am not a big fan of collagen casings for salumi, so I decided to go with sheep casings for this sausage. Looking at the store-bought sausages, collagen casings seem to work quite well here. I will try them in one of my next batches.
Fermentation and drying
By virtue of being so thin, salami sticks lose a lot of water during the first few days. I ended up using approximately the following fermentation/drying schedule:
| Stage | Duration | Temp | RH |
|---|---|---|---|
| Fermentation | 6 hours | 73F (25C) | < 99 % |
| Drying | 10 hours | 71F (23C) | 75% (3h) -85% (.5h) |
| Drying | 24 hours | 69F (22C) | 72% (3h) -78% (.5h) |
| Drying | 24 hours | 67F (20C) | 68% (3h) -75% (.5h) |
| Drying | 24 hours | 64F (18C) | 72% (3h) -78% (.5h) |
| Drying | 24 hours | 61F (16C) | 78% (3h) -82% (.5h) |
| Stabilizing | 24 hours | 59F (15C) | 80% (24h) |
That said, keep the humidity in the curing chamber such that the sausages don't get sticky. The water during the first week needs to be removed efficiently, so if the surface of the sausage becomes wet or sticky, adjust the humidity down. If too dry, raise the humidity.
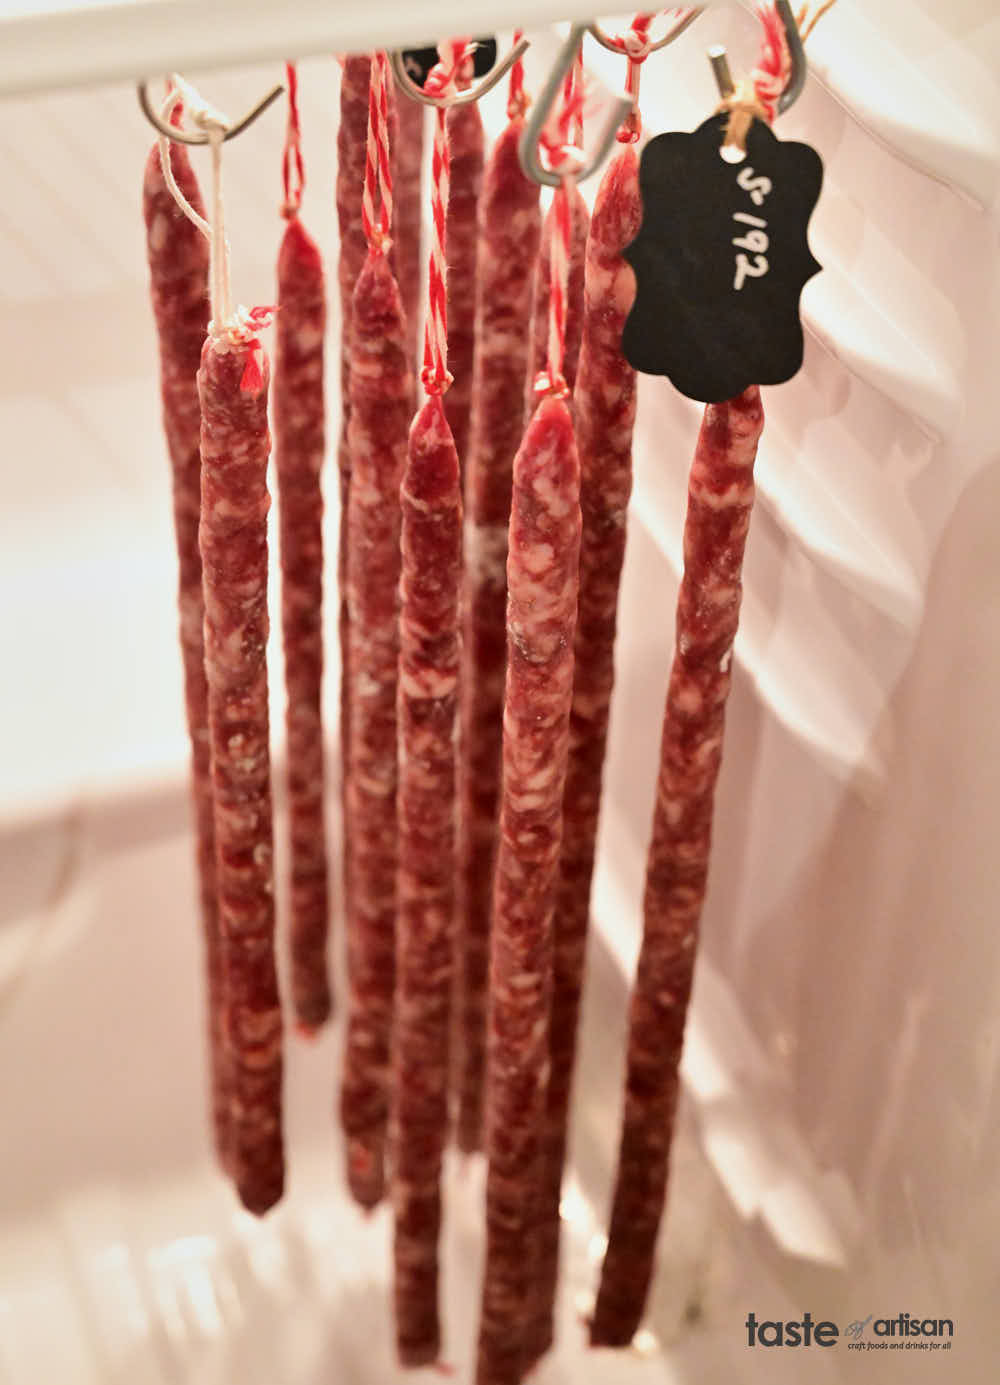
This schedule lets the sausage rehydrate the skin and prevent case hardening. Is this necessary? This is how Italian commercial salumi curing chambers like Staginonello operate. I suppose there are good evidence-based reasons behind it. At home, I replicate this with my programmable Auber HD220-W humidity controller.
If you don't have a programmable controller, simply set a wider RH range and let the humidity fluctuate within it. There isn't one way to do it, but the goal is to always run your chamber so that water coming up to the surface of the sausage leaves the surface at the same rate. Stickiness, bad smell, case hardening are signs of water evaporating too slowly or too quickly.
Maturing
When it was time for maturing, I started off with 55-57F and 73-78% RH range but again had to drop the humidity to 70-73% range as the surface of the salami sticks felt a touch sticky. About 12 hours later the surface dried up, the skin felt soft and hydrated but not sticky. After that, I gradually raised to humidity to 73-75% range where it stayed most of the rest of the time.
Total time
The total time for fermentation, drying and maturing was 21 days. I typically let thicker salami dry cure for at least 28 days, but 21 days will do as the destruction of trichinella in dry-cured traditional salami with a salt concentration of at least 2.75% is about 19 days. I know the risk of contracting Trichinellosis from pork nowadays is practically zero, and the few cases we see each year come from ingesting undercooked wild game meat, but still.
Longer drying times typically correlate with greater (but never complete) deactivation of pathogenic bacteria that may be present in meat, though I haven't seen any studies on very thin salami that dry to 55% weight loss in three weeks and end up with very low water activity very quickly. Such fast drying is no doubt a huge safety hurdle, helping prevent the growth of potentially harmful bacteria.
A longer maturing time results in better flavor development so even though my salami sticks lost 44% of weight by week two and 55% by week three, I will give them another week in the curing chamber.
Weight loss
As I mentioned above, my salami sticks lost about 44% of weight after two weeks and 54-55% after three weeks. The surface felt well-hydrated but without stickiness. I did not inoculate the sausages with white mold, so there was only a faint layer of mold on the surface that developed naturally.
At 44% weight loss, the sausages felt quite firm but much softer than the store-bought stickini. The texture felt uniformly firm, not even a small sign of case-hardening, but it was much softer compared to the store-bought stickini. There definitely was room for more drying.
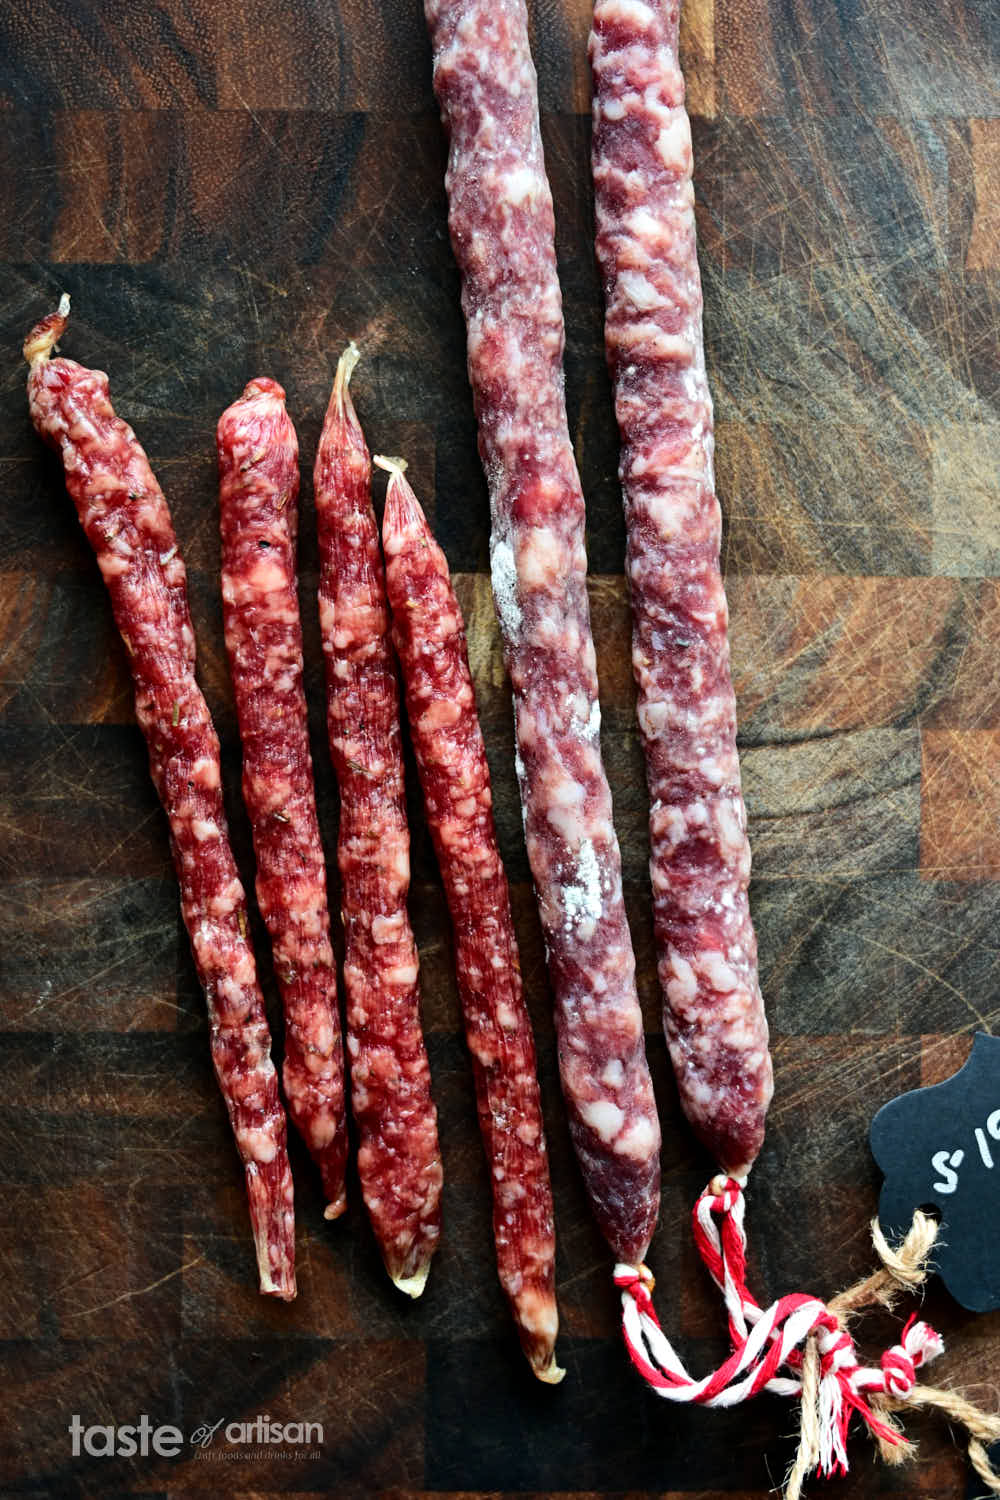
At 55% weight loss my salami sticks were very firm but still not quite as hard as the stickini. I felt like 55% weight loss was sufficient but there was nothing wrong with drying them a little more and seeing how they'd stack up against the stickini. Mind you, the stickini are quite hard but I love them so I am sure I will like harder salami sticks. Some of my family members strongly prefer the harder texture of the stickini. So, there you have it. I will give them another week and see how they fare.
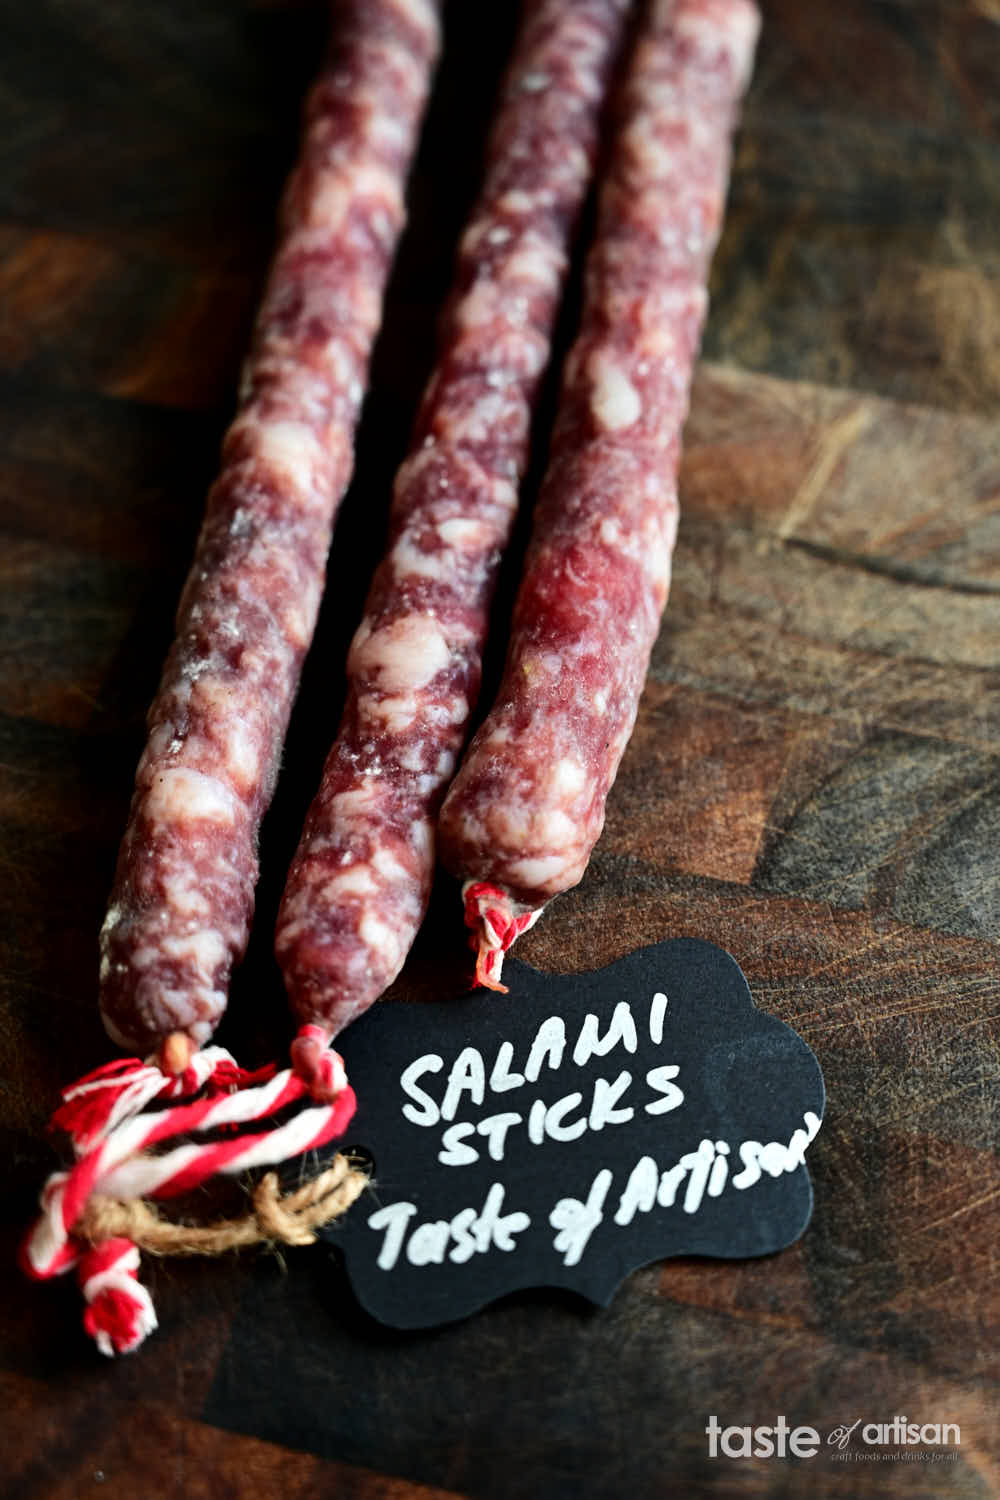
Taste notes
My salami sticks were made with meat trimmings left from curing a big batch of solid muscles back in December. This resulted in the fat level being higher than usual, I'd say about 35%, maybe more. A little too fatty for my taste. Next time I will limit the amount of fat to 20-25% tops.
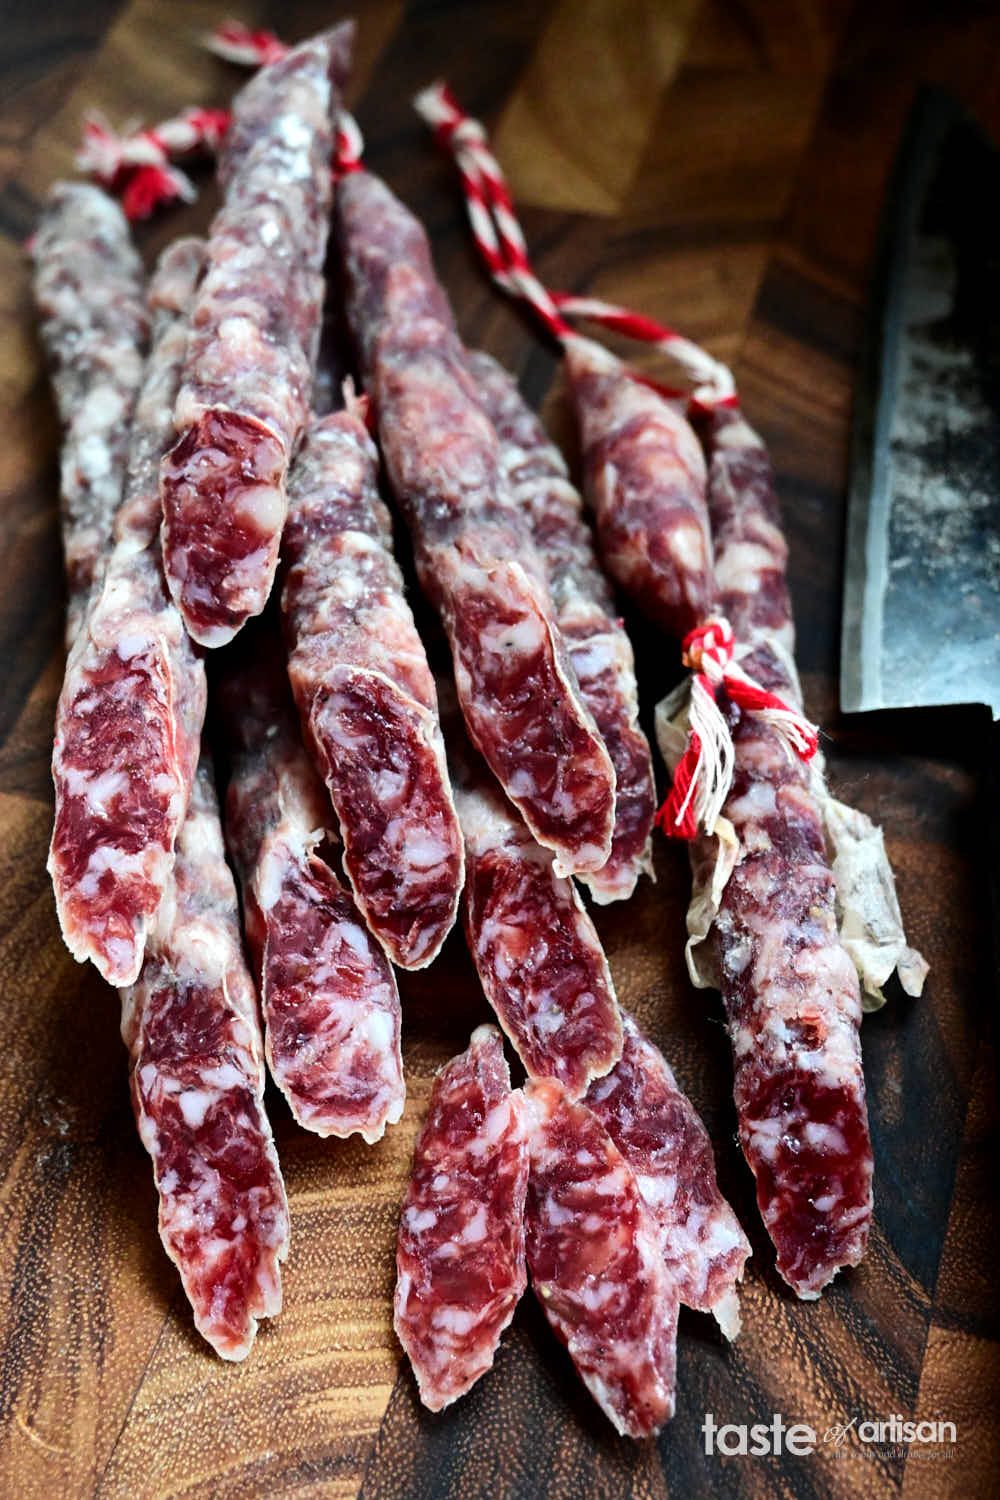
I also felt that the fat ground through a 1/4" (6mm) was a little too big for this sausage type so next time I will go with a 3/16" (4.5mm) grinder plate and re-evaluate.
Tastewise, the sausage was very good. Salt and acidity levels were practically identical with the store-bought. That's a good thing as I liked the store-bough sticks a lot. My salami sticks lacked rosemary flavor, unsurprisingly, so I will be adding it next time, I'll start with 1%.
Now, what do you think was the biggest and quite significant difference between the store-bought and homemade salami sticks? It's the flavor. When eating the store-bought salami sticks, I thought that they were quite tasty. When I compared them side by side with my homemade salami sticks I immediately noticed how much they lacked in the flavor department. There was a huge difference. The homemade stick had that rich porky flavor with hints of aged cheese and powerful savoriness. The stickini tasted good but had no depth, no umami, no savoriness. Bland comes to mind. I was astonished. Judging by the lack of mold on stickini, they were dried/cured quickly and possibly at low temps a-la Umai bag drying in a fridge without any fermentation whatsoever. If that's the case, I foresee my upcoming Umai experiment to be a disappointment.
Oh, enjoy these salami sticks with the skin peeled off otherwise they will have a very strong cellar/earthy flavor. I always remove the skin from my salumi but this time I felt like, hey, it's just thin sticks, I'll just eat them with the skin on. Big mistake. I didn't like it much. The skin peels off easily but if not, wet it under running water, dry and it will come right off.
Options
Another variation that came to mind was to make this salami with a fast-fermenting culture such as F-RM-52 I use to make Ruhlman's soppressata. Not that I particularly like this starter culture, but it's designed for fast fermenting sausages and you can use less salt with it, as low as 2.5%. I will be trying that also in of my new batches.
Overall, I am very happy with these salami sticks and foresee making them quite often in the future.
Ingredients
- 800 g lean pork any or a combination of lean ham, shoulder, neck (coppa), or loin
- 200 g pork back fat or fatty pork belly
- 25.5 g sea salt
- 2.5 g cure #2
- 1/2 clove garlic crushed, for infusing wine only, removed after infusion
- 30 ml dry red wine
- 1 g black pepper
- 0.2 g T-SPX culture
- 2.5 g sugar
- 60 ml water
Instructions
- Crush the garlic and place it in a small cup. Add the wine and let it infuse for at least 30 minutes and up to 2 hours. Strain the wine before mixing it with the meat.
- Rehydrate the starter culture in 60 ml distilled water for about 30 minutes to an hour.
- Weigh the lean meat and the back fat in grams. Calculate the rest of the ingredients.
- Cut the meat into 2" pieces and freeze for 20 minutes. Grind the meat through a 1/4" (6 mm) grinder plate and fat through a 3/16" (4.5mm) grinder plate.
- In a small bowl, combine salt, pepper, Cure #2 and sugar.
- Combine the lean pork with the seasonings, sugar, wine, and rehydrated starter culture. Mix well, until sticky, then mix in the groud back fat.
- Stuff into natural sheep casings and tie into 18-inch (45cm) links.
- Using a sterilized needle or sausage pricker, prick holes across the entire salami.
- Weigh the salami, write down its weight on a tag and attach the tag to the salami. You can do just a couple, no need to do each one.
- If desired, inoculate with mold.
- Ferment then dry at 59F - 73F (15C - 25C) and 65% - 86% RH for a period of 7 days as per the drying protocol in the notes, also explained in detail in the post.
- Mature in the curing chamber at 55F - 57F (13C - 14C) and 73-75% RH for about 3 -4 weeks. Read the post above for more details.
Notes
| Stage | Duration | Temp | RH |
|---|---|---|---|
| Fermentation | 6 hours | 73F (25C) | < 99 % |
| Drying | 10 hours | 71F (23C) | 75% (3h) -85% (.5h) |
| Drying | 24 hours | 69F (22C) | 72% (3h) -78% (.5h) |
| Drying | 24 hours | 67F (20C) | 68% (3h) -75% (.5h) |
| Drying | 24 hours | 64F (18C) | 72% (3h) -78% (.5h) |
| Drying | 24 hours | 61F (16C) | 78% (3h) -82% (.5h) |
| Stabilizing | 24 hours | 59F (15C) | 80% (24h) |


M says
Hi, I have a bit of a problem with this method.
Drying 24 hours 69F (22C) 68-78 %
exactly at this stage when the humidity is 24 hours at 68% and 2 hours on 78% my 34mm salamis are drying to fast and finally end up with case hardening. You can see them dark/dry up to much when the humidity is at 68%. Isn't 68% to low since normally you would need 90= RH during the 2-3 days fermentation.
Victor @ Taste of Artisan says
This method works quite well for me, as you can see from the pictures. You can always ferment/dry/mature using your preferred method. Good luck!
Victor @ Taste of Artisan says
Ideally, you want run 2-3 hours at the lower end of the range, and 30 minutes at the higher end of the range. E.g. 2-3 hours at 68% and 30 minutes at 78%. That's if your controlled is capable of following this schedule. If not, I'd let it fluctuate between, e.g. 68 and 78% when the range is 68%-78%. Hope this helps. I explained this in the post, perhaps I wasn't' clear enough.
M says
Controller can do it. So for example step 3 on your schedule
Drying 24 hours 69F (22C) 68-78 %
Instead of 24 hours on 68 and after that 2 hours on 78 you are saying to set it on 68 for 3 hours and 30 minutes on 78. Repeated 8 times. Correct?
Victor @ Taste of Artisan says
Correct. If your controller can do it, refer to the updated schedule in the post above. I find that it works great for thin sausages. But, I have to say that your setup may influence the drying, so keep an eye on the sausages and adjust humidity up or down as needed if the sausage surface becomes too dry or too wet/sticky. You want to keep the surface moist, hydrated, but not wet or dry. Hope this helps. Good luck!
Tatiana says
Hi for everyone 👋. I have some questions about dry curd. Are you use sodium ascorbate?
Victor @ Taste of Artisan says
I normally don't. You can also use sodium erythorbate. It does the same job and uses the same amounts as Sodium ascorbate. Gerhard Feiner, in his manual on salami making, states that S. erythorbate is a better choice.
Tatiana says
Thanks, one more question. you almost start fermentation at 25C. using different Fetments. But, each ferment has its own temperature at which it works best. why don't you take this into account?
Thanks
Victor @ Taste of Artisan says
In this recipe, I use an accelerated drying schedule with a declining temp schedule. This works fine.
M says
Maybe its related to the size of the fridge? My fridge is small. İ will also try to tweak your method with using 5-10% more humidity in the steps with 65 and 68% humidity. Thank you.
Roswitha M Konz says
Where can I buy these salami sticks?
Victor @ Taste of Artisan says
Depends on where you live. You can also make your own.
Alvar says
Also I've got very curious at cutting back fat with the grinder...
I read it about in other place too... but no matter which disc I use,
all I can get is an excellent lard jam. LOL
I still cut all my fat by hand, which makes it tiresome, sometimes.
I'm wating a bit before going for this marvel,
https://www.youtube.com/watch?v=iGuerlpkZss
I don't know yet if manual or electric.
Comes in 3 different sizes, smaller is 5x5mm, which I think adequate for quite a number of salamis
Victor @ Taste of Artisan says
I hear you, but mine looks good in the final product so I never worried too much about that. That marvel of a machine looks amazing though. Are you opening a charcuteria or something? LOL I could use one too I think, but looks like it may be an overkill for my needs. We do make a lot of Central Asian food like samsa and manti, they are ideal with using chopped meat/fat in them. Hand chopping is a very time consuming task.
Alvar says
Loved the look of that, for sure !
I will try the recipe.
I believe i came across something similar recently in a Brazil Sausage/cheese market stand, where they were selling this kind of salami sticks.
Remembers me of some chistorra i've tried some time ago, but I cannot tell what it was like, or if they had sweet pepper in them or not.
Thanks for sharing these !
Victor @ Taste of Artisan says
You are very welcome. Never heard of chistorra, looks good based on the images I was able to look up. That's another thing for me to make;)
Terry N. says
Wow. I've been looking for a salami "snack stick" recipe for a little while now and this perfect. Thank you. My only question is what size sheep casing you used?
Again, awesome blog post. I will be attempting this very soon!
Victor @ Taste of Artisan says
Thank you, Terry. I used 24-26 mm sheep casings. I believe when I buy them, that's the only size my sausage supply store has.
Bryan says
Forgot to add, don't waste your time with the umai bags. You will be disappointed for sure. Yes they work, kinda, but you are used to your traditional dried products as am I. There's a huge difference in taste and texture. It's just not the same experience. Just doesn't come out as good
Victor @ Taste of Artisan says
I am not surprised, to be honest, but a few people emailed me saying how great their results were so I got curious. I can't imagine meat that is simply seasoned and dried in a cold fridge rivaling properly fermented and matured meat done at optimal temperatures. But I personally can't argue until I try.
My experiment is still on hold though as I misplaced a whole box of Umai bags that I had and I need to find it. Will be butchering another half-pig soon and I hope I can find them in time so I can do one Umai something, capicola or lonzino. But I have a feeling that I will agree with you.
Bryan says
The salami sticks turned out great. Good job I've been wanting to try this for a while. As far as the cure #1 vs #2 I'm glad to see you waited the extra week since you used #2 if your going to consume at 21 days then you should use #1. That's a very interesting schedule I've never heard of this before,did you take your ph any time during the process? I ask because you had them hanging at higher than normal temps for many days before you began your maturing. The fermentation would still be taking place for days although it would slow down more each day as you were lowering temps. Just curious how low ph got cause there's no time for it to rise back up in such a short time. I've always fermented in the temp range of my culture at the time, then test ph, when satisfied I drop temp down to 55f and it stays there till done. Only thing I've experimented with is slowly lowering rh% from around 90 during fermentation down to 75-80 during drying/maturing. Great looking snack sticks though anyway. Can't wait to try it out
Victor @ Taste of Artisan says
Hey Brian, thanks. No, I didn't take pH readings this time but I have in the past and what I observed is that it takes about 10 days for fermentation to complete when using T-SPX. It probably didn't have the time to come back up much if at all but the taste was pleasantly acidic, I'd say around 5.2-5.3. It should be very close to Fuet which I monitored very closely and posted my observations in the Fuet recipe post.
Next time, I will slightly modify this schedule as I want to slow down the drying a little.
Yeah, this new schedule is quite interesting and works really well for me. I've never had a good control over the first week of whatever you want to call it - fermentation/curing/whatever... but having adopted this new technique I seem to have a full control and no issues with wet/slimy/stinky surface... my meats look much, much better now that ever before.