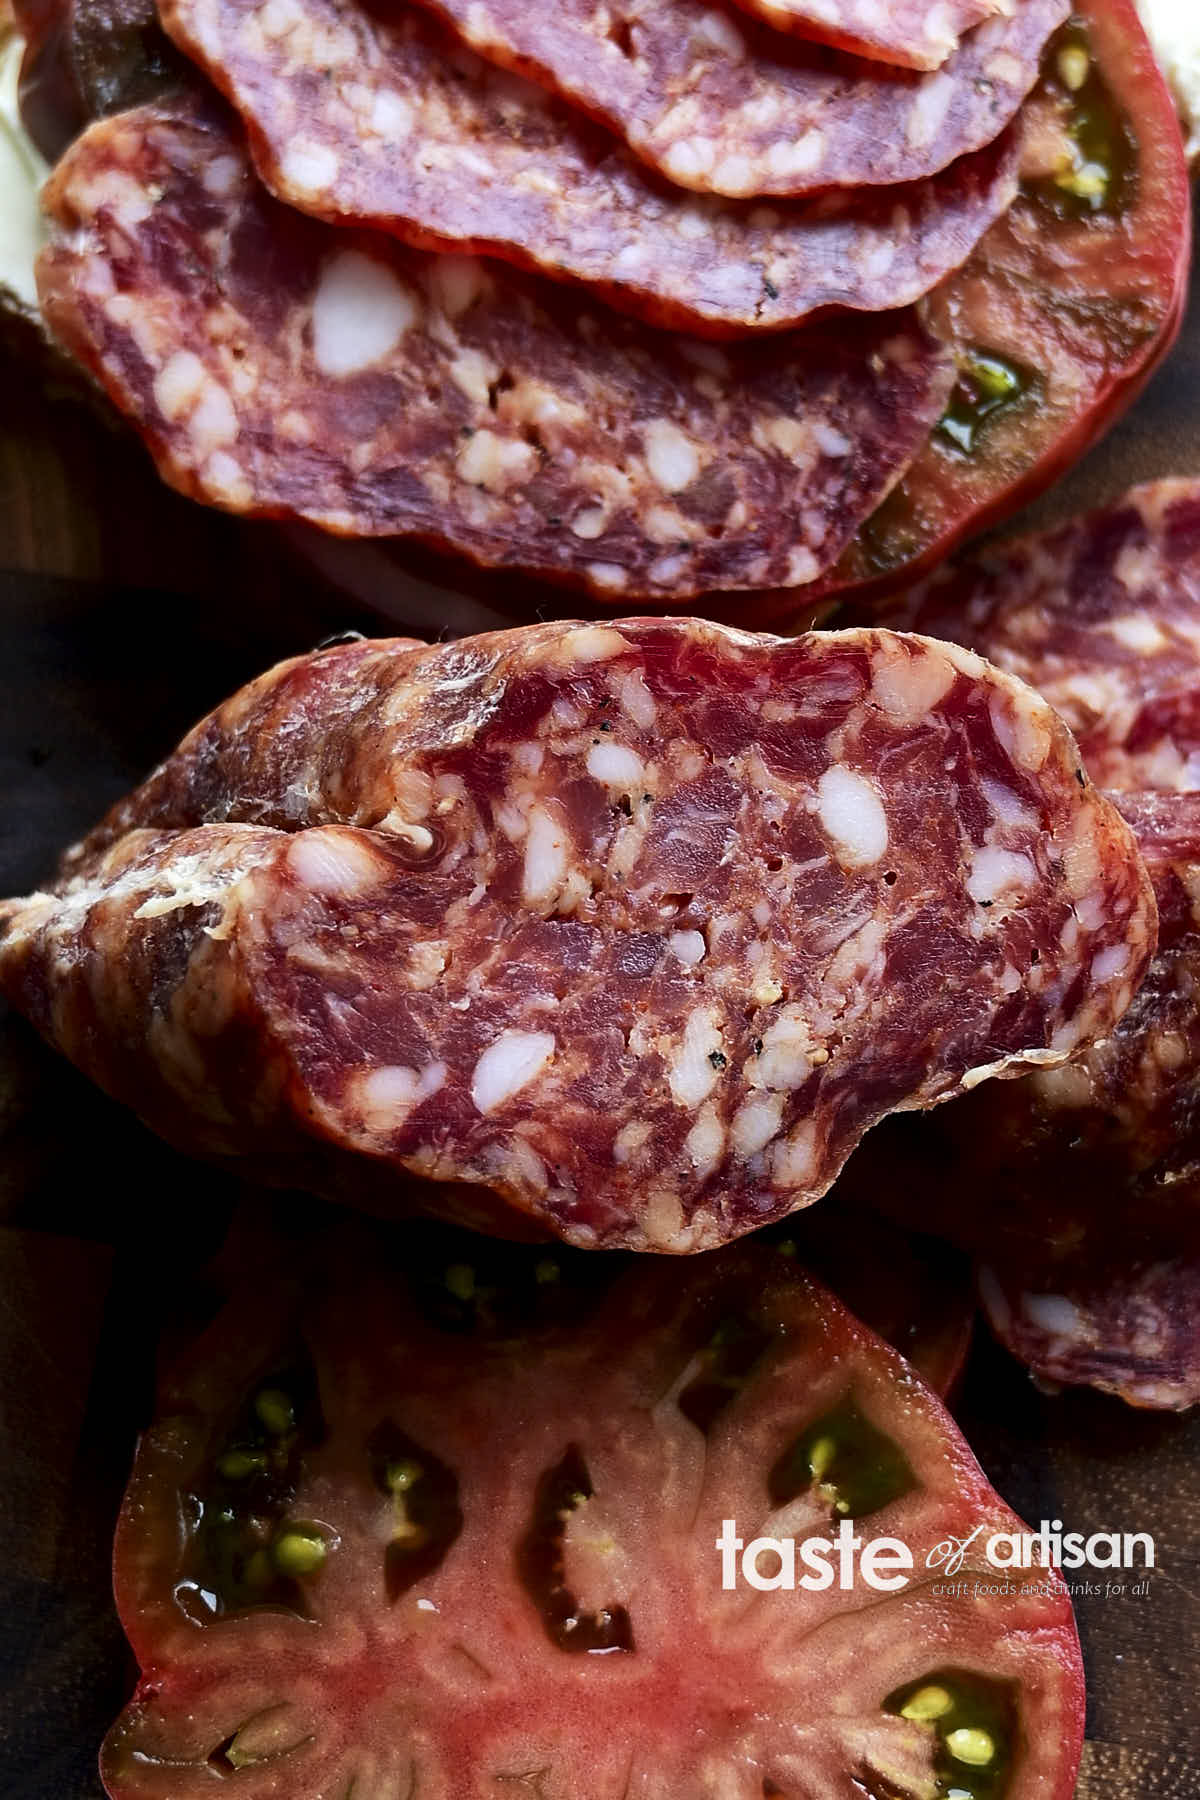
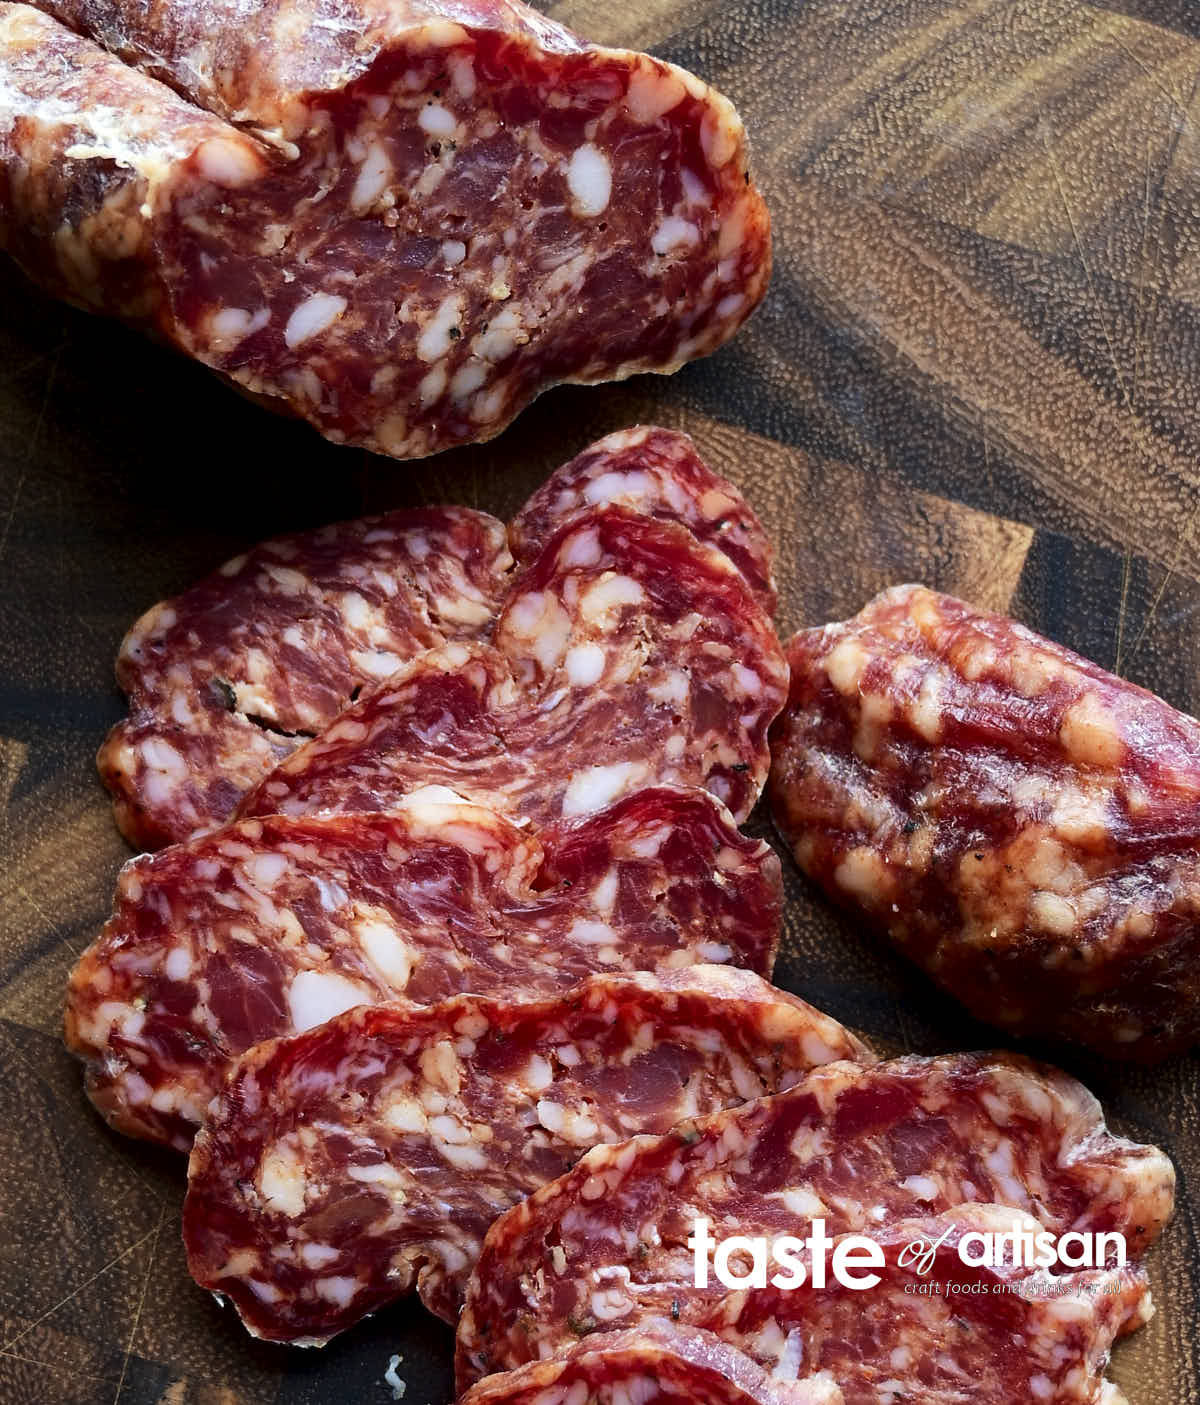
If you like spicy salami, like I do, you've probably tasted quite a few brands and varieties. Like with any other sausage, finding truly good commercially made spicy salami is like finding snow in the middle of summer. The quality is just not there because commercial producers love the fast-fermentation method. It allows them to make salami fast, but such sausage has an overly high acidity and lacks flavor. I often am not too thrilled about the meat, the amount of fat, and the seasoning they use. The good news is that this salami is relatively easy to make at home. Here is my simple yet very tasty and flavorful spicy salami recipe. It's got everything - great texture, perfect fat-to-meat ratio, complementing spices, and a nice heat, which you can tweak up or down to your taste.

The recipe
After making and trying so many varieties of salami over the years, I developed a clear understanding of what I look for in a particular salami style. This includes the spices, the grind, the amount of salt, the curing time, the target weight loss, and so on. This may or may not be what someone else is looking for. Nothing is wrong with that, but this salami has been quite popular with my family and friends. My daughter, who likes spicy food like I do, is particularly fond of it.

The seasonings
This salami is gently seasoned with salt, pepper, and some nutmeg, which brings a nutty, earthy, and slightly sweet flavor, which I love. The rest of the flavor comes from the slowly matured pork itself. I can enjoy this simple flavor profile without getting tired of it.
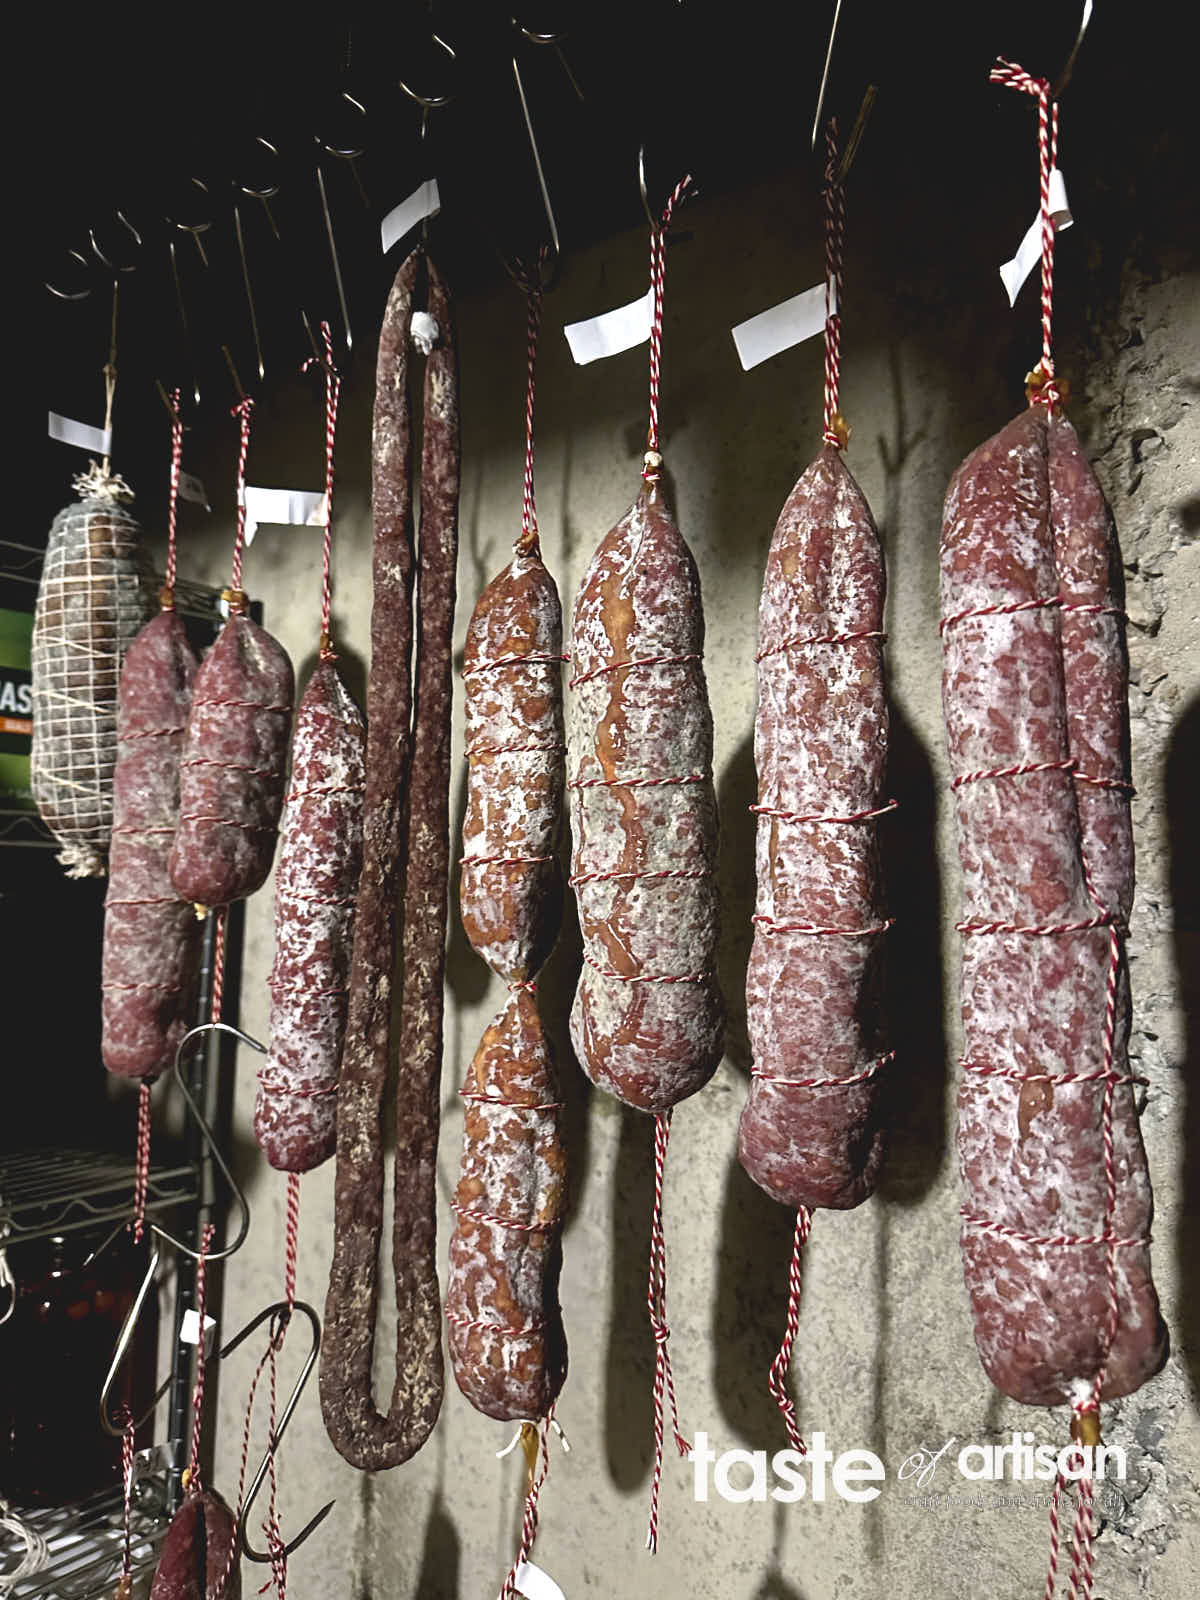
Oh yes, this salami was fully dry-cured in my new curing cellar. I am testing it to see how it performs compared to my meat-curing chamber.

The source of heat
This one was easy for me. I chose cayenne pepper because I love it and cook with it a lot. It's also readily available, unlike, say, Calabrian pepper. Cayenne pepper is moderately hot and doesn't impart a strong flavor. I don't like when seasonings overpower the flavor of the pork.
Another huge benefit of using cayenne pepper is that it doesn't cause heartburn, at least not for me. I've had many spicy salamis that do.
Next year, I want to grow cayenne peppers in my garden, dry it, and use it to make this salami.

The meat
Whenever possible, I use local free-range heritage pork to make charcuterie. The meat is darker and has a richer pork flavor. I highly recommend trying it if you have access to it and can afford it. Buying it in bulk is the most economical option.
Drying
While many recipes recommend drying salami to 30-35% weight loss, I normally like mine a bit drier. I shoot for about 45-48% weight loss for the spicy salami. I really enjoy hard salami. So, while the recipe below suggests at least a 35% weight loss, I usually go higher.
Enjoy!

Taste of Artisan Best Spicy Salami Recipe
Print Pin RateIngredients
- 800 g lean pork from leg, ham, shoulder, or neck (coppa)
- 200 g back fat
- 25.5 g sea salt
- 2.5 g Cure #2
- 1.5 g dextrose
- 1.5 g sugar
- 2 g coarsely ground black pepper freshly ground
- 1 g nutmeg freshly ground
- 8 g cayenne pepper This gives a fairly mild heat. Add more if needed.
- 0.12 g T-SPX culture
- 60 ml distilled water
Instructions
- Rehydrate the starter culture in 60 ml of distilled water. (see notes)
- Weigh the lean meat and the pork back fat in grams. Calculate the rest of the ingredients, except the distilled water, which may remain the same (see notes), weigh them out, and set aside.
- In a small bowl, combine the salt, Cure #2, sugar, dextrose, black pepper, nutmeg, and cayenne pepper.
- Cut the lean meat into 2-inch pieces. Cut the fat into small cubes, about 3/4 - 1 inch.
- Freeze the meat and the fat for 30 minutes.
- Sprinkle the salt and seasoning mixture over the meat and mix to obtain even coverage.
- Grind the meat through a 3/8″ (10 mm) grinder plate.
- Grind the fat through a 1/4" (6 mm) grinder plate.
- Combine ground meat and fat with the rehydrated starter culture. Mix well until sticky. It helps to use a stand mixer with a paddle attachment or a meat mixer.
- Stuff into 40-90 mm natural casings and tie with twine.
- Using a sterilized needle or sausage pricker, prick holes across the entire salami.
- Weigh the salami, write down its weight on a tag and attach the tag to the salami.
- If desired, inoculate with (penicillium nalgiovense, penicillium salamii) mold.
- Use the leftover meat from the stuffer/stuffing tube to make a small sample for measuring the initial pH and the pH at later stages. Make sure to record the readings.
- Place the salami and test sample into your fermentation space for up to 3 days at 68F - 72F. Ferment until the pH in the test sample reaches 5.3 or below.
- Hang the salami in your curing chamber at 55F-57F and 75-78% RH. The salami will dry for 4-12 weeks, depending on its thickness, the humidity, and the air movement. The salami is done when at least 35% of the weight has been lost.


Siena says
Hi!! How essential is it to include the starter culture, and the Dextrose for salami?
Victor @ Taste of Artisan says
Hi, it's not an absolute requirement as people in the past have made salami without it, and in some places they still do. However, without a healthy starter culture, there is a high risk of spoilage bacteria overtaking and ruining your batch, as well, you may not reach the target pH level of 5.3 to help fight harmful bacteria. I wouldn't recommend making salami without a starter culture.
Siena says
Okay, thanks! I was going to mention that my nonna never used any sort of culture haha! what about the Dextrose?
Victor @ Taste of Artisan says
Humans didn't use a lot of things that they do now. It's called progress. 🙂
It's still a good idea to use dextrose/sugar to help naturaly occuring lactic acid bacteria grow and lower the pH of the meat. There is very little suagr in meat so it needs help.