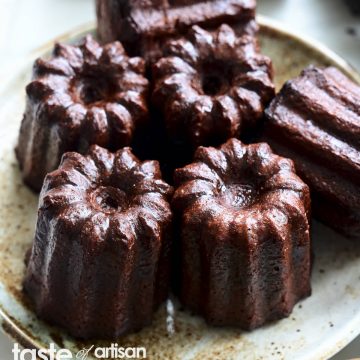
If you like caneles, one of my favorite French pastries, and you like chocolate as much as I do, you must try this chocolate canele recipe. You will love it, no doubt. Chocolate canele is a close cousin of the traditional canele. It has the same glossy, dark, crispy exterior and a soft, moist, and custardy interior. The difference is the dark brown interior color and the intense chocolate flavor. Even if you are partial to chocolate, like my wife, you will still love this exquisite pastry because every time I bake it, we practically fight with her over who gets the last one.
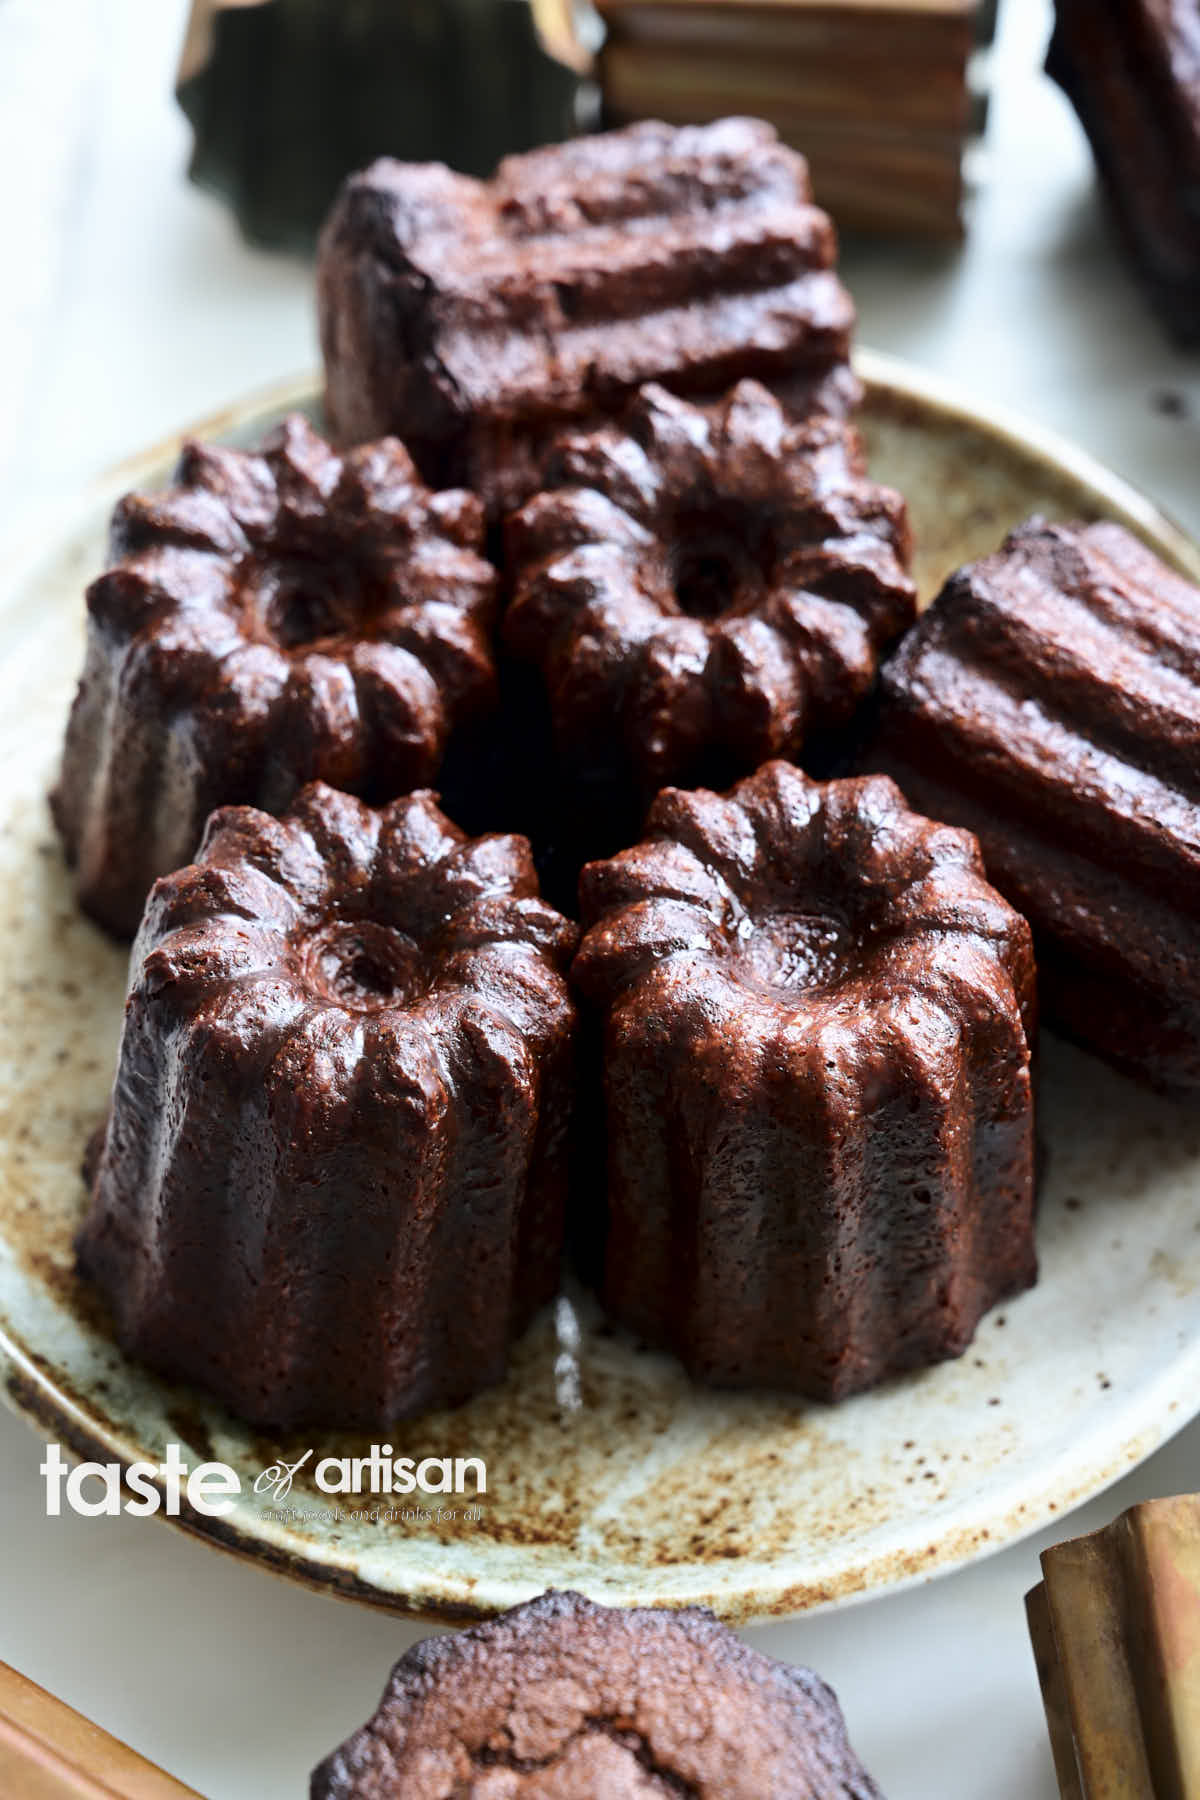
Differences with the traditional canele recipe
Unlike the traditional canele, which I initially struggled with, chocolate canele has been a breeze to make. I never had any mushrooming with it, despite the lower recommended baking temperature. Nor did I ever have the 'white butt' problem. Well, it's hard to get that, given the darker color of the batter. Anyway, this one is quite easy to make. My teenage daughter has made this recipe multiple times without any issues.
Another thing that's different in this recipe compared to the traditional canele, is that this recipe calls for a 12-hour batter rest in the fridge compared to 48 hours in the traditional canele recipe. I wasn't sold on this initially and tried it both ways. I must say, I did not find a noticeable difference. Hence, I am sticking with a 12-hour rest, which makes planning for this pastry much easier.
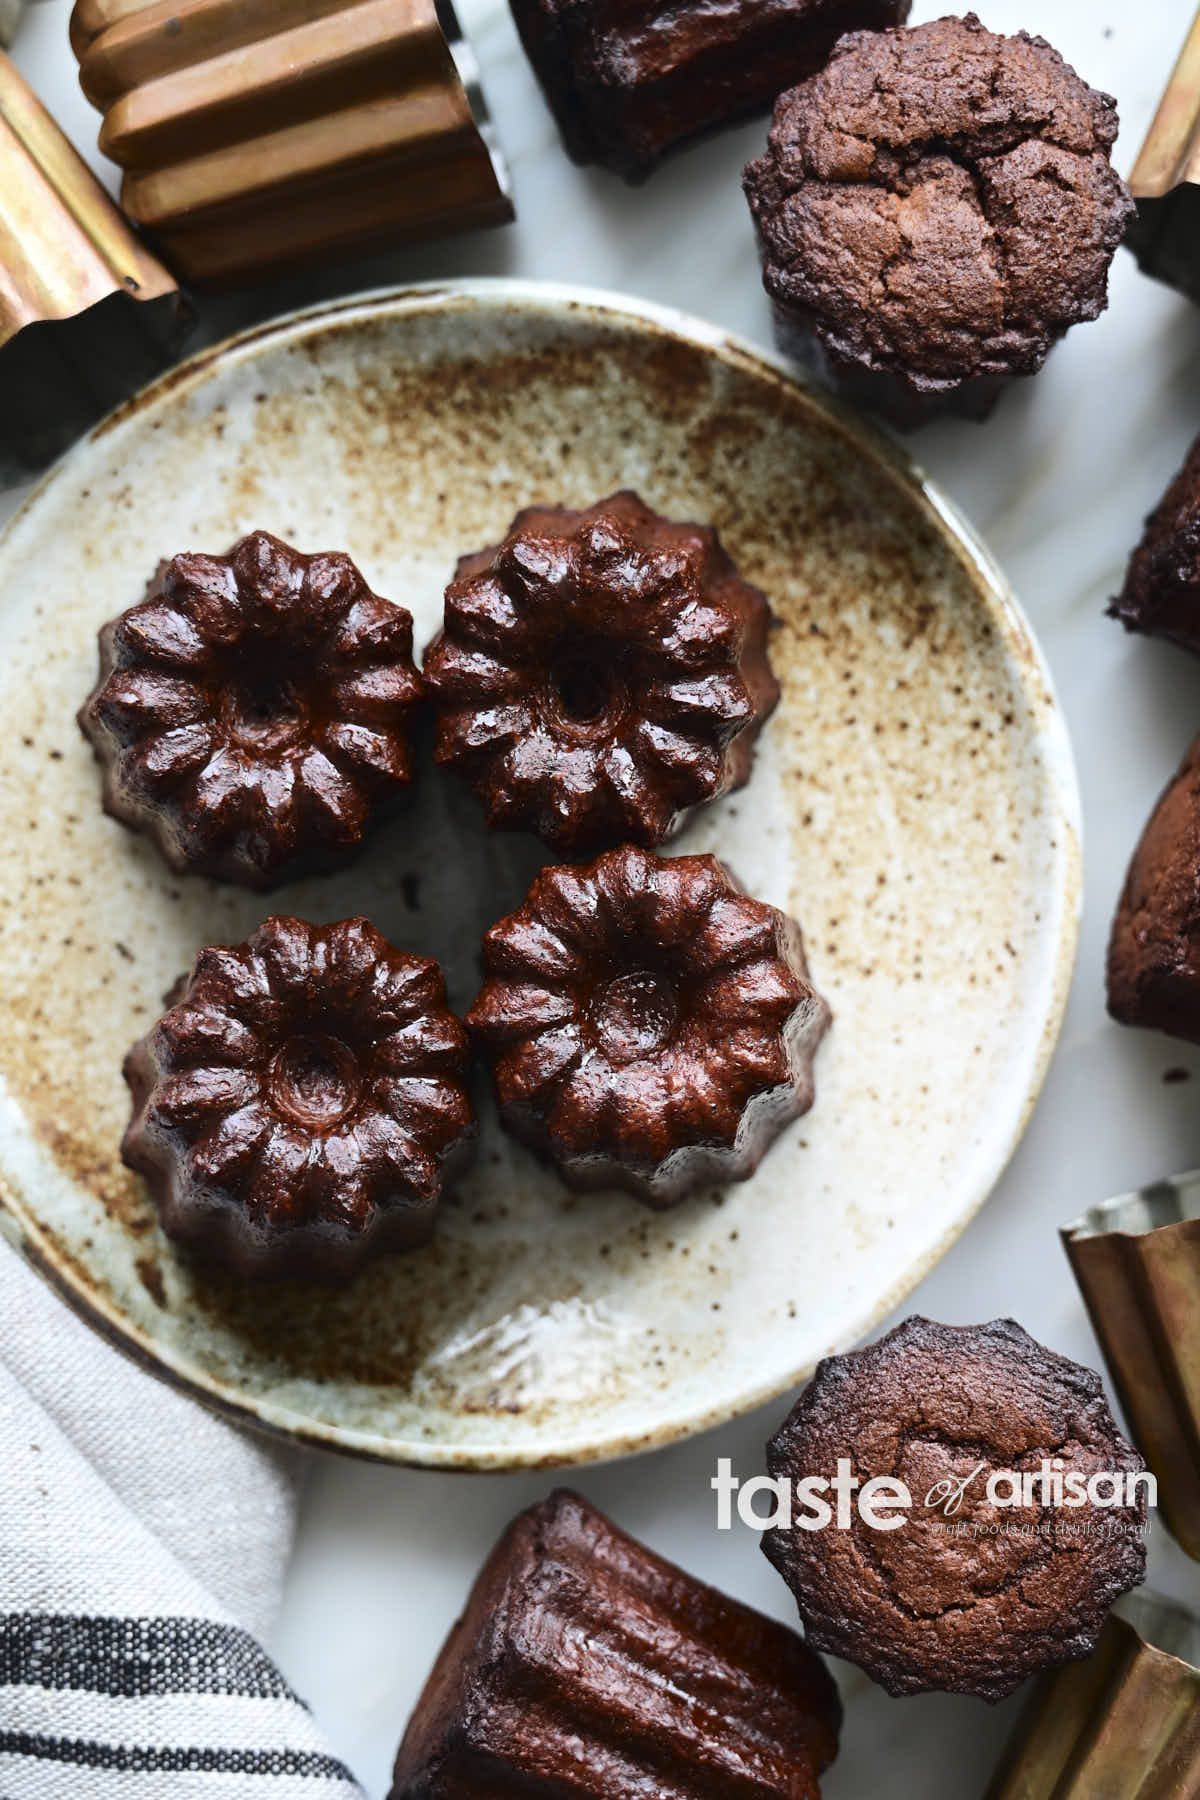
Flavor and texture
What I like the most about this pastry is the intense, lingering chocolate flavor - the most prominent flavor in this pastry. It will drive you crazy while you are baking it. This recipe, adapted from the Chocolate: Recipes and Techniques from the Ferrandi School of Culinary Arts book, uses chocolate with a high cocoa butter content - 70% - 80%, which is important for getting that intense chocolate flavor. As usual, I recommend using high-quality chocolate; it makes a huge difference.
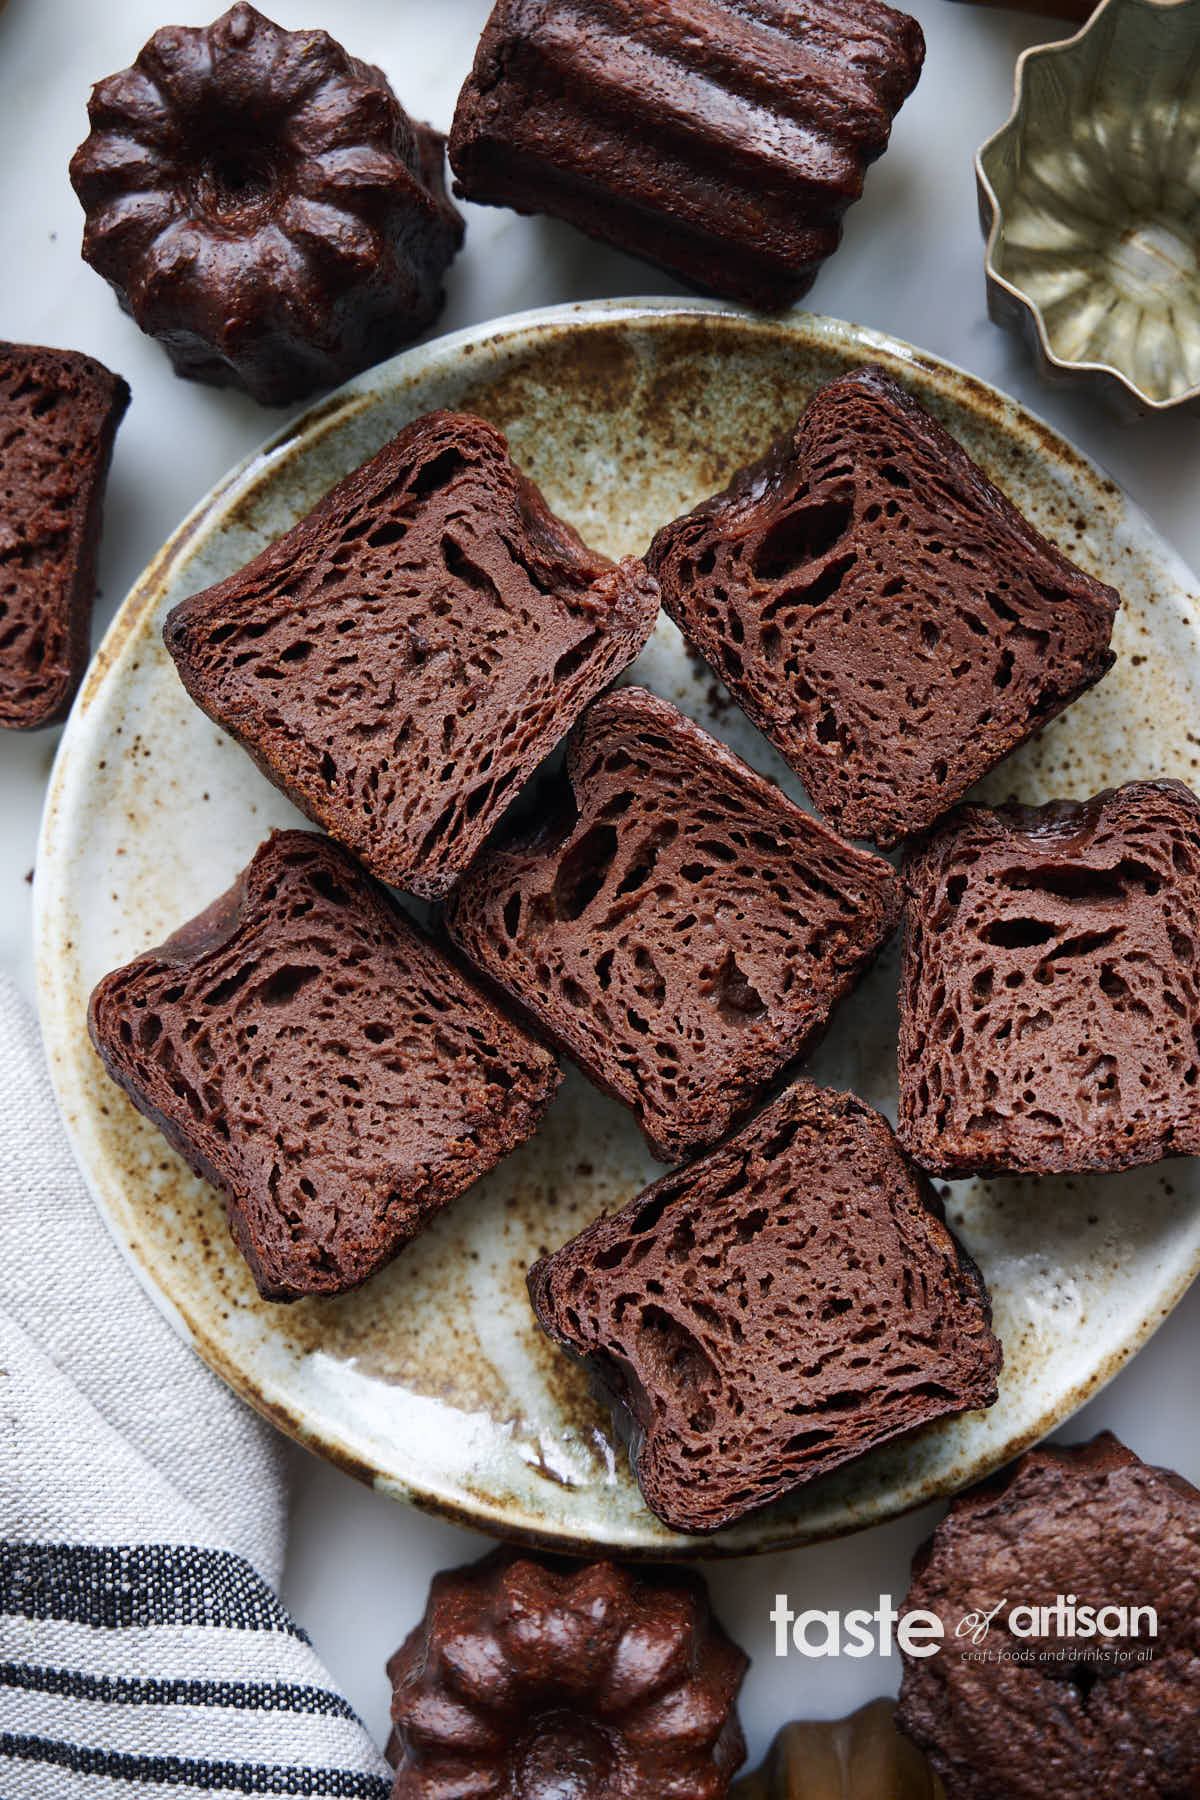
The texture is simply divine. Moist, custardy, I would even call it creamy. I took a picture of the cross-cut, but it doesn't do it justice. It shows how airy the crumb is well, but not quite how moist and creamy it is.
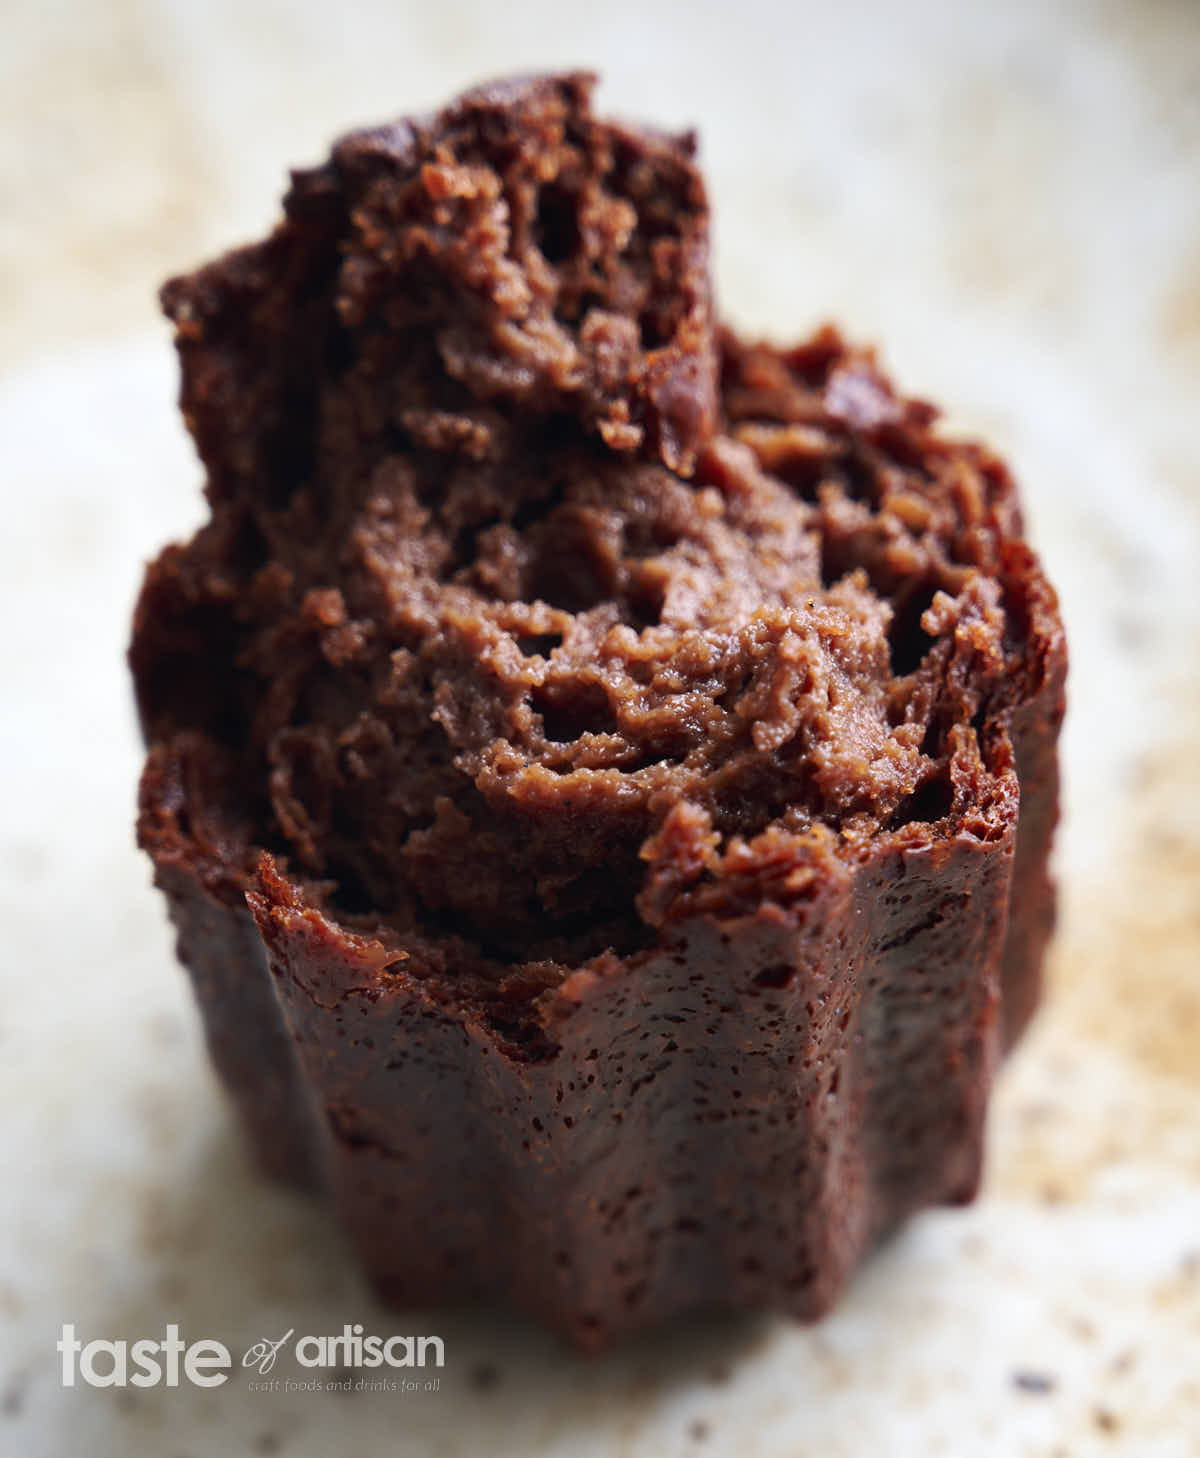
I then broke one canele in half. It's easier to see how wonderfully moist and soft the interior is this way. I love the contrast between the thin, crispy skin and the soft, creamy interior, typical of canele.
This pastry is truly heavenly. There is nothing like it. It makes me wonder why chocolate caneles aren't sold at most patisseries. I believe I've only seen traditional caneles at the ones that I visited.
Enjoy!
Chocolate Canele Recipe
Ingredients
- 400 ml whole milk
- 1 vanilla bean split lengthwise and seeds scraped out
- 125 g dark chocolate 70% or 80% cacao, chopped
- 150 g sugar
- 50 g honey
- 110 g lightly beaten egg about 3 eggs
- 40 g egg yolk about 2 yolks
- 20 g cake flour AP flour will work too
- 20 g cornstarch
- 60 ml rum
- 50/50 Food-grade beeswax and butter mix for greasing the molds
Instructions
- In a small saucepan, bring the milk with the vanilla bean and seeds to 122F (50C). Turn off the heat, add the chopped chocolate, and let it melt, stirring until smooth. Set aside.
- Meanwhile, in a mixing bowl, whisk the sugar, honey, beaten eggs, and egg yolks together until thick and pale in color.
- Combine the flour and cornstarch together and add to the egg mixture. Fold them in until the batter is perfectly smooth.
- Pour the chocolate milk into the batter and whisk to combine. Next, whisk in the rum. Refrigerate the batter for 12 hours or overnight.
- When ready to bake, melt the wax and butter and brush it lightly over the insides of the molds. Let set. Preheat the oven to 450F (230C/Gas mark 8).
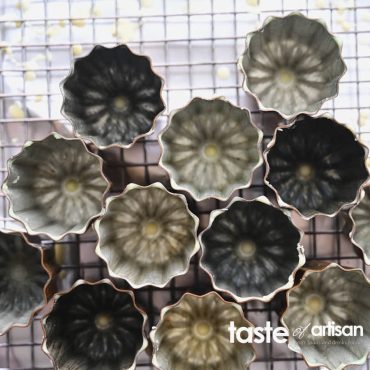
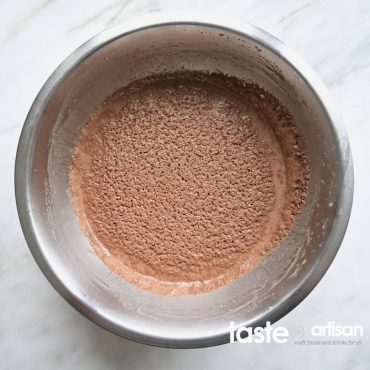
- Remove the batter from the fridge. You will notice some solids floating at the top.
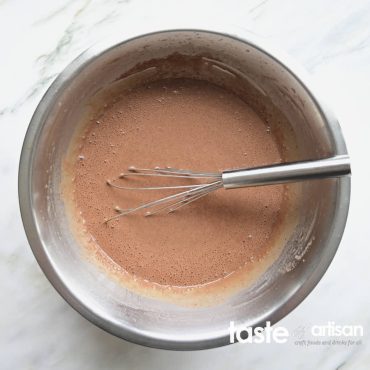
- Whisk the batter well until smooth and consistent.
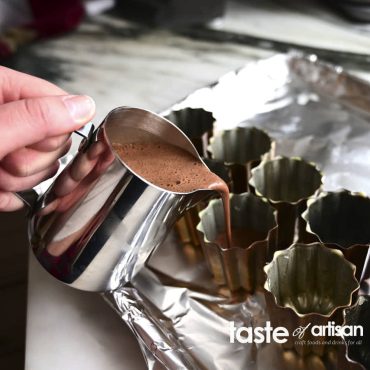
- Pour the batter into the molds all the way to about 1/4" (5 mm) below the rim.
- Bake the caneles for 20 minutes at 450F (230C/Gas mark 8).
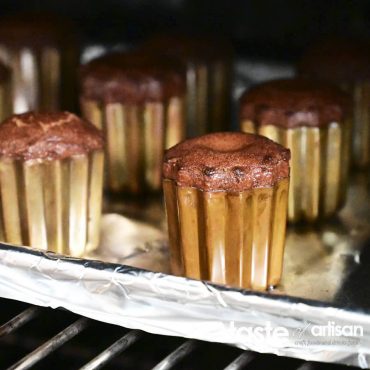
- Next, reduce the temperature to 375F (190C/Gas mark 5)and bake for another 40 minutes. The caneles should be well-risen and dark brown on top.
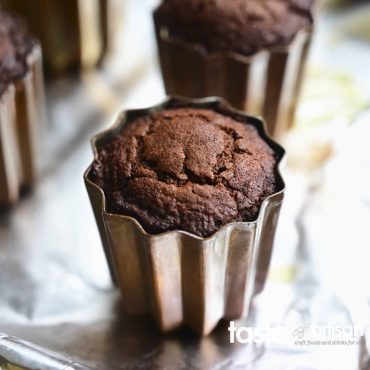
- Remove caneles from the oven. Carefully un-mold them and place them on cooling racks to cool down. Wipe the molds with paper towels, do not wash them.
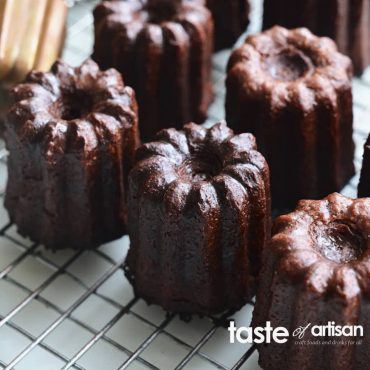
- Serve once they cool down. See notes.
Special Equipment
- 12 2 1/4" (5.5cm) diameter copper canele molds I recommend trusted brands like Matfer or Mauviel


Mai Anh says
I tried this recipe this morning and was waiting for the baking time. But I realized that I seem to have made a mistake in the egg beating step. I did not beat it until fluffy, but only beat it until the sugar dissolved like the original Canelé. I wanted to ask again to be sure before trying the second batch, what level of egg beating is appropriate for this recipe?
Besides, thank you for the original recipe. You shared it very detailed and I got the Canelés as I wanted.
Victor @ Taste of Artisan says
You are very welcome, Mai.
No need to beat until fluffy or aerated. What you did the first time around is perfect.
Happy baking!
Mai Anh says
I see this recipe uses much less flour than the original recipe. Why is that?
Victor @ Taste of Artisan says
This recipe, in contrast to the classic canele recipe, includes additional thickeners like chocolate, cornstarch and an extra egg, which make up for the flour difference.
Karine says
I used a 12 piece pan and while the outside got the perfect shell on the outside, they tasted a bit burnt.
What is better, reducing the bake time in the first or second bake temperature?
Thanks!
Victor @ Taste of Artisan says
Karine, I can't be sure 100% without testing. Is your oven's thermostat working properly? Often they mis-report temps. If you have a BBQ thermometer with a probe, you can easily test your oven. If it bakes hotter than what you set it for, you know what the issue is. If you don't, I'd personally start with reducing the time in the second bake by about 10 minutes. If you still have the problem, I'd then try reducing the temp in the first bake while keeping the other parameters as is. Hope this helps. Good luck!
Karine says
Thank you! I was thinking of reducing the time 10 minutes as well. The flavor is do good, I don’t want to give up on your recipe!
Victor @ Taste of Artisan says
You are welcome. I agree, the flavor is really good. I love it, actually. I also found a new interesting canele recipe - hazelnut and aged rum. Will be testing it out in the near future. If I like it, I will post it here.
Ciara says
Great pictures. Thanks for sharing this recipe, I've been looking for one. Love your traditional canele. I am sure these are as good or better.
Victor @ Taste of Artisan says
Enjoy! I am sure you will love them.