Sauerkraut is the German word for sour cabbage, which is cabbage that is shredded, salted and fermented over a period of time. Homemade sauerkraut is not only tasty, it also packs a ton of vitamins and probiotics, unlike pickled cabbage. In old times sauerkraut was used for medicinal purposes due to its health benefits.
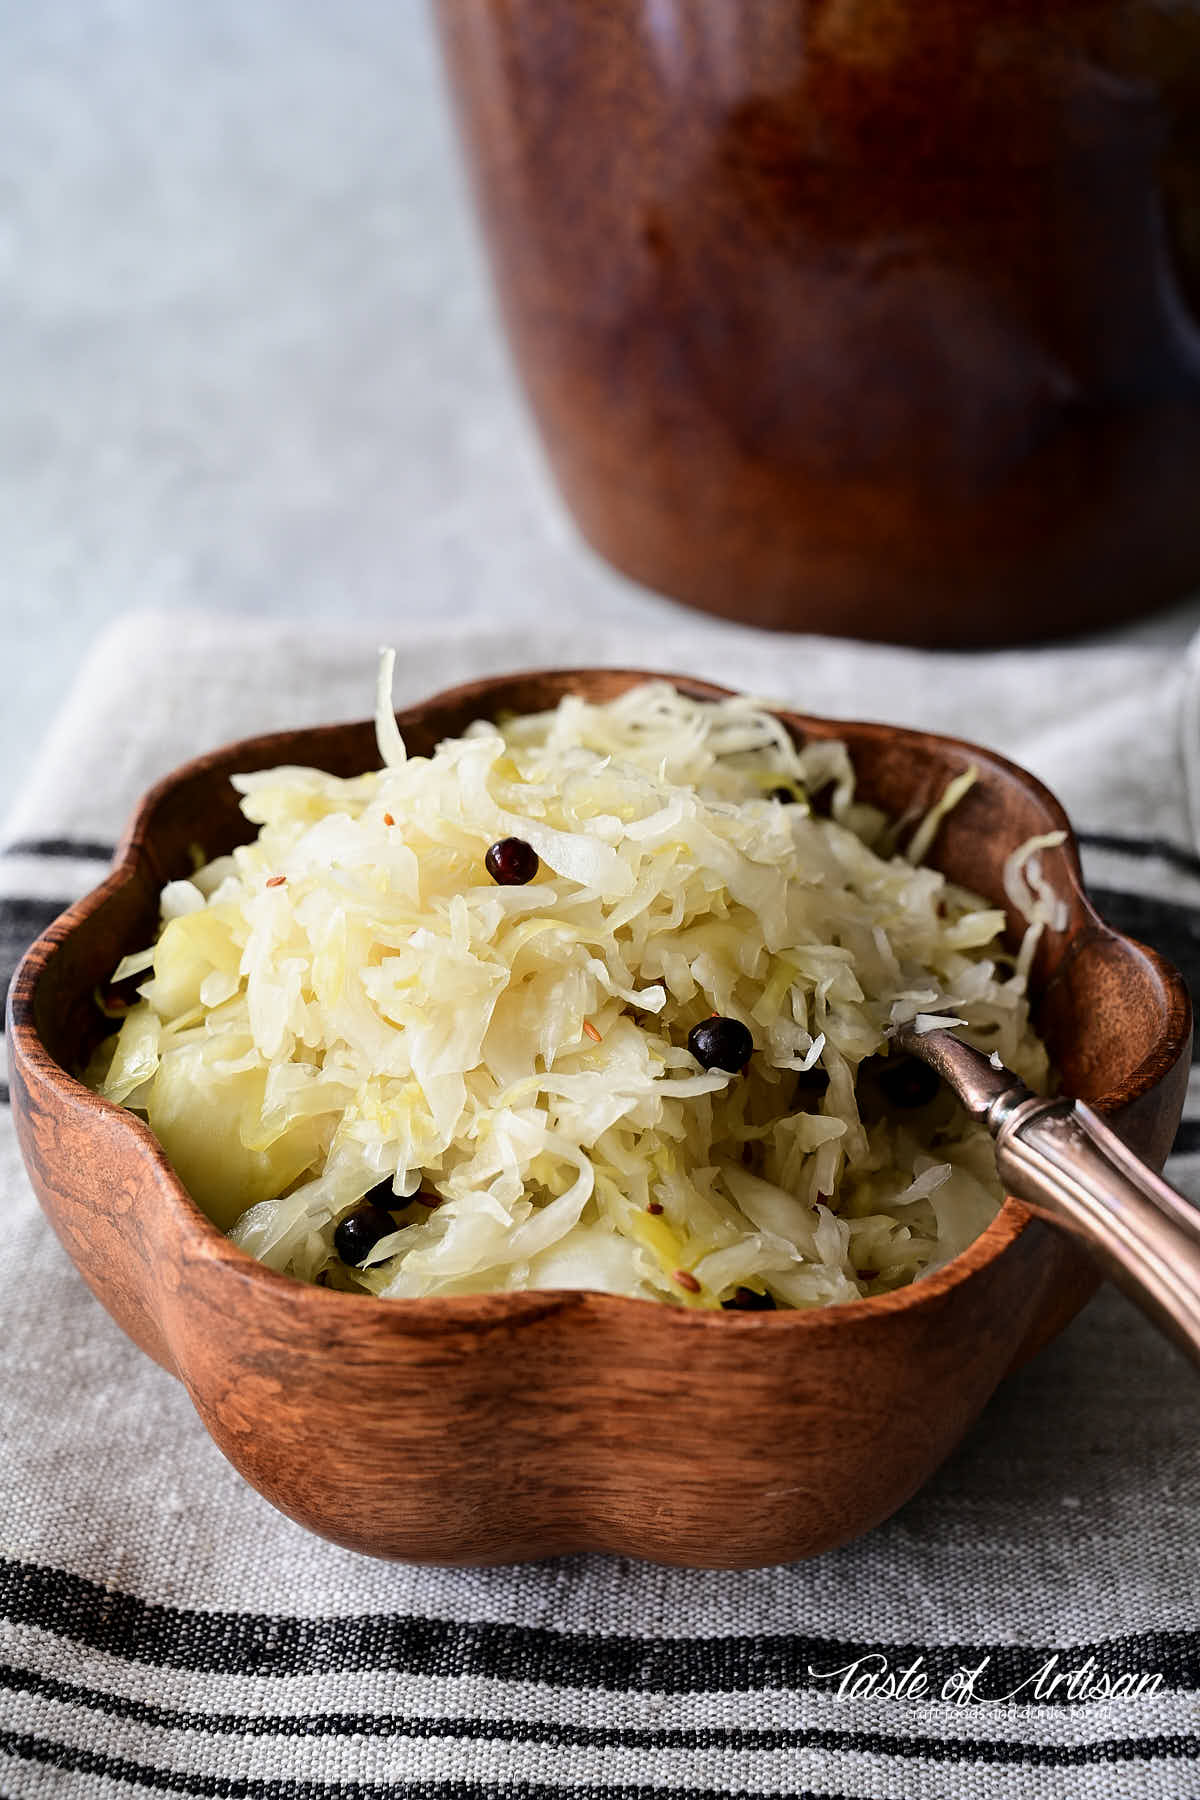
Most of us have only been exposed to store-bought sauerkraut which is a sad resemblance of the real kraut. Commercial sauerkraut has none of those benefits as the pasteurization process destroys vitamin C and live bacteria. On top, a lot of commercial sauerkraut is not even fermented, it’s just plain shredded cabbage flavored with salt, vinegar and some spices to make it appear like the real deal.
Making sauerkraut at home
The good news is that making sauerkraut at home is super easy, quick and surprisingly inexpensive. All you need is cabbage, salt, fermentation pot and some time.
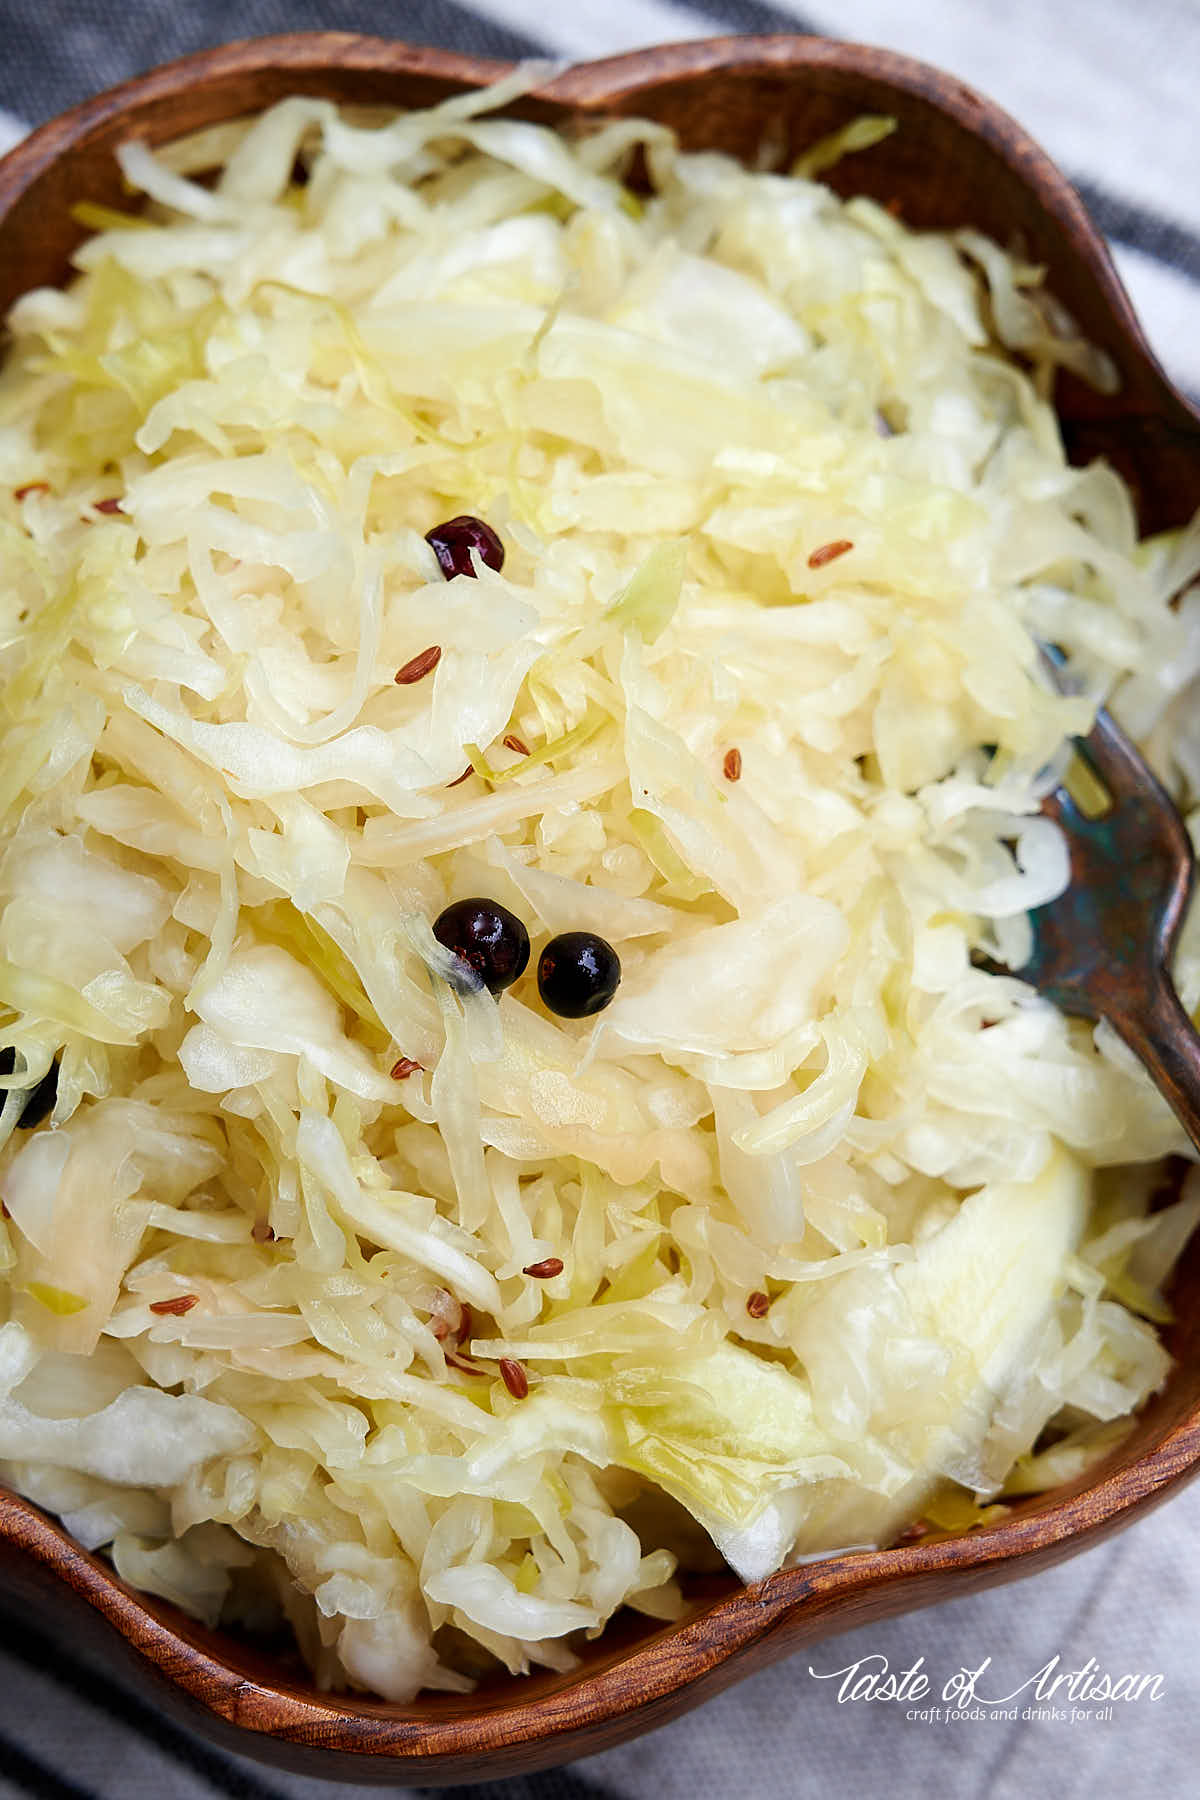
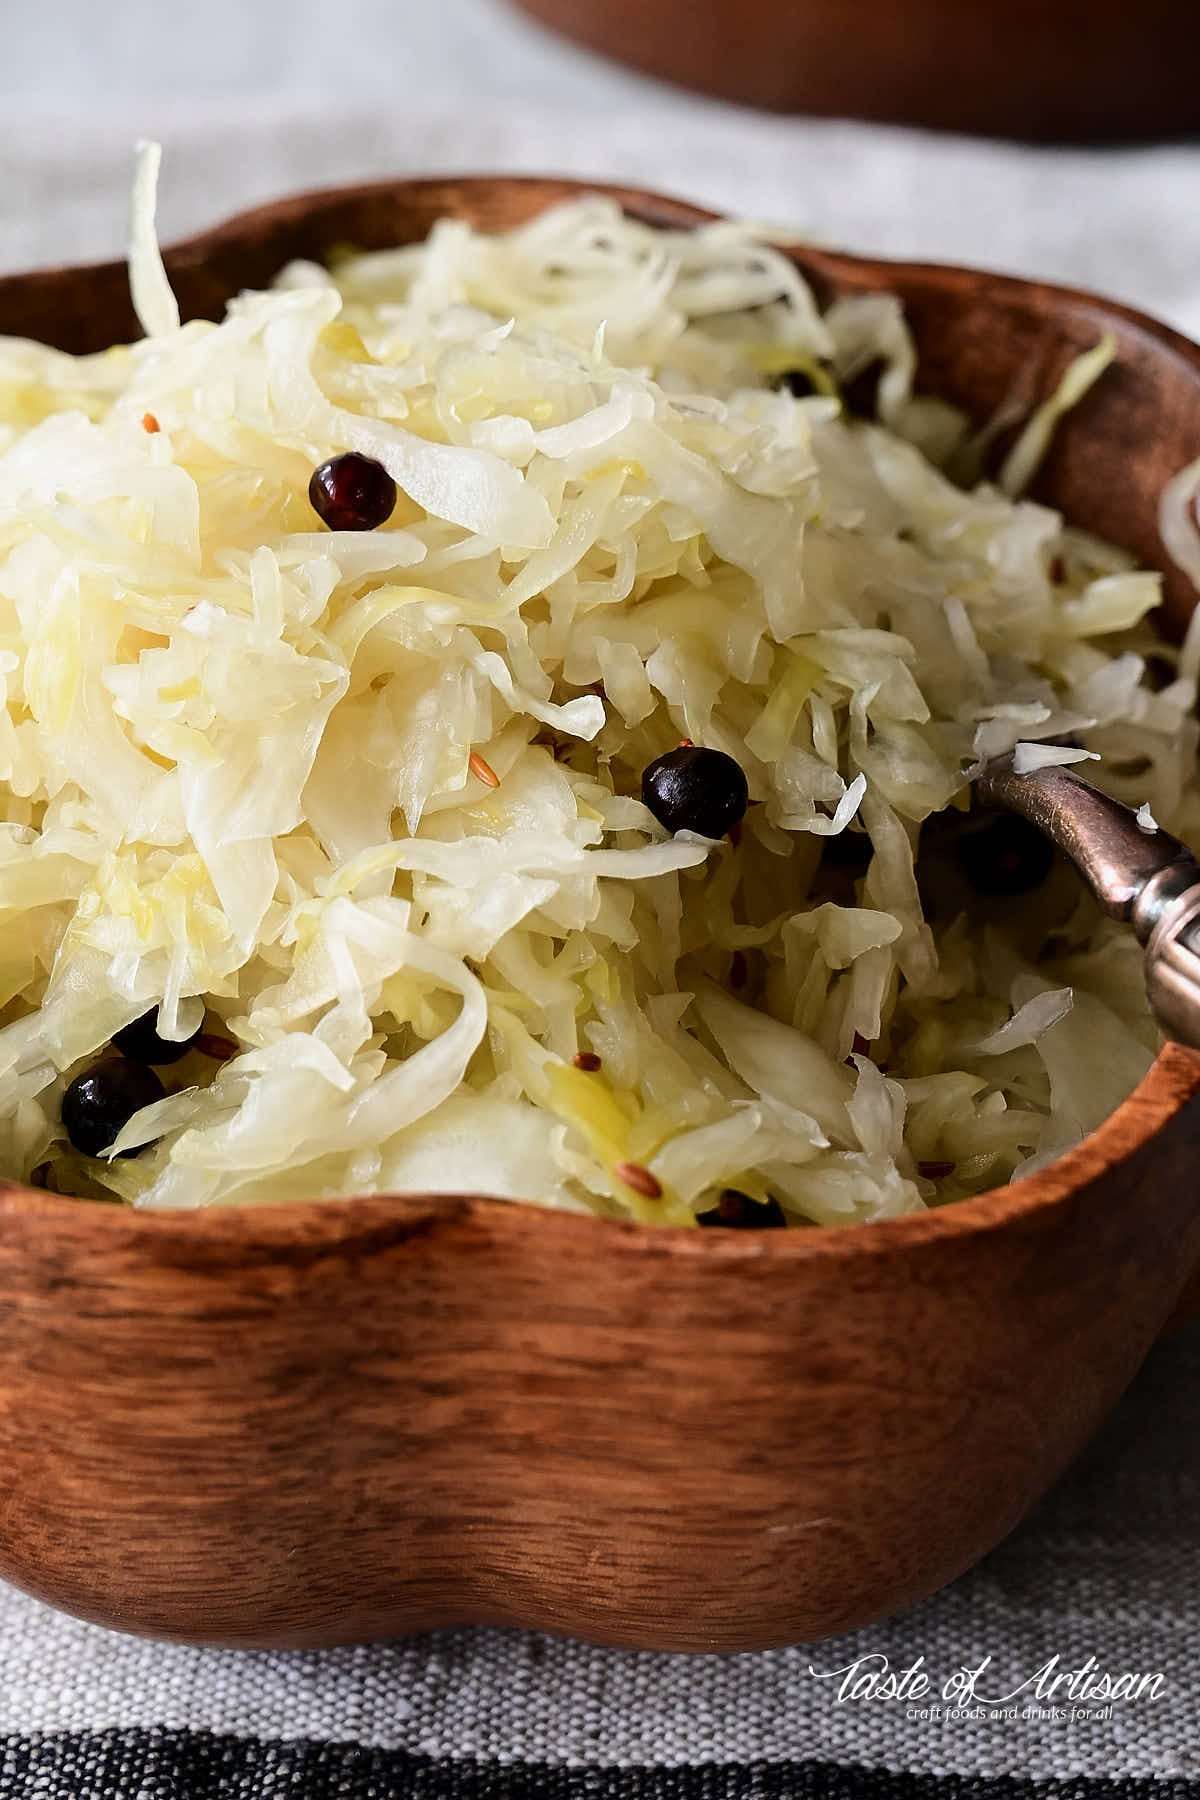
In addition to salt, cabbage can and should be seasoned for more flavor. Caraway seeds and juniper berries are commonly used. Sliced apples are also often added and they add even more flavor. Pick tasty and aromatic apples for that reason.
The cabbage is first shredded then mixed with salt and spices and tightly packed in a fermentation pot. To help packing cabbage tightly use a sauerkraut tamper, pickle packer or a sauer stick. In a pinch, use a potato masher.
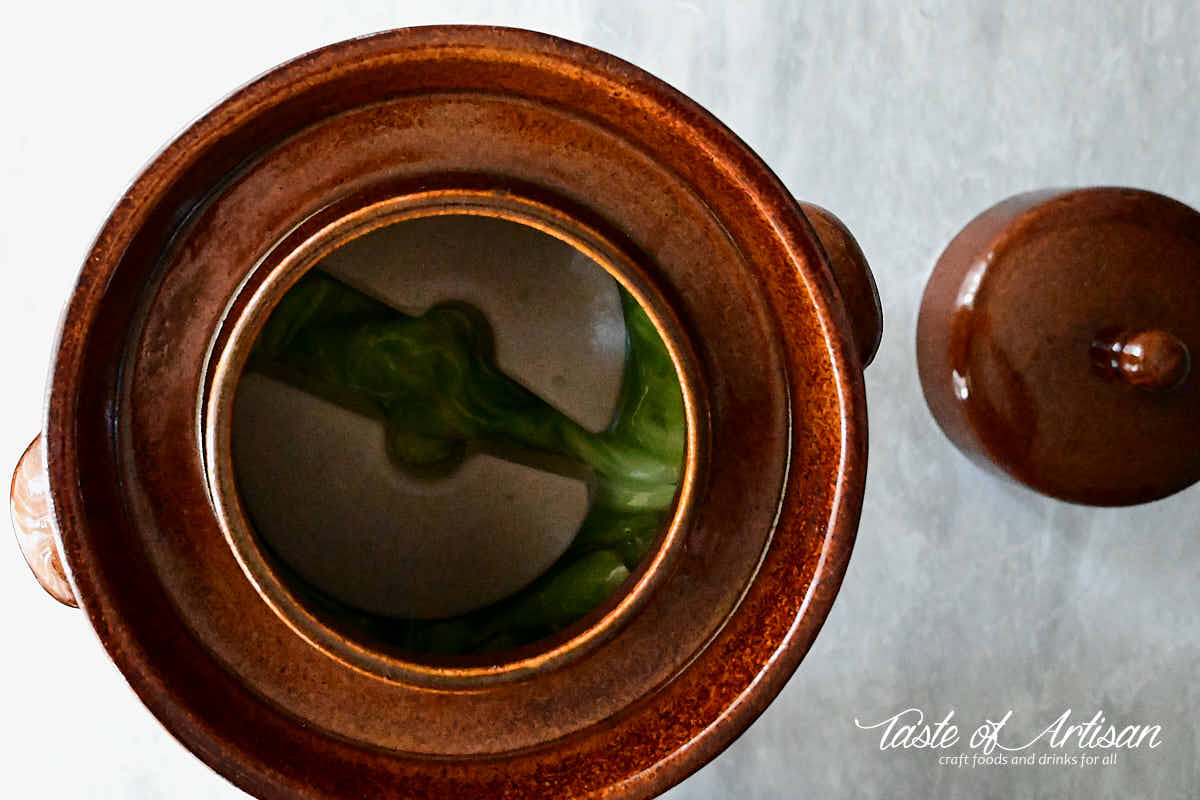
After that, the cabbage is covered by whole cabbage leaves, weighed down by fermentation weights, covered with a lid with an airlock and left to ferment.
You need to give the fermentation process take its time to make tasty sauerkraut. At the most optimal temperature of about 68F it will take about 3 weeks get ready.
Fermentation vessel
Fermentation can be done in clay pots, pickle crocks or glass jars. You can also use sturdy plastic containers that are food grade. If you plan on making sauerkraut and other fermented vegetables on a regular basis, I highly recommend getting a German fermentation clay pot with a water channel.
The benefit of such a pot is that its thick walls are great at keeping a stable temperature inside the pot and it doesn’t need to be protected from light like glass jars or clear plastic containers. It already comes with a built-in air lock (water channel) to allow internal air release while keeping outside air out and weights. Finally, it just looks very attractive and rustic.
If using glass or plastic containers, you will need to purchase an air lock and fit it in the container lid, or get jars with lids that are fitted with air locks.
Fermentation temperature
The best quality sauerkraut is made at the temperature of 64F-72F, with somewhere around 68F being most optimal. There is a reason for that. Lactic acid bacteria consist of various strains which favor different temperatures for optimal growth. For best flavor they need to grow in a certain sequence and they do so at around 68F.
At temperatures above 72F sauerkraut ferments so fast that some bacteria strains don’t even have the time to grow. This results in sub-par flavor and taste. At temperatures below 65F fermentation process takes very long, from many weeks to months.
Tips and tricks
- Use very fresh cabbage. Fresh cabbage is full of juice that is necessary for proper fermentation.
- The sweeter the cabbage the better. More sugar in the cabbage means for food for lactic acid bacteria which will result in better cabbage fermentation.
- If the cabbage is not sweet, adding apples will be beneficial to improving fermentation.
- Be careful if you decide to adjust the salt. This recipe calls for 2.25% of salt. Sauerkraut salinity level must between 2% and 3% for best results. Less than 2% salt content may produce sauerkraut that is soft and slimy caused by slime mold. Sufficient salt level will prevent against it. Too much salt (over 3%) will prevent proper fermentation.
- You may see white scum on top of the sauerkraut. This is normal and is a result of yeast activity. Simply remove it, there is no need to discard the sauerkraut. Having full cabbage leaves on top is very helpful as it will make it very easy to remove the scum from large leaves.
- For even fermentation, keep all of the cabbage submerged in juices. That's the reason that weights are used here.
- Water is added in very rare cases, usually when the cabbage is dry and has little own juice. If you do need to add water, use spring, distilled or boiled water salted at 2.25%. Do not use tap water as it contains chlorine which will kill lactic acid bacteria.
- If fermenting in clear jars, keep them in a dark place away from light, or covered. Lactic acid bacteria thrive in dark environments and wither in light.
- Remaining fermentation juice can be saved and used for your next sauerkraut batch to jump start fermentation process.
Recipe adapted with minor tweaks from Stanley Marianski's Sauerkraut, Kimchi, Pickles & Relishes book.
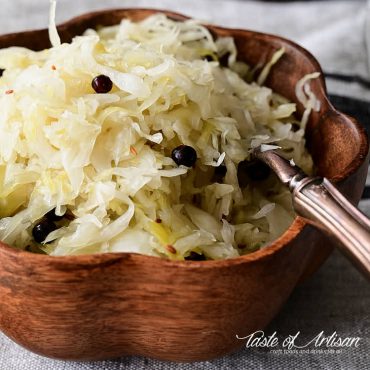
Homemade Sauerkraut
Ingredients
- 1 White cabbage about 2.2 lbs or 1 kg
- 4 tsp kosher salt about 22 g
- 1 tsp caraway seeds 1 tsp
- 2 tsp whole juniper berries
- 1 apple cored and quartered or sliced
Instructions
- Separate outer leaves from the cabbage head. Rinse the removed leaves and the cabbage head.
- Cut the cabbage in quarters and remove cores. Shred as thinly as desired. I prefer about 1/16" (2mm) thickness.
- Place the cabbage in a large mixing bowl and sprinkle the salt and the spices on top. Mix well, firmly squeezing the cabbage as you mix. You will notice the cabbage begin to shrink and size and start releasing juices. This will help with packing the cabbage in the next step.
- Pack the seasoned cabbage very tightly in a fermentation container, adding apple slices between layers of cabbage. Pour in any released juices from the mixing bowl. Cover with the leaves and weigh down with fermentation weights.
- Ferment at a cool room temperature, about 68F for 3 weeks. Refrigerate after fermentation is done.


Lauren McLean says
I made your sauerkraut late summer and it was the most delicious I have ever had. It’s almost finished so I’ll be starting another batch tomorrow!
Victor @ Taste of Artisan says
Fantastic! I love this recipe too. Made a big batch myself not long ago. Enjoy!
wayne says
Can starter culture be saved in the refrigerator from the prior season's batch, or does it expire?
Victor @ Taste of Artisan says
Yes, you can. I always use last year's or any recent starter culture whenever possible. If it looks good, smells good, use it. There is no expiry. It can spoil if spoilage bacteria take over, but you will smell it. This summer I used starter culture from the tomatoes that I fermented last summer, made 5 large jars of pickles with it, all is good.
wayne says
Thanks for the quick reply. I thought I read someplace before that the culture has a good shelf life in the fridge, and one could easily tell if it had spoiled,, but couldn't find confirmation now.
Much appreciated, and I'm off to harvest a little head of cabbage tomorrow
Victor @ Taste of Artisan says
Well, I suppose it depends on how you store it. I've used cheese cultures stored in the freezer that were 3-4 years past 'expiry.' They still work; probably because I re-vacuum seal them after each use and keep in a chest freezer. The starter culture from the fermented tomatoes worked very quickly, I saw fermentation going the following morning, which tells me that there were enough live bacteria there. Good luck!
James Lowey says
Is the amount of cabbage 1 kg or 2 kg in this formula?
Victor @ Taste of Artisan says
1 kg or 2.2 lbs. There was a typo in the recipe which is now corrected.